


name withheld
23-03-2017
hello again,
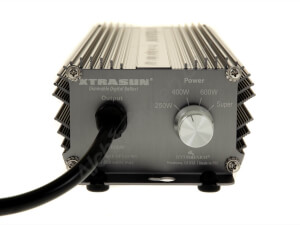
I am really struggling with the electrical connections. There are NO instructions AT ALL which has been very frustrating. There is a supplied plug attached to wires - what is this for ? The ballast should be connected to the light, but the ballast has blue, brown and earth, and the bulb holder has white and black. Please give me some simple instructions.
There is only one timer switch, so how do I do a timed fan AND a timed light ( other than buying another timer).
The little fans have a VERY small length of wires and I dont want electrical connections inside the tent!!
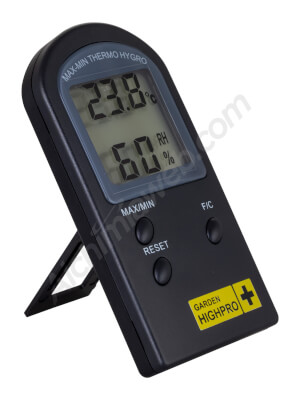
Lastly there is a thermo hortigarde hygro with a jack connector that fits WHERE ????
If you could PLEASE respond quickly as the set up has been a real pain in the arse.
The quality of the product seems fine, but the level of instructions and information are pitifully poor.
![]()
Alchimia Grow Shop
24-03-2017
Hi name withheld,
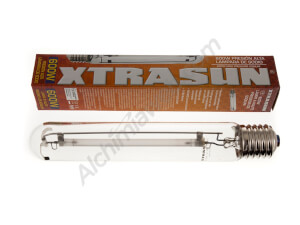
-About the ballast connection: do not worry about the wire colors, simply connect blue and brown to your lampholder (no matter how you connect them!). Here you have an example of how to connect a ballast.
-Short wires are a constant problem when growing indoors, that's why we normally put a fireproof board next to the grow tent to have the ballast, timers, extensions leads, etc. I have an automatic fire extinguisher hanging above this board to prevent fires. Sometimes we just cut the wire and extend it with a power strip and more wire.
-About the timer: you should have gotten two timers with your kit, I'll notify it immediately and we'll send the other timer asap (the jack connector is probably to connect an external probe). For the moment, I'd connect everything as I actually have in my grow: air extractor fan 24 hours a day to remove air and smells, and the small fan connected with the same timer than the light.
-About the plug+wires: since your ballast already have the power supply plug I guess it is the cable for your air extractor fan. Sometimes reflectors have 3-pin plugs, so depending on the type of reflector you choose you may need this one or you may just connect two wires to the lampholder. If this extra cable has a 3-pin plug, it means it is included in case you want to use a 3-pin plug reflector.
I hope these instructions will be enough for you to set up everything, please keep me updated and do not hesitate to ask any further doubts. We're sorry for any inconvenience!
We're already working on some instructions to include in our kits.
Best!
richard cox
25-02-2017
I have just ordered a kit and there are no instructions - tried looking on youtube, but there are a LOT of options.
Thanks
![]()
Alchimia Grow Shop
28-02-2017
Hi Richard,
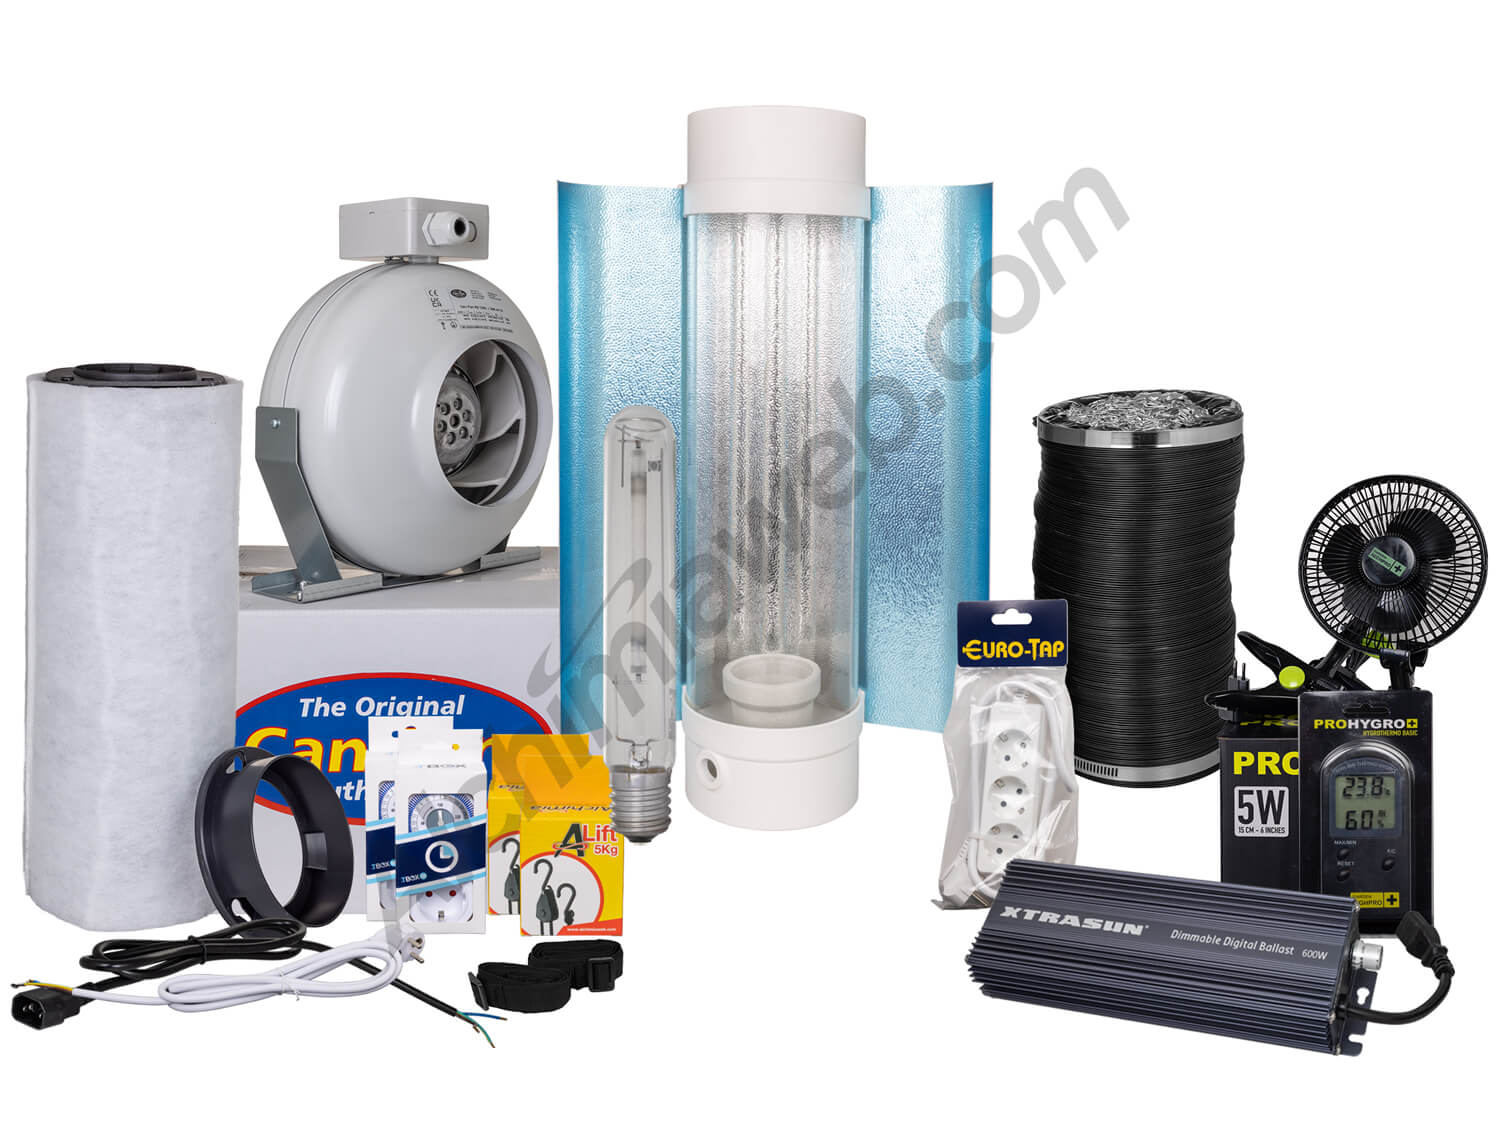
First of all, thanks for your purchase! Here you have an article on growing cannabis in grow tents, and another one on basic tips for indoor growing.
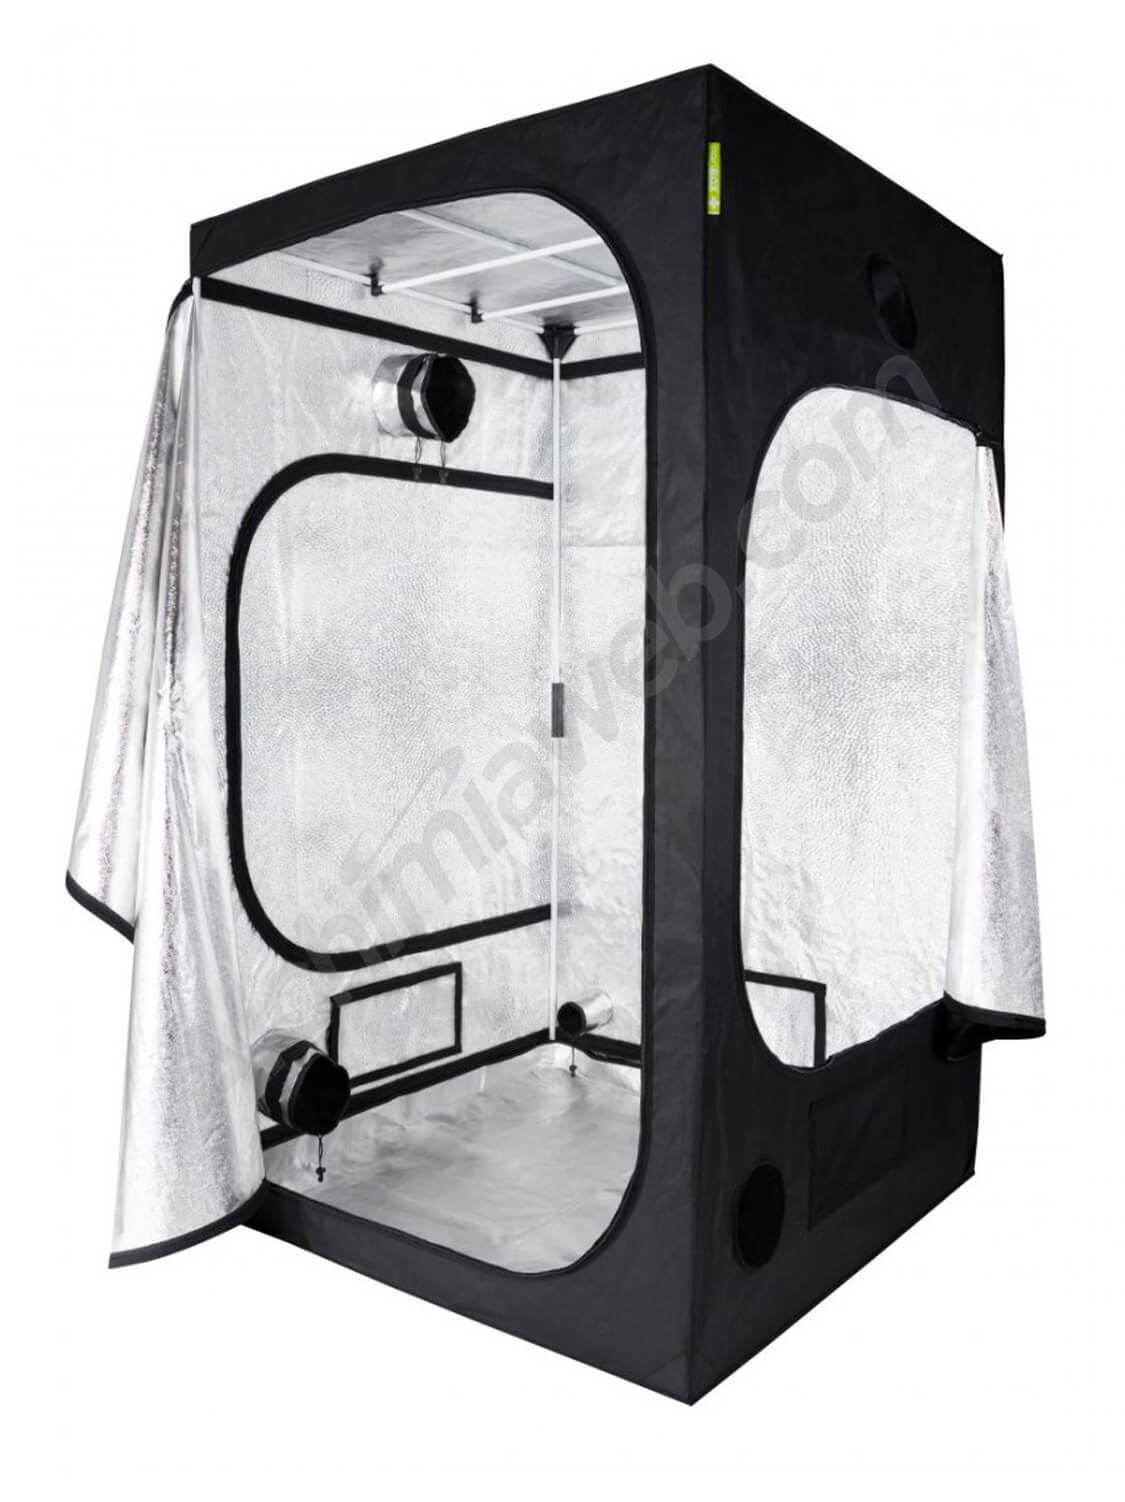
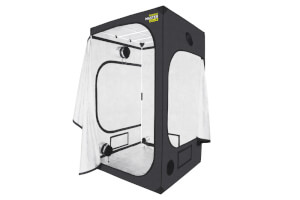
First, you should assemble your grow tent (you should have instructions about that). Once assembled, you have to install your air extraction system. The extractor fan can be placed inside or outside the tent, as you prefer (the same happens with the carbon filter, although the ideal is to have it inside, connected to the cooltube reflector, which is in turn connected to the extractor fan to remove the filtered air. You have the 127mm duct to make these connections if needed). Depending on tempertures, use the timer to switch on/off your air extraction system (they should be around 20ºC with the light off, 28ºC with the light on). Since you want to remove hot air, the air intake of your extraction system must be placed on the higher part of the tent (the warm air rises).
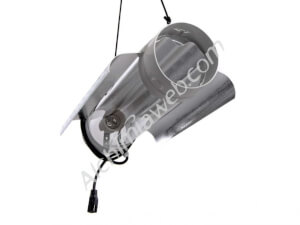
Then, connect the ballast and hang the reflector with your light hangers (the bulb is normally placed at around 40cm from the tops of the plants). Use the timer to set the photoperiod (18 hours of light and 6 of darkness for growth, 12/12 for bloom) for your plants.
Attach the fan-clip to the metal frame of the tent so the air flow hits directly on the tops of the plants.
Connect everything to the power supply and you should be ready to grow!
Please feel free to ask us any further doubt or comment about your kit, I'll be pleased to help!
Happy harvests!
