Seeds
Seeds


 Growshop
 Nutrients


 Extractions
 CBD
CBD
 Magic Mushrooms
 Headshop
List of contents
How to install a magnetic ballast?
Today, we can find on the market a considerable number of ballasts or power supply units for indoor gardening. Most of them - for example, electronic ballasts - are easy to install since they don?t require prior manipulation from the user.

But what happens with magnetic ballasts? These sometimes may require some type of installation prior to their use.
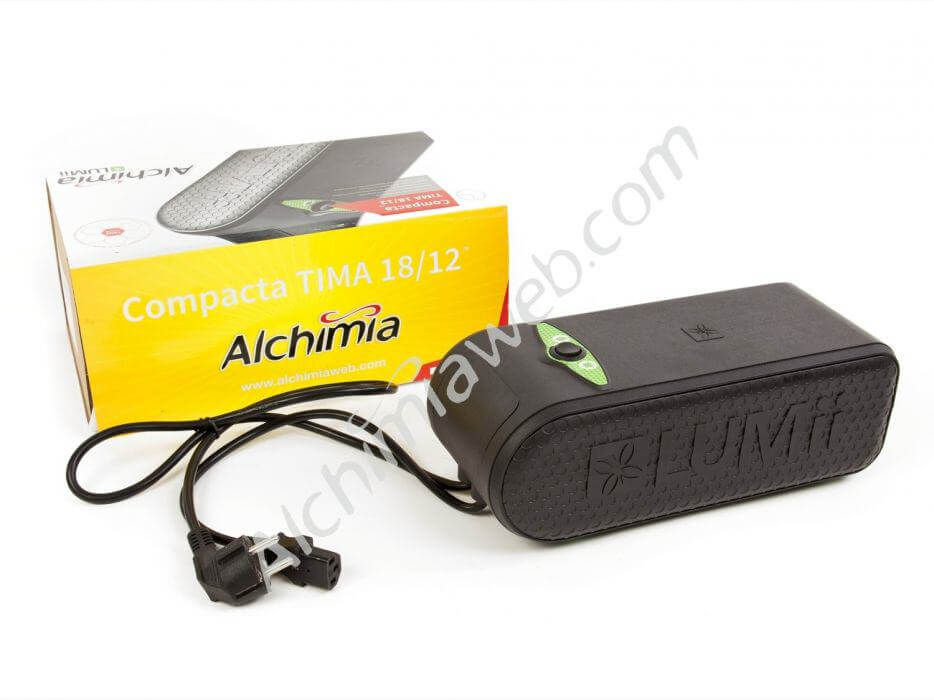
On this article we'll show you how to install a 250W ETI magnetic ballast easily and safely. In this way, you'll have no problems when setting up the lighting system of your indoor grow room.
Magnetic ballasts are very easy to install. We only need a flathead screwdriver to connect the cables to the ballast's terminal strips.
Normally, all magnetic ballasts have an assembly plan printed on them to check how to connect the cables. But, in order to avoid confusions, we are going to tell you step by step how to install it. It only takes 2 minutes and you'll make sure that you're installing the ballast properly.

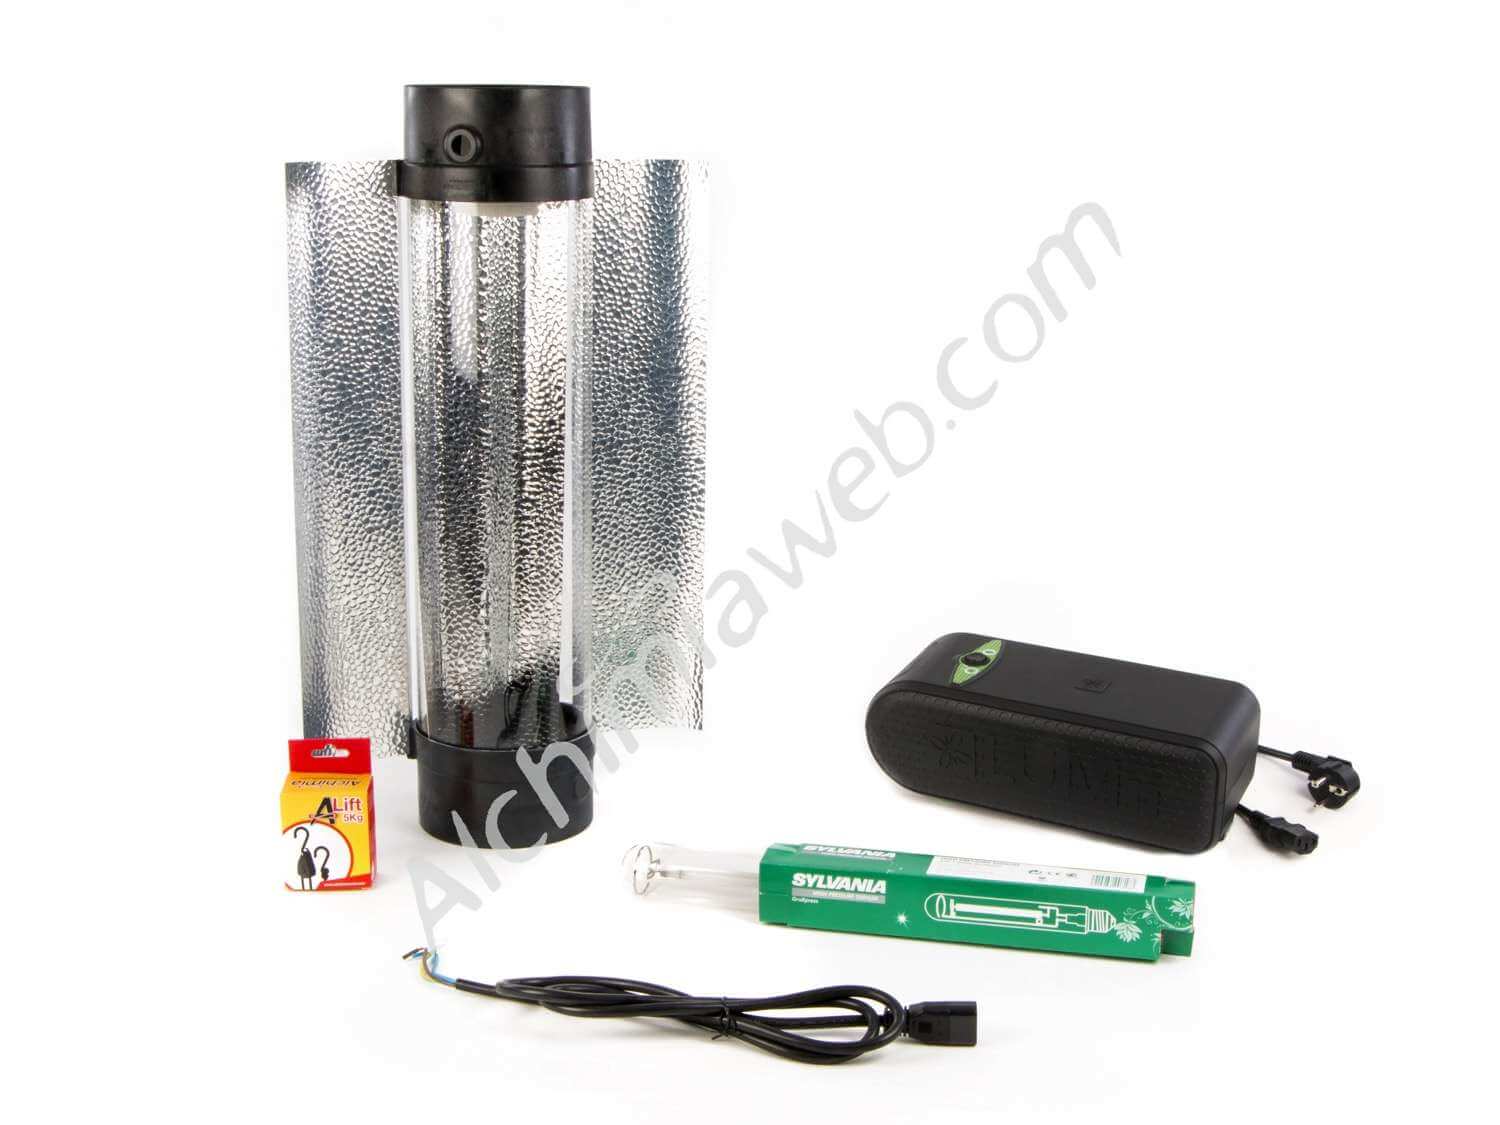
Characteristics of the 250W ETI ballast
If we take a look at the ballast we observe that it basically consists two parts. The front part, where we find the terminal strip (where we will connect the cables) and the rear part, which contains the remaining components of the ballast.

If we take a closer look at the front part, where we find the terminal strip, we'll notice different letters that will help us to install the ballast. We'll have to connect the power cable and the lamp cable to this strip.

On one side of the terminal strip we'll have to connect the power cable, while we'll connect our lamp holder to the other side of the terminal, where the HPS bulb is mounted to light up the growing space.
How to connect the power cable to the ballast
We'll start by connecting the power cable to our power supply unit so we can connect it to an electrical outlet. This cable has a conventional wall plug on one end and 3 colored cables on the other: blue, brown and green/yellow (ground wire).

Position the ballast so you can read the letters above the power strip. We'll read, left to right, the letters F-F-N-N-LR-LA.
Now we only have to connect the blue cable to the strip marked as LR and the brown cable to the one marked as LA.
How to connect the lamp holder/reflector to the ballast
Well, we now have everything ready so our ballast receives electricity, but we sill need to bring this electricity to the lamp holder. Normally, one end of the cable is already connected to the reflector or has a Plug&Play connection to do so. On the other end of the cable we have, again, 3 colored wires: brown, blue and green/yellow (earth connection).

Now we only have to connect the brown wire to the first strip (marked as F) on the left side of the ballast. On the other hand, the blue cable is connected to the strip marked as N, and the ground connection cable (yellow/green) must be connected to one side of the ballast to be properly grounded.

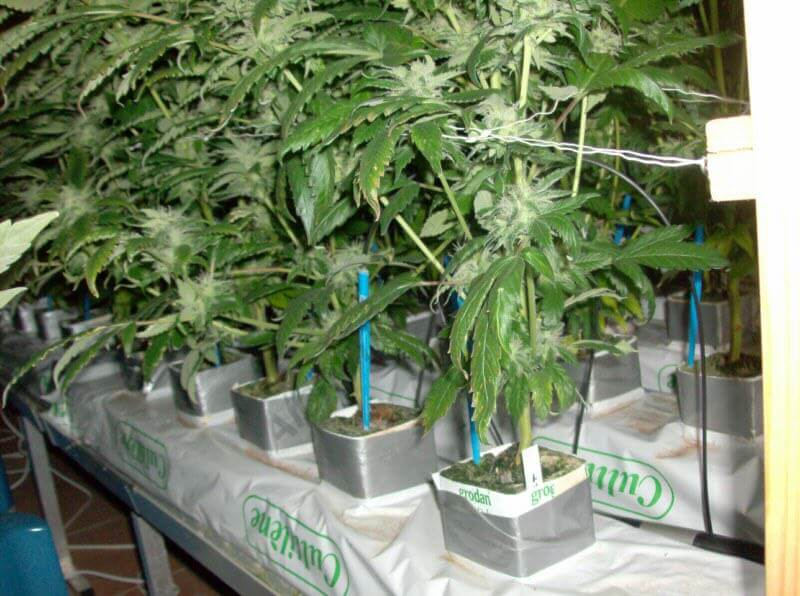
We now have the ballast mounted and ready to work, so we just have to put the bulb and connect the ballast to the electricity outlet to check if everything is ok. Remember to use a timer to set the photoperiod for your plants, 18/6h for growth and 12/12 h for bloom.

We can finally begin our grow!
Happy harvests!