Basic tips for growing cannabis indoors
List of contents
- Basic tips for indoor marijuana growers
- How to grow cannabis indoors
- How many plants to grow indoors and which pot should I use?
- Using easy to grow strains
- Which substrate to use for growing cannabis?
- Which nutrients to use for growing cannabis?
- Indoor cannabis growing for beginners
- When to transplant into the final pot?
- When should I switch to bloom?
- Cannabis flowering
- Cannabis harvest
Basic tips for indoor marijuana growers
When someone wants to start growing cannabis indoors, several questions may arise: Which substrate should I use? Which seeds should I get? How to use my nutrients? How should I water my plants according to pot size and plant stage? Which are the best growing systems? And many, many more...
In this post we present you a short grower's handbook for those who want to start growing their own marijuana at home.
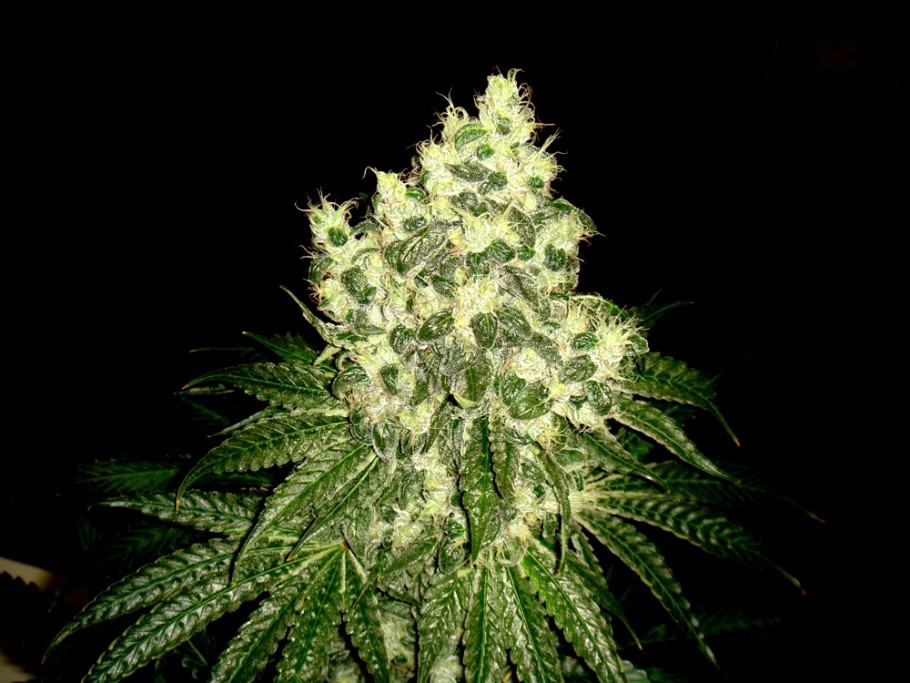
How to grow cannabis indoors
First of all, before purchasing anything, we should accurately plan our crop and have everything we'll need in mind.
Setting up the indoor grow room:
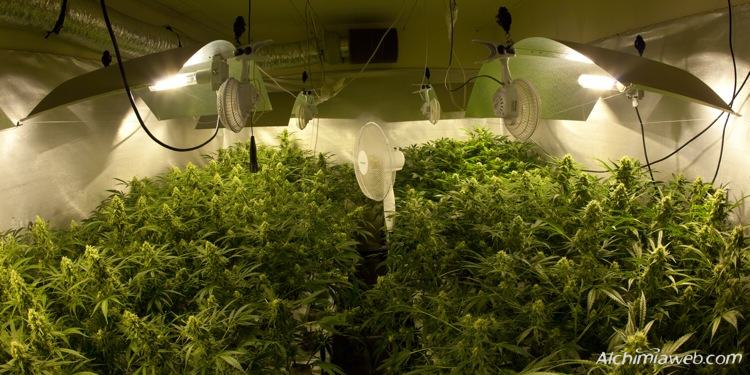
The first thing we need is a space for our plants. If we are regular smokers, a 1,2x1,2m indoor grow tent with a 600W bulb or a 1x1m tent with a 400W lamp will be enough to grow our own cannabis (yields can range from 300 to 600gr/m2, depending on several factors).
Once we have determined the available space, we should decide whether to use or not a grow tent. We recommend growing tents for several reasons: temperature and humidity management are easier, they are light-proof, it is harder for pests to attack our plants, etc. Another important point is that grow tents are easily assembled/disassembled, so we can store our tent until we need to plant again. Grow Tent Kits are ideal for novice growers, since they include everything we need to grow cannabis at home, and are individually designed according to the tent dimensions and the power output of the lamp.
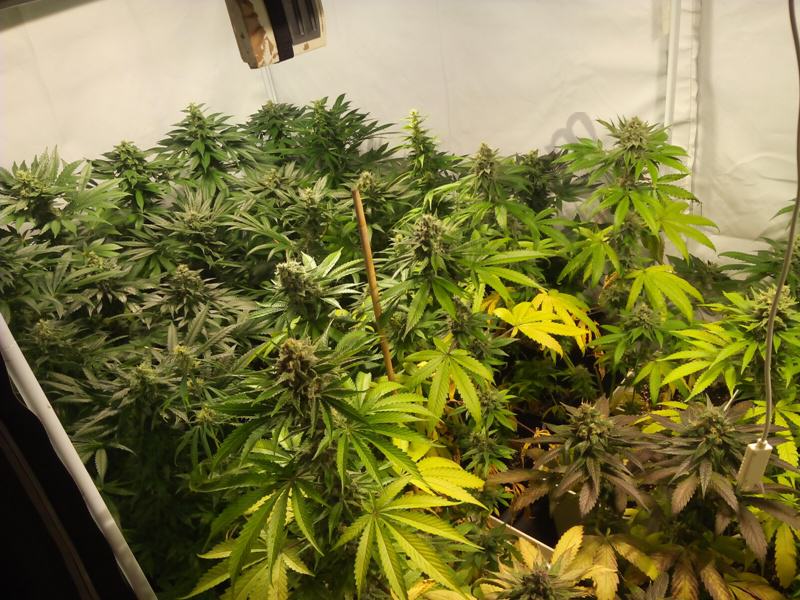
When we have all the necessary equipment, then we can decide which genetics to grow and how many plants to use.
How many plants to grow indoors and which pot should I use?
There is not a pre-set number on how many plants to grow indoors. The number of plants mainly depends on grower's needs and growing techniques. Some people use the SOG technique, others the SCROG, etc. The same thing happens with growing systems and nutrients: from the most organic and conventional techniques to the most modern hydro/aeroponic systems, we have a wide range of possibilities to choose from. In this post, we'll use organic soil.
Using organic potting soil is normally easier than using inert substrates. We'll plant from 10 to 16 seeds per square meter, starting with small pots and transplanting the plants to bigger containers right before changing the photoperiod to flowering.
In the case of need, we can also put our seeds directly into the final pot, although this implies a correct watering schedule to avoid problems for the rootball, which can seriously damage young plants. That's why at least one transplant is advised, so we can see much more easily when to water our plants and have strong and healthy roots.
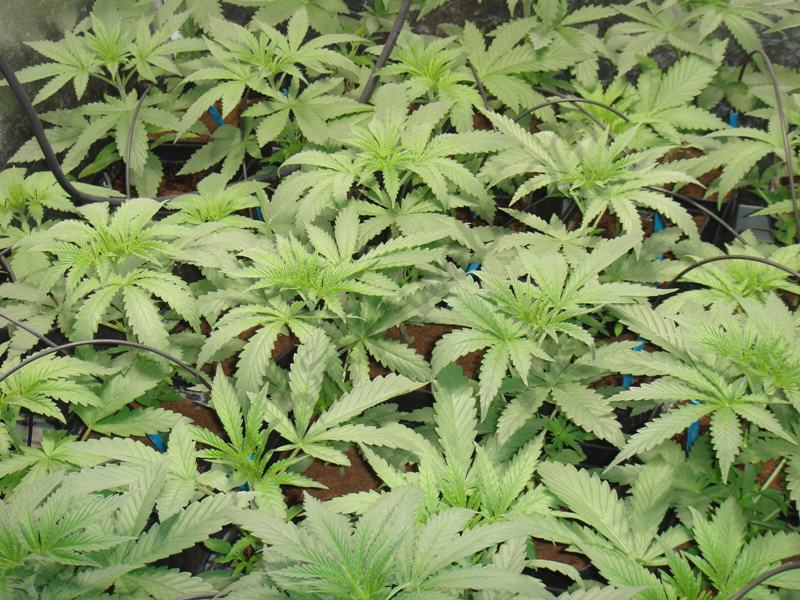
Logically, the more plants we have in our tent the less time we need to grow them. On the other hand, we'll have more work to do if we grow more plants. There are pros and cons of both systems, but if both crops were performed correctly, yields would be pretty similar. We'll plant 10-16 seeds using 11L containers as final pots.
Pot size according to number of plants:
- For 8-10 plants per m2: 1.4L (first pot) and 11L (final pot)
- For 12-16 plants per m2: 1.4L (first pot) and 7L (final pot)
- For +20 plants per m2: 1.4L (first pot) and 3.5/5L (final pot)
Using easy to grow strains
Nowadays, it's easy to find hundreds of different cannabis strains on the international market but, which one best suits the needs of each grower?
We must take into account several factors when deciding which strain to grow, especially if we're beginners. Traits like plant resistance to pests, molds, overwatering, cold or high temperatures, humidity fluctuations, etc. are always desirable for a successful crop.
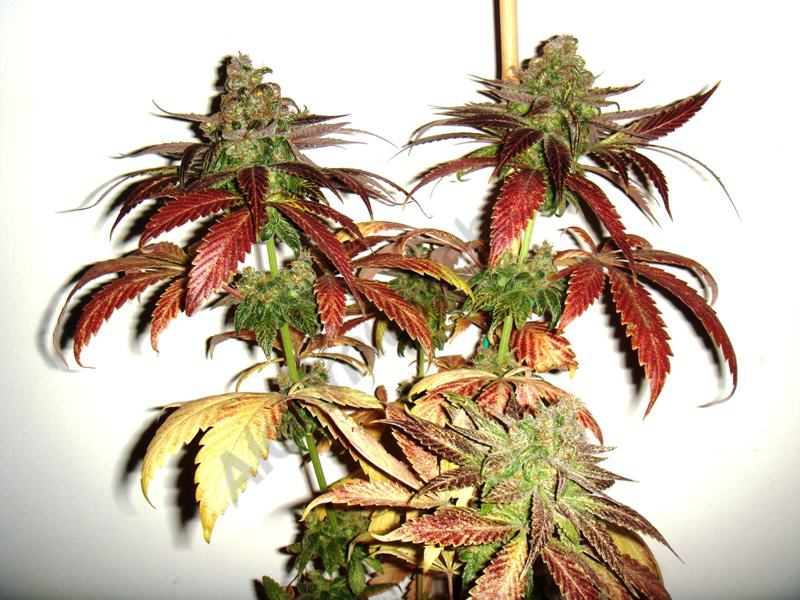
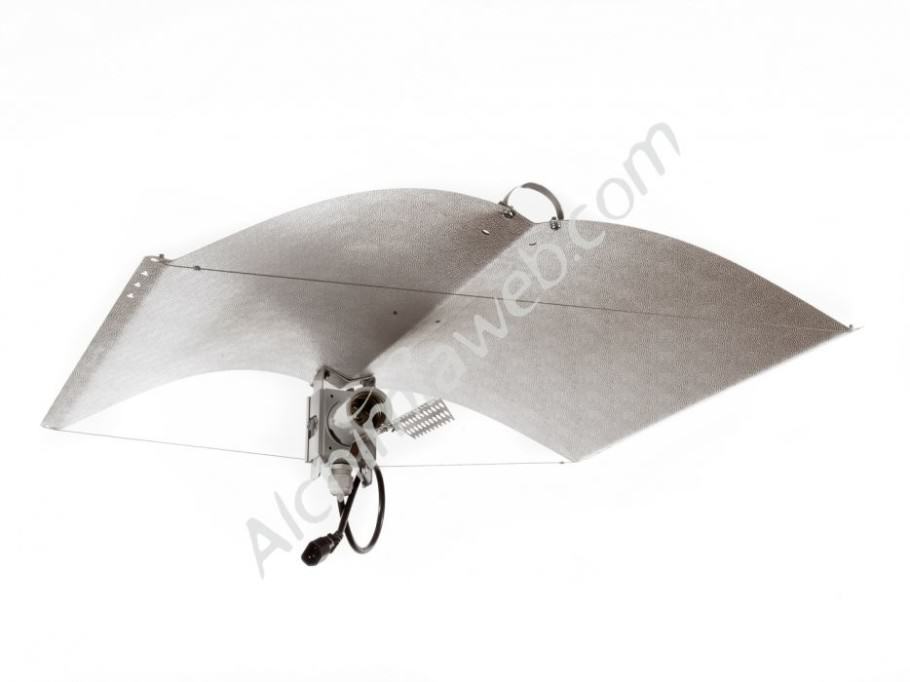
In countries like Spain, where there is a climate with 4 differentiated seasons, there is a great difference between growing during summer or during winter. Even when growing indoors, outside temperatures play a role in the development of indoor plants, so planning our indoor crop according to the season of the year is also important. For example, many growers use regular reflectors during the cold months of the year and air cooled reflectors during the hot months.
Thus, if our indoor growing conditions are influenced by outside temperatures then we should carefully choose which strain to grow. Luckily, finding the suitable variety for each condition won't be hard, since we can find strains resistant to molds, to higher or colder temperatures, etc.
Alchimia created a cannabis seed selector so any user can find, with a single click, the strain he/she is looking for according to different aspects.
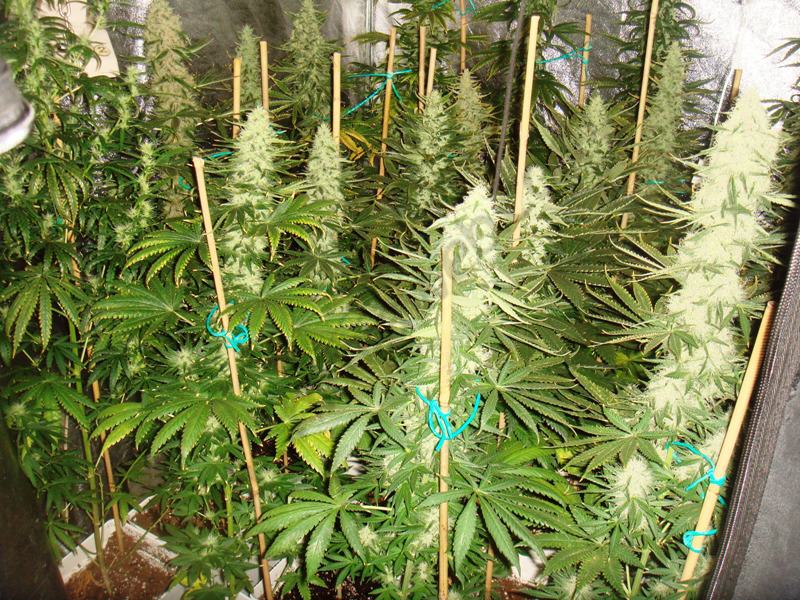
We recommend starting with easy to grow Indica/Sativa hybrids with short flowering period. Growing pure strains (landraces) may be more difficult since these plants usually have special needs regarding watering, feeding, photoperiod, etc. Thus, both pure Indicas and pure Sativas should be left to experienced growers, especially Sativas for their long flowering period.
Which substrate to use for growing cannabis?
As we mentioned previously, organic soil is probably the best potting substrate for beginners, mainly for the broad margin of error in comparison with other substrates.
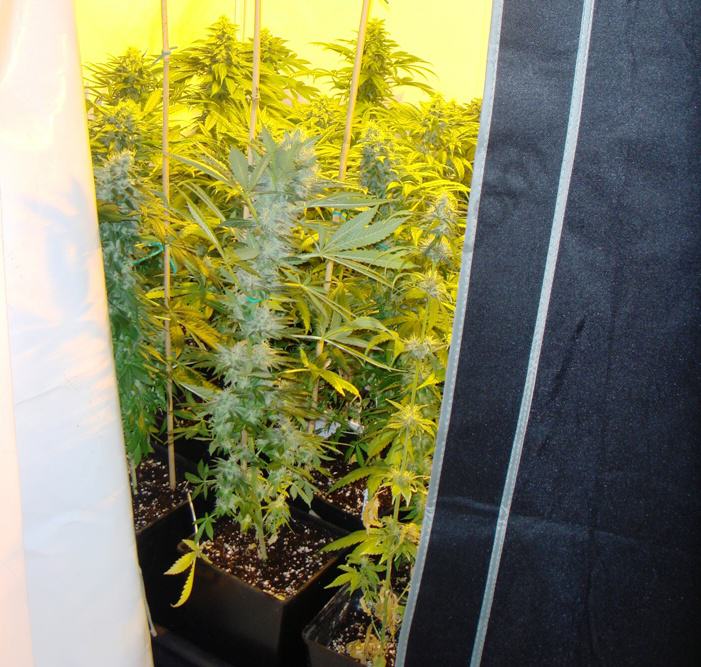
But not all soils are suit to grow cannabis. Their composition and characteristics (pH, EC, etc) are key elements when growing marijuana, so using organic soils especifically manufactured for cannabis growing is advised (Biobizz, Canna, Plagon,...)
If we don't have access to these type of soil, we can always make our own mix at home. There are many different combinations, but basically what we want is a spongy, slightly acid substrate with good drainage and moisture retention.
Soil mix for growing cannabis:
- 25% Yellow peat
- 30% Black peat
- 15% Coco coir
- 20% perlite
- 10% Worm humus
Which nutrients to use for growing cannabis?
There are plenty of nutrient brands for cannabis growing, from 100% organic to 100% mineral fertilizers. Since we want to make things easier for beginners, we recommend using slow-release, solid organic nutrients so we don't have to add liquid fertilizers and we can irrigate our plants with plain water.
As we say, there is a large number of brands to choose from. The key point here is using a balanced range of fertilizers and using correct doses, otherwise, the plants may show nutrient deficiencies or excesses.
Slow-release fertilizers:
These nutrients are usually found in granular/powder form. The most renowned one is guano, either from bats or seabirds. Still, the plants will probably need other elements than those contained in guano, so here you have a successful mix using 4 products:
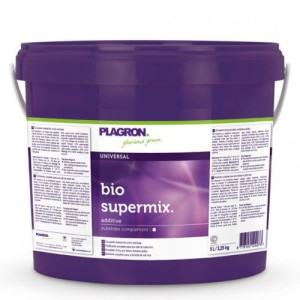
- Super Bio Mix from Plagron is an excellent nutrient basically composed of guano, formulated to provide the plants with a balanced nutrition.
- Aptus All-in-one (granulated) has all the necessary nutrients for proper plant development, plus amino acids. These enhance plant metabolism and allow better nutrient uptake.
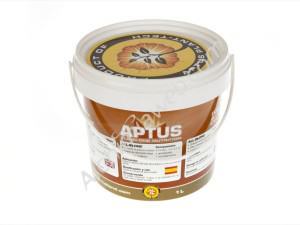
Aptus All in one organic nutrient The Bio soil enricher kit contains Nutrihemp, guano, and worm humus. It has been formulated for soil mixes for growing cannabis and also for reusing and enhancing the used oil and cocos.
- Trichoderma and endomycorrhizal fungi like Aptus Mycor Mix should be a must in any organic crop. They greatly enhance nutrient assimilation, allowing faster uptake and improving the growth, bloom and overall health status of the plant.
So once we have decided on our growing system and space, number of plants, pot size, and nutrients, it is now time to set up our grow tent and prepare our substrate.
Grow tent verification before the start of the crop
- Air circulation: Temperatures should be around 28ºC with the lights on and 18ºC with the lights off.
- Humidity: Cannabis likes constant humidity levels, which should be around 70% during the growth stage and 50-60% during bloom.
- Light to lamp distance: If we are using 600W bulbs we should keep a distance of 50-60cm between the lamp and the tops of the plants (as long as temperatures don't rise over 28ºC). 400W lamps can normally be placed at about 40cm of the plants.
Indoor cannabis growing for beginners
Once we have germinated our seeds and they have sprouted, we can put them into the smaller pots. After some days, you'll probably be able to add a little soil into each pot so that half the stem of the seedling remains covered by soil and about 2-3 cm remains visible. If the light source is too far away from the seedlings, the stems will stretch looking for more light intensity, so if this happens try to lower the lamp a little bit.
By doing this, we make sure that new roots will be developed, also making it harder for the stem to become damaged. Remember that a nice rootball ensures proper nutrient uptake and therefore proper development of the plant.
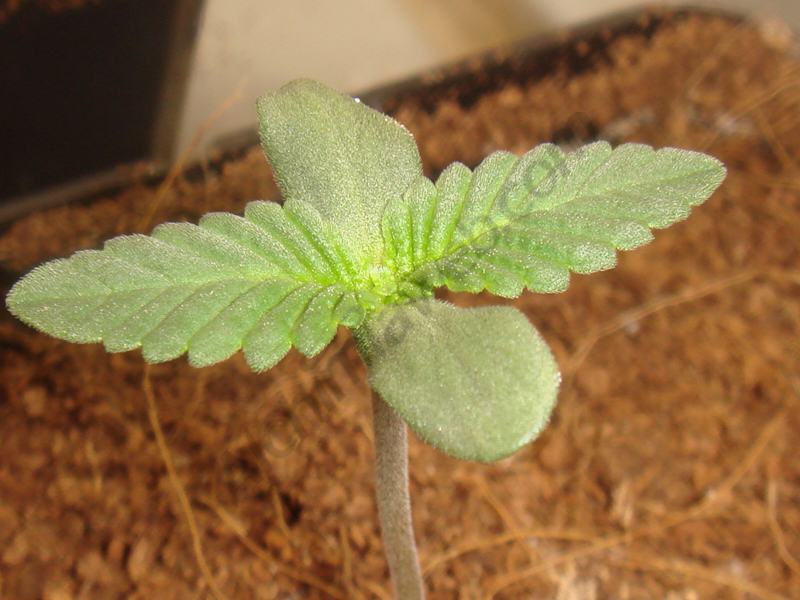
During the first stages of the plant, it is important not to overwater it, so we must use little water for the first irrigations, making sure that the substrate never becomes waterlogged. Too much water will result in root rot, which will probably ruin our seedlings.
Once the seedlings have become small plants we can start watering more generously, when the substrate starts looking dry on the upper layer. Water your plants moderately and wait until the substrate has lost 60-70% of its moisture to water them again.
When to transplant into the final pot?
Growing with plant pots is easy: basically, we just have to transplant when the roots have colonized the available space of the current pot. We don't transplant before because the main root is not developed enough and we could seriously damage our plant. On the other hand, if we leave the plant too much time in the same container it won't develop side branches but stretch considerably.
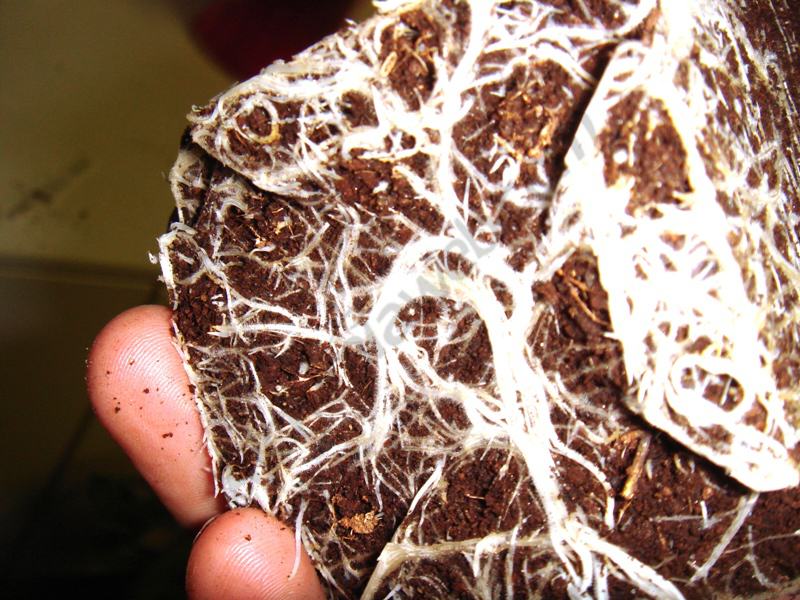
Fill the final pot with the same substrate that we previously mixed for our seedlings and put the smaller container into it, thus creating a space for the rootball with its same shape and size. Remove the smaller container and transplant it into the final pot. Water your plants moderately with some type of root stimulator and you are done!
From this point on, we just have to water the plants when they need it and keep the environmental conditions under control. Always try to keep your day/night temperature and humidity levels as constant as possible.
When should I switch to bloom?
There is not a fixed date for switching to flowering, but it depends on several parameters related to the growth stage of the plants, including height, genetics, growing systems, nutrients, etc.
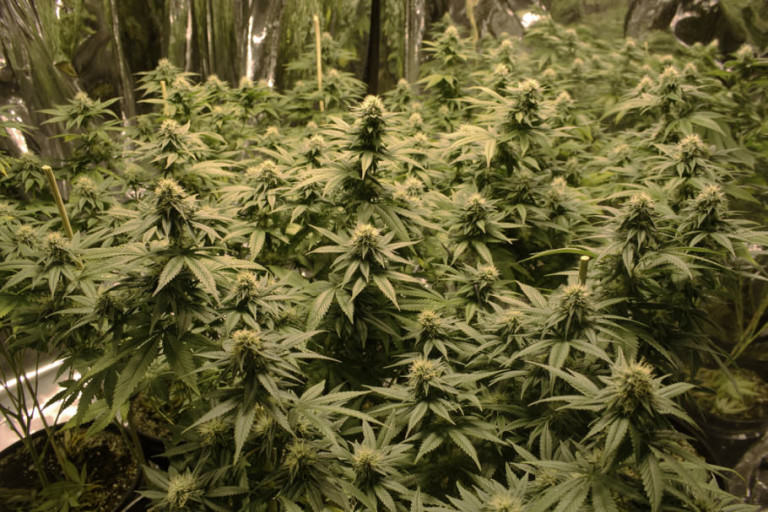
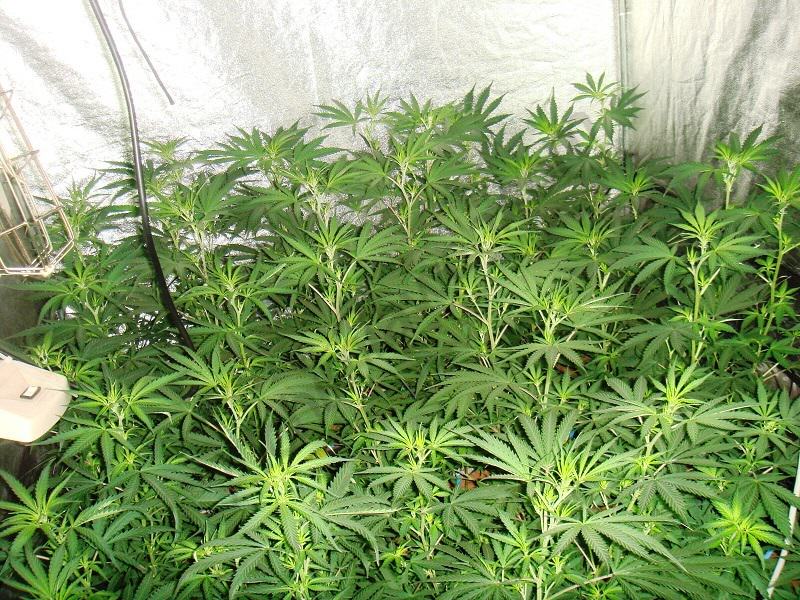
In our case, the easier is to wait until 50-60% of the available growing space is covered by the canopy. If we take into account that our plants will stretch during the first weeks of bloom, this is a perfect moment to start flowering. In this way, they will cover all the space in a few weeks, before starting to truly develop buds.
As we already mentioned, the more healthy the roots, the better nutrient uptake by the plants, and therefore the better yields we'll get from them.
Cannabis flowering
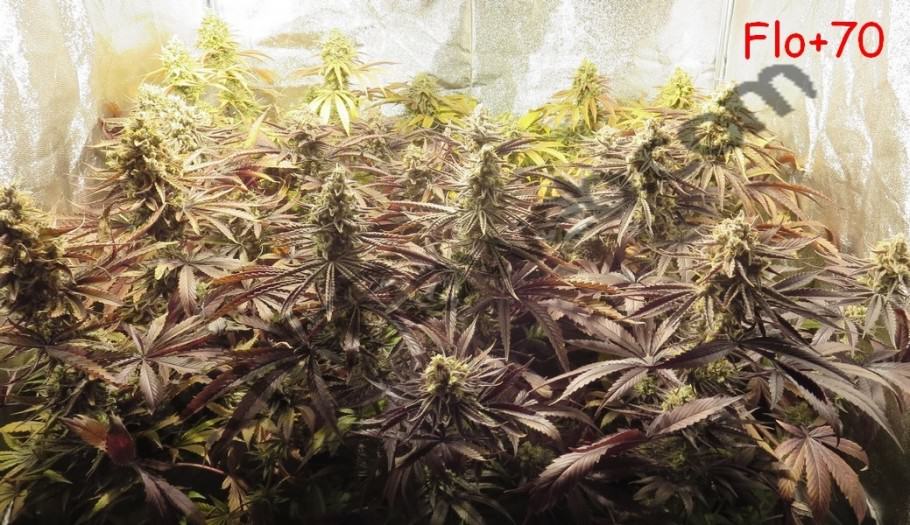
After the initial stretch - the first 2 weeks into flowering - plants will start developing flowers. The first signs of this are accumulations of pistils on the internodes - around 3rd week. From this point on, we must carefully check the humidity levels, keeping them under 65% and above 45%. In this way, we make it harder for molds and pests to attack our plants. The more compact the buds, the more chances of being attacked by molds like botrytis, powdery mildew, or even fusarium.
As weeks pass and the buds fatten, we should lower a bit more the humidity level to 50-55%, with temperatures ranging from 28ºC (day) to 18ºC (night).
Plants will start demanding more nutrients from the 4th week. In case we are using liquid nutrients, it is time now to increase a little bit the concentration of nutrients of our irrigation water until the 6th week (in case our plants take 8 weeks to fully ripe). We can also use PK boosters during this period - weeks 4th to 6th - thus raising the concentration of phosphorous and potassium, which are vital for an abundant bloom and to develop big and frosty buds.
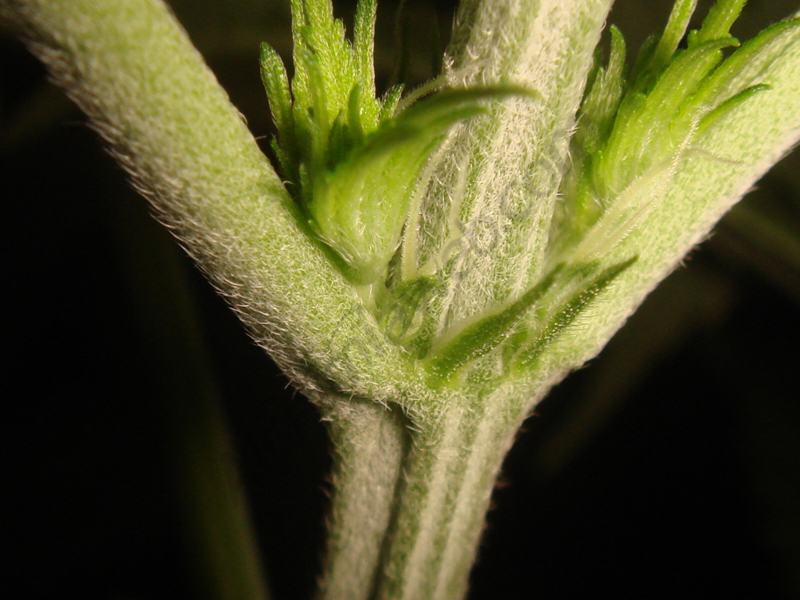
As the plants bloom they'll require more watering and nutrients to develop new buds. Pay attention to the leaves (they should never lose the tension) and also weigh the pot with your hands to check its weight and see if it needs more water.
Overwatering and lack of watering may show similar symptoms, so we must be careful here: a common mistake when growing marijuana is watering too much, thereby damaging the roots and thus the plant, which looks as if would need more water, with the leaves pointing downwards and without tension. If this happens and the substrate is wet, that means you have a problem in the root area, either for some type of fungi or for overwatering the plant. Watering the plants correctly is crucial!
As harvest draws nearer, plants do not need so many nutrients. Bud development has almost stopped, so we only have to wait for the trichomes to ripe. Providing the plants with the appropriate environmental conditions will greatly facilitate the ripening process.
Lowering the humidity level (40-45%) and the number of irrigations decrease the amount of water contained in the plant, thus decreasing the chances of mold attacks. Using ventilation fans to lower humidity levels during this phase is recommended.
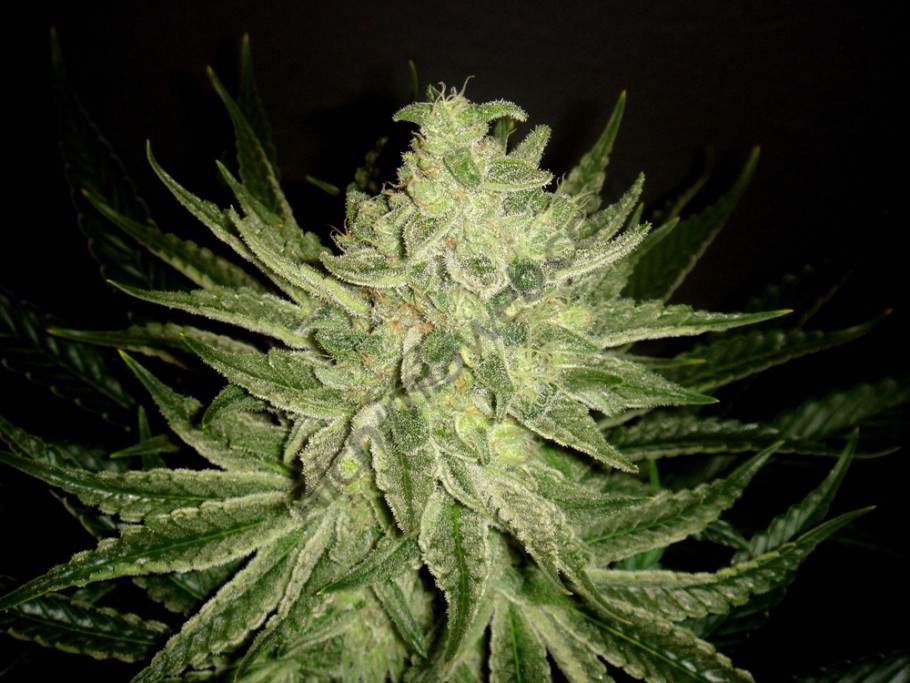
When the harvest is near, plants may show symptoms of nutrient deficiencies in the leaves. Normally, these deficiencies start on the lower leaves of the plant, which means the plant is using the nutrients stored in its leaves and thus will be properly flushed. We should always avoid harvesting plants with green leaves, since the drying and curing process may take longer than expected.
Many times, Nitrogen stored in the leaves and buds is responsible for the bad taste of the buds: the smoke is harsh, and sometimes you can even see small sparks at the top of the joint.
Cannabis harvest
The harvest is, probably, one of the most exciting moments for the grower. To know if our plants are ready, we should look at the trichomes with a 50-100X magnifying glass and check if they are ripe. You have further information regarding how to harvest cannabis plants in this link.
Evolution of trichomes during the flowering stage
In this picture - 3rd week - we can see how plenty of trichomes have already formed, covering all small leaves and buds. We'll use these small sugar leaves to make an excellent bubble hash when we harvest our plants.
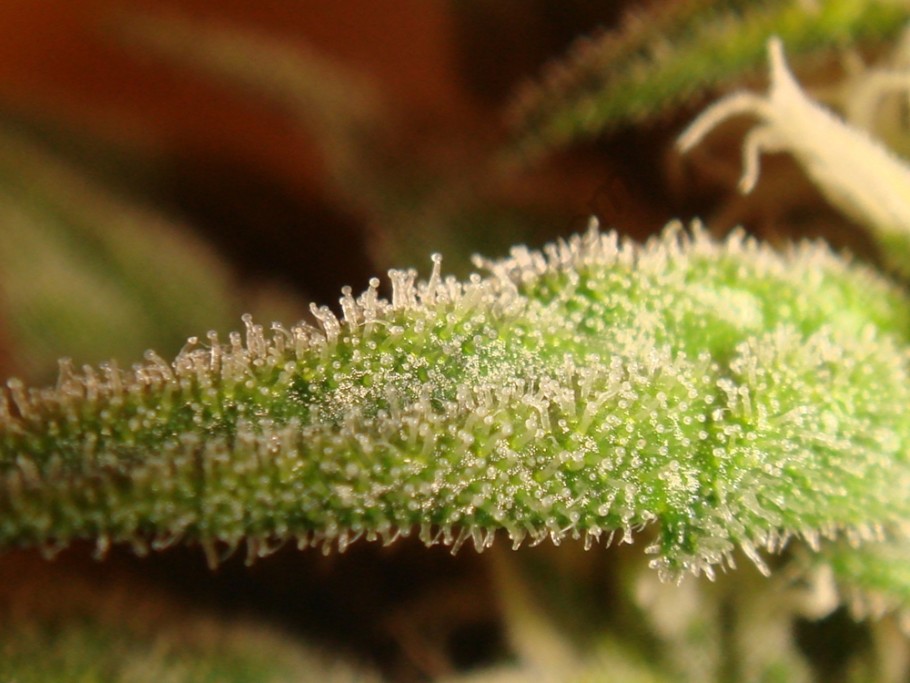
As the bloom advances, the plant produces more and more trichomes and becomes more fragrant, so using smell control systems is always advised for a discreet crop.
At this moment, trichome presence is obvious to the naked eye. Their stalks elongate and the heads start segregating terpenes and cannabinoids, both psychoactive (THC) and non-psychoactive (CBD). Cannabinoid content rises as the flowering stage advances, reaching its peak at harvest time. Today, we can find all types of strains on the market, from high THC to high CBD varieties, which are commonly used for medicinal treatments.
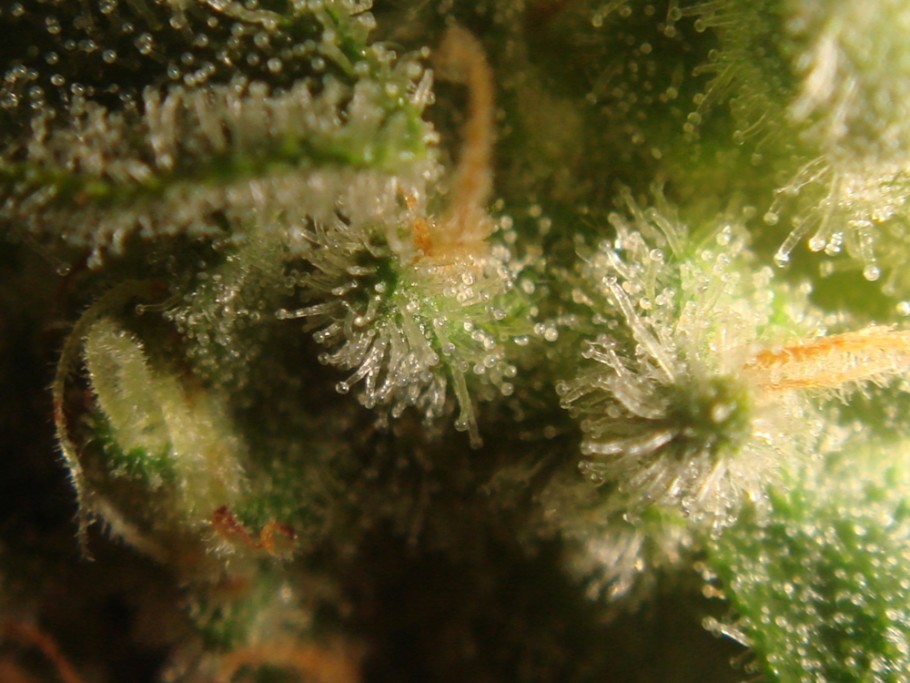
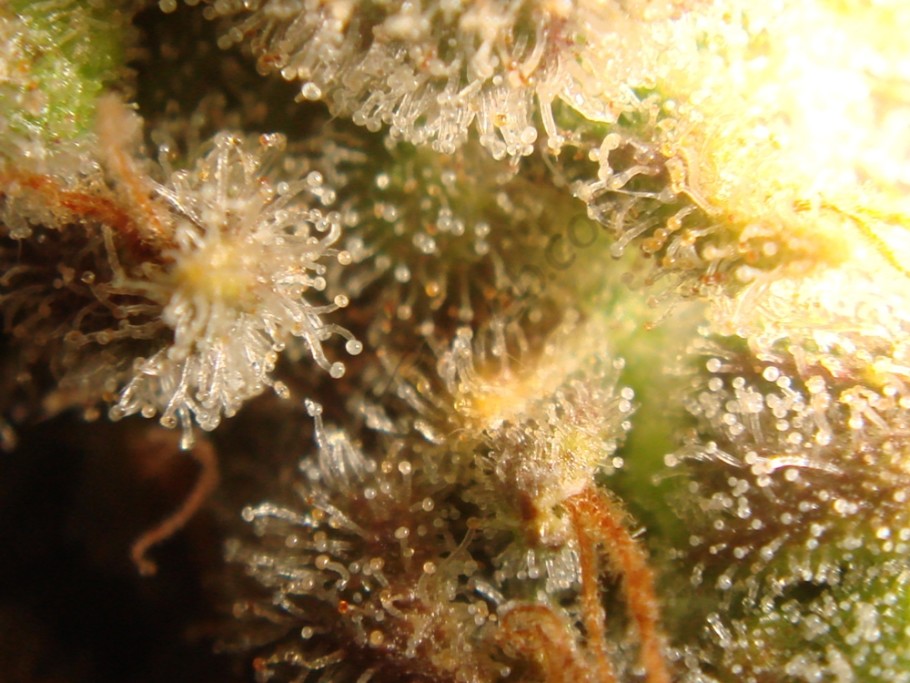
46 days after switching the photoperiod, some of the trichomes have already turned milky, even amber. Check the trichomes of the buds (not the ones on the leaves) in several parts of the plant. Trichomes willl turn from clear to milky, and then amber. The exact harvest point depends on our needs and preferences, but growers usually harvest their plants when all trichomes are milky and some of them are starting to turn amber.
In the following picture we can see the trichomes ready to harvest after 55 days of flowering. Since we were looking for a product suitable to treat muscle tension, we prefer harvesting the plants with some amber trichomes.
Approximately 15 days after the harvest, when the branches of the dried plant snap, we can start the curing process of the buds. Curing cannabis provides superior organoleptic features, highly increasing the quality of the taste and smell.In this post on how to dry and cure cannabis buds you have further information on this subject.
We hope this post helped and encouraged you to start growing your own cannabis at home, it is much easier than you think!
Happy harvests!


