Seeds
Seeds


 Growshop
 Nutrients


 Extractions
 CBD
CBD
 Magic Mushrooms
 Headshop
List of contents
Today we are going to explain the instructions for the Growkits mushroom growing kits, a brand that offers one of the most sought-after varieties by growers and users around the world, the famous Copelandia Hawaiian, also known by the name Panaeolus Cyanescens.
So let's see how to use the Growkit of this popular variety, which, as you probably know, has a much higher psilocybin content than mushrooms of the Psilocybe genus, and which are characterized by their pale appearance and long, thin stems.
 by Growkits")
Growing instructions for Copelandia Hawaiian from Growkits
Preparation of the material
The first thing you should do is open the box and take out all its contents: the grow kit, the grow bag or mushbag where you will introduce the kit for fruiting, two soil trays, and a clip to close the bag. As we always recommend, try to disinfect the work area and your hands and/or gloves with 70% isopropyl alcohol or with a mixture of 9 parts water to 1 part bleach. Alcohol wipes are often used as well.
Growkit preparation
With your hands well disinfected (ideally, you would also wear disinfected gloves), open the lid of the grow kit and spread the contents of the two trays with soil on the surface of the grow kit, as evenly as possible. Next, spray the surface of the kit with tap water until it is completely wet.

Beginning of fruiting
Once you have the kit covered in moist soil, you can place it inside the bag, also spraying the inside walls of the bag with tap water. Make sure there is a good amount of air inside the bag before folding its top end and closing it with the included clip.
During the following days, it is important to spray the kit daily with tap water, also the walls of the bag. Also, squeeze the bag (with which the "stale" air inside will come out), and leave it back as it was at the beginning so that fresh air rich in oxygen enters before closing it again with the clip. It is very important that the top coat of the kit does not dry out at any time! Leave the bag somewhere with residual light, if possible up high (away from the ground) and at a temperature of about 25ºC. Never leave it in full sun or on a heat source!


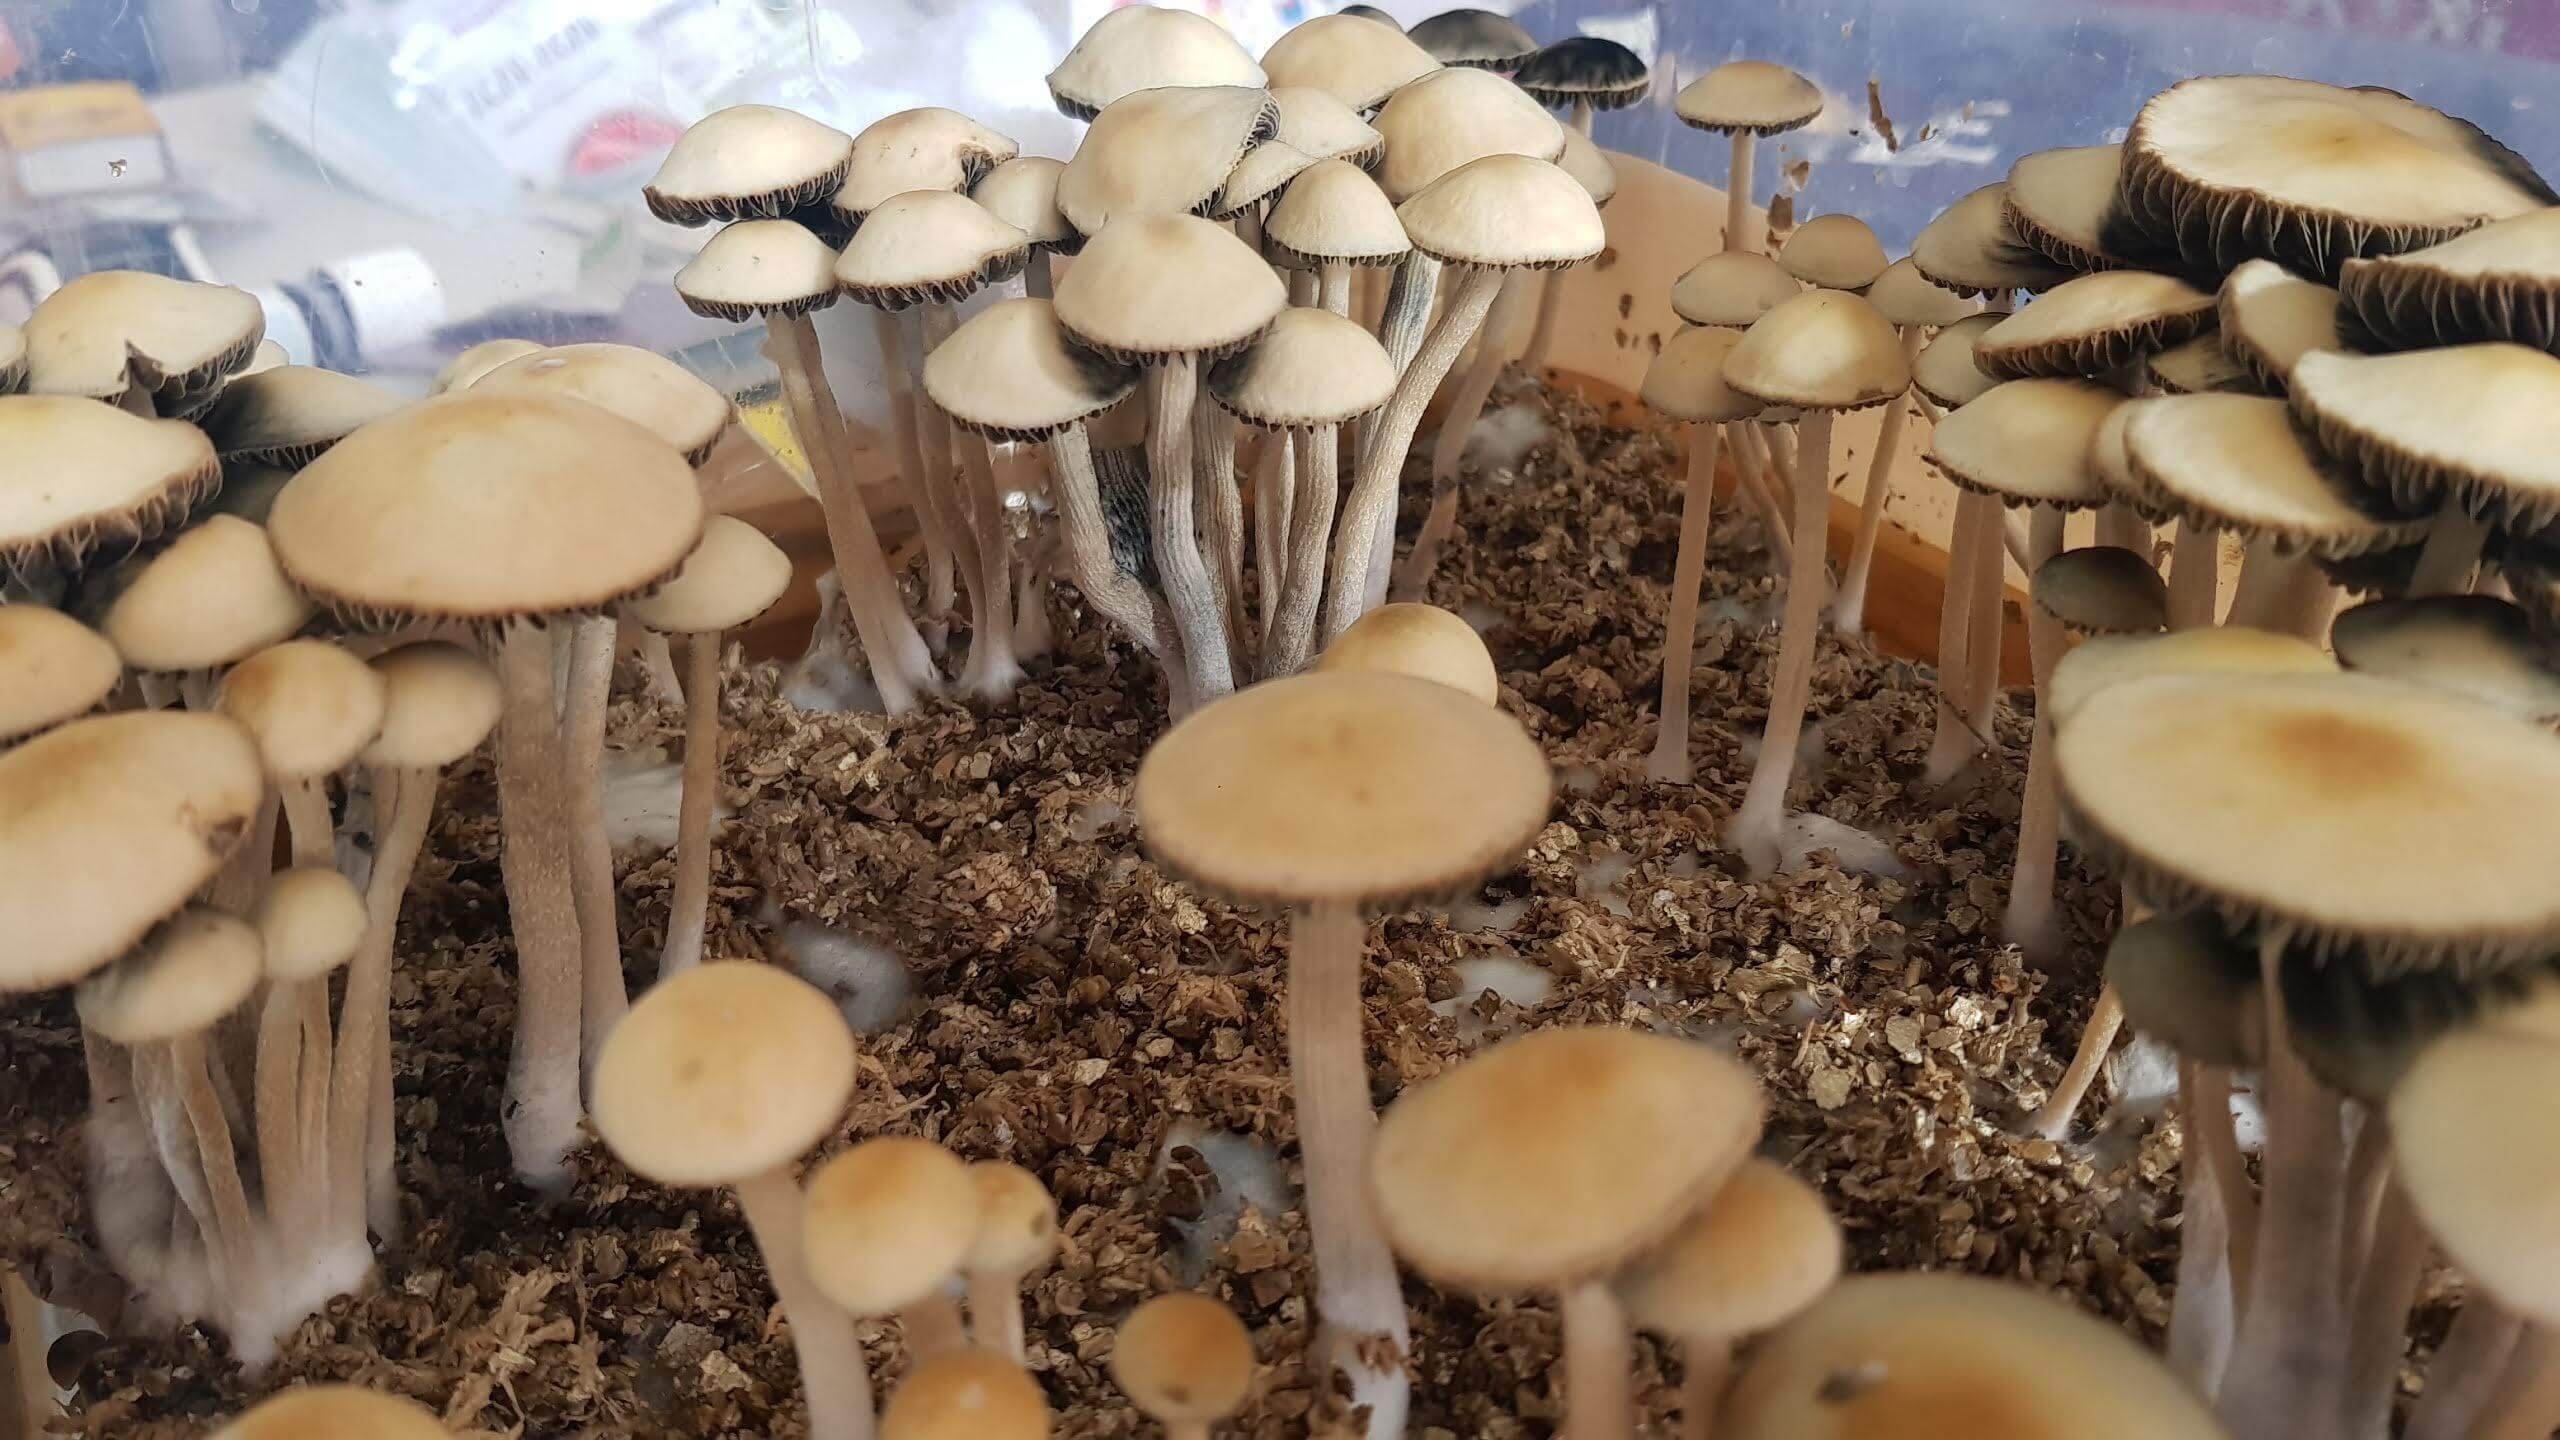
Fruiting: the appearance of primordia and mushrooms
After 1-2 weeks in the grow bag, your kit should begin to produce primordia, that is, "embryos" of what will be your future mushrooms. As soon as you see the first pins or primordia appear, stop spraying the kit (they could rot) and do it only on the inside of the bag, renewing the air inside daily as you have done so far. Keep in mind that these mushrooms like high humidity, but not direct contact with water; If necessary, remove the kit from the bag every day to spray it with water and renew the air inside.
Mushroom harvest
About 5-7 days after the primordia appear, the first mushrooms should be ready for harvest. As always, sanitize your hands or gloves before you start, you don't want to contaminate your bread at this point! When you see that the veil that joins the cap with the stem of the mushrooms begins to tear, it is the perfect moment to harvest the mushrooms. Press lightly with your fingers on its base while turning and pulling up, you will see that they come out very easily. After cleaning the base of the remains of the substrate, they will be ready for use or, if you prefer, to dry them.

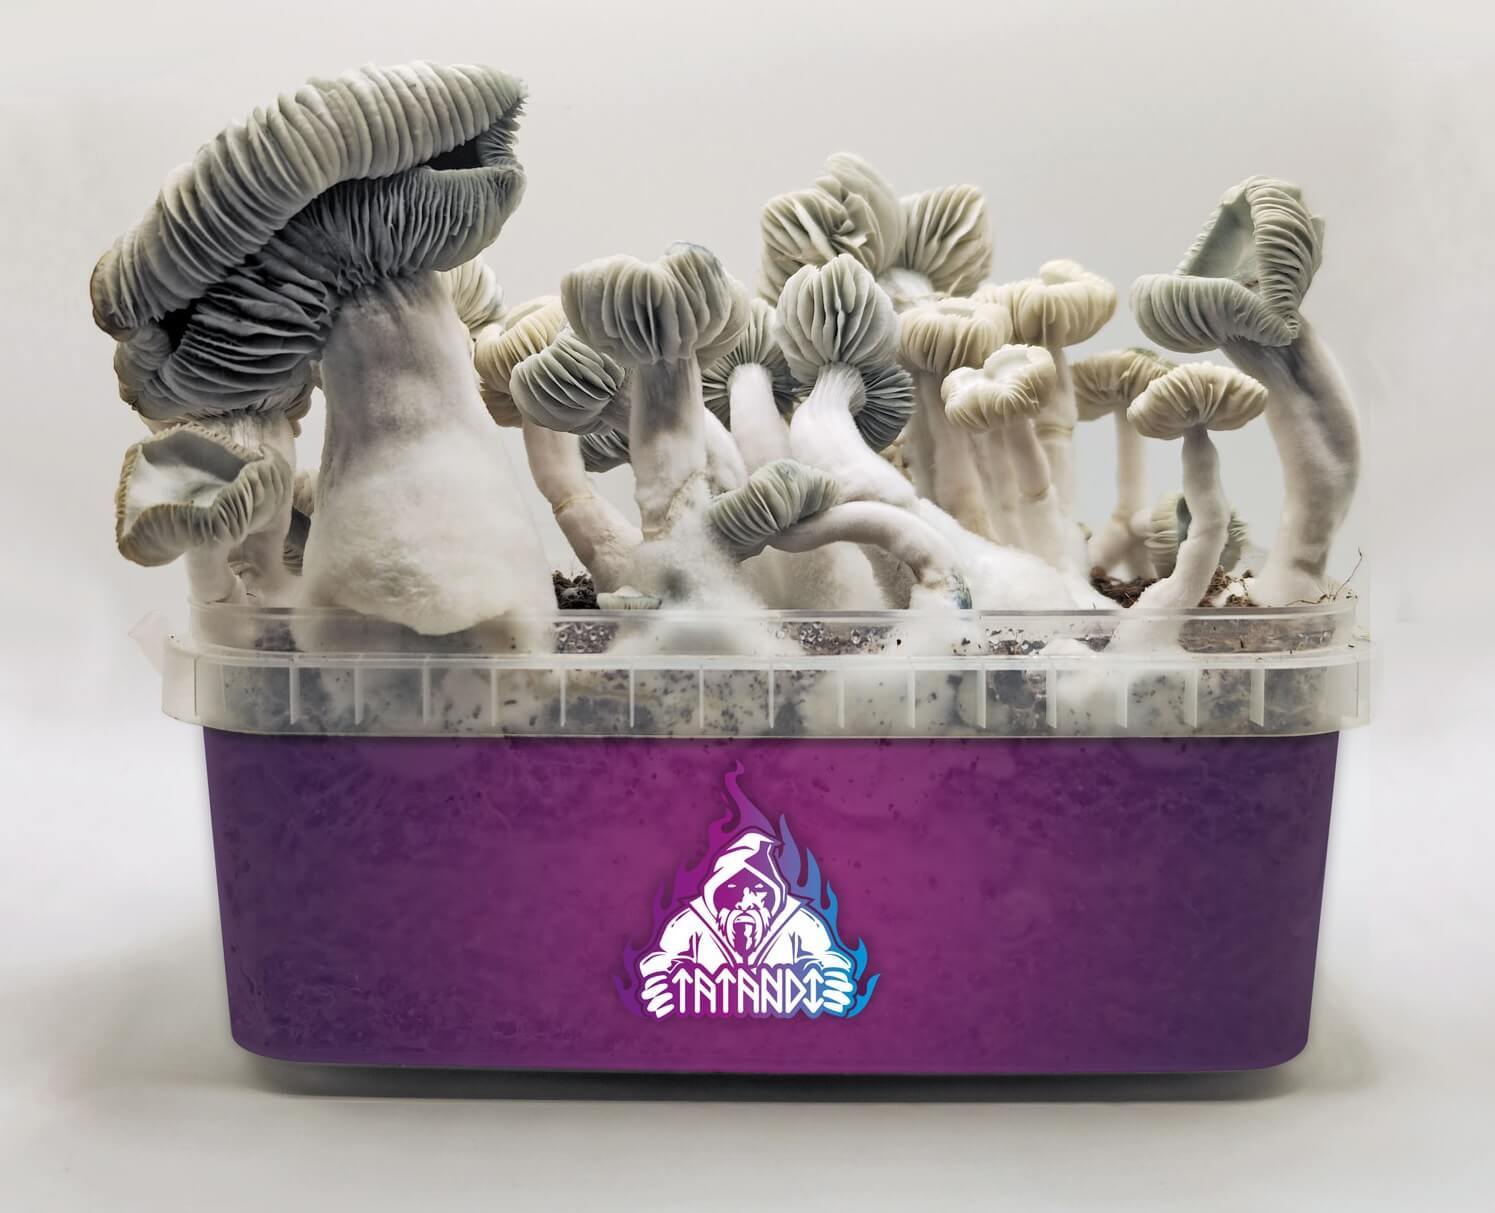
Second harvest or flush
Once you have harvested all the mushrooms, you can rehydrate the kit to achieve a second fruiting. To do this, simply mist the surface of the kit generously again and follow the same steps that led to a successful harvest the first time, spraying and aerating the kit daily. Remember that once you see the primordia you should stop spraying the surface of the kit and do it only on the inside of the bag. In a few days, you will be enjoying a second harvest!