How to install a hydroponic growing system for marijuana plants
List of contents
How to assemble hydroponic growing systems
Nowadays there are many ways to grow marijuana plants, but today we will focus on hydroponic growing systems. One of the advantages of hydroponic systems is the explosive growth of the rootball, what entails a greater vegetative growth and therefore a higher final yield of our favourite flowers.

The first thing that we must take into account about hydroponic crops is that our plants live in an inert substrate such as coco fibres, rock wool or clay pebbles (expanded clay). There are also systems known as NFT or aeroponics that consist of spraying a thin film of nutrient solution on the roots, which are hanging in the void sustained in netpots. This means that the adequate nutrient solution needed for each stage of the plant's life is directly supplied to the roots mixed with lots of oxygen in each watering.
Next, we will focus on how to mount a hydroponic system with coco or rock wool slabs for a growing space of 1 m2.
All the needed materials to make the assembly and those that must be taken into account are the following:
- A support to lift up the assembly from the floor (wooden table, metallic structure?)
- 5 coco or rock wool slabs
- From 20 to 25 rock wool cubes of 7,5 cm Ø
- Duct Tape
- Automatic watering system, composed of:
- 90L Water tank
- 1200l/h Water Pump with built-in flow control
- 1.00x1.10 m Growing Tray
- Drip irrigation tubes, 20 mm Ø (4m length)
- Hose, 20 mm Ø (1m length)
- 2 T-Connectors
- 1 Bend-Connector (Elbow-Connector)
- Metallic flanges for water, 14 units
- Plug for the end of the duct, 3 units
- Microtubes, 25 units
- Droppers, 25 units
- Digital Timer 1 minute (on/off) for the water pump
- Drainage, composed of:
- Small 40 L water tank
Homemade hydroponics
The first thing we have to do before starting to assemble the system is cleaning and disinfecting the space that we will use for the crop: even if it?s a growing tent, a room or any other place prepared for growing marijuana plants.
Once disinfected the growing zone, place the 1x1m growing table.
Next, the installation the automatic watering system for 5 slabs with 5 cuttings per slab, i.e., 25 cuttings:
Take the drip irrigation tube of 20 mm Ø and cut it into 4 pieces of 1m length. The first tube of 1 m length will be used as main irrigation drip line, from which the 3 secondary lines will come out. Then, cut this main tube into 3 pieces; the first piece 20 cm long, the second 40 cm and the third 20 cm. Place a T-connector (2) in each cut, and a bend-connector (elbow-connector) at the end of the last one, fitting every intersection between tubes with metal flanges to prevent leaks. Now we can join the remaining 3 tubes -each one of 20 mm Ø and 1 m length - with the main drip line. Once placed the 3 secondary drip lines, insert the 3 plugs at the end of each one so the circuit is closed.
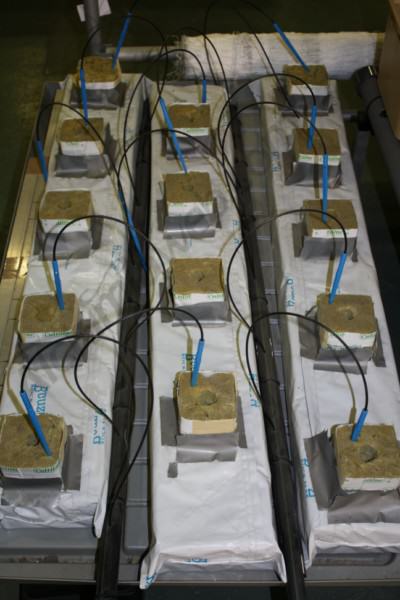
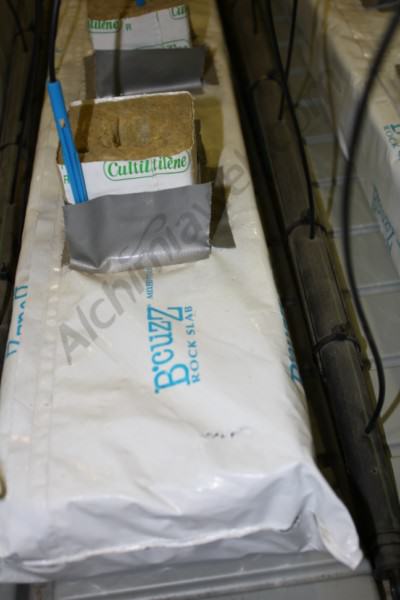
Once the circuit is closed, assemble the microtubes by directly inserting them into the 3 tubes of 20 mm Ø, which are the secondary drip lines. Make a small hole in the tube with a punch and insert the microtubes exerting a little pressure, keeping in mind that when we turn on the irrigation pump these microtubes won?t shoot out due to the pressure of water.
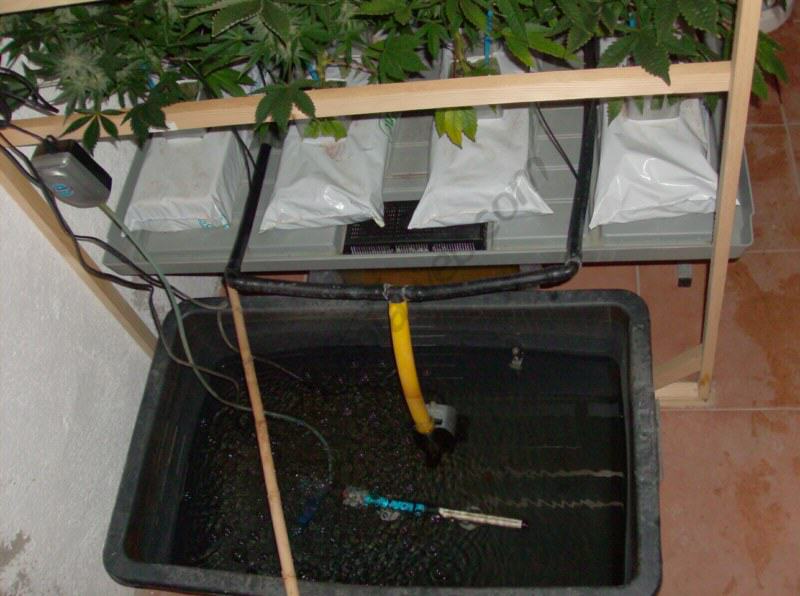
Make 10 holes - to place 10 microtubes - in the first of the secondary drip lines, 10 more holes in the second one and 5 holes in the last one, to place the last 5 microtubes. Insert a screwed dropper of 4l/h on each microtube; in such way we can easily control the flow of nutrient solution according to the needs of the plants. Finally, connect one end of the hose to the main drip line and the other end to the water pump, which is placed inside the 90 L water tank located under the growing table.
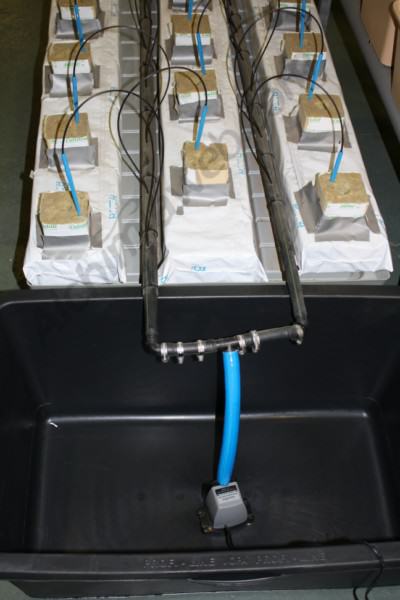
The automatic watering system is already assembled, so the only thing left to do is assembling the drainage system.
Place the growing tray on the support table and the coco or rock wool slabs into it.
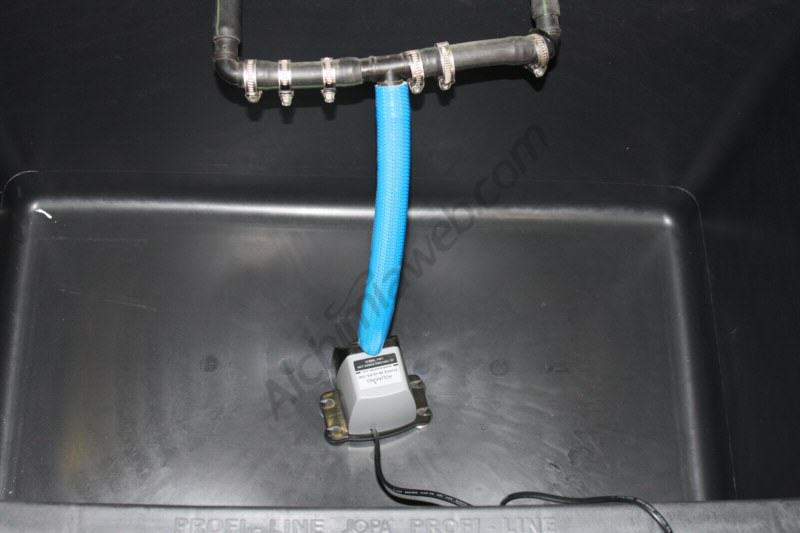
Distribute the slabs so that the first one goes next to the first secondary drip line, the 2nd one next to the 2nd secondary drip line, the 3rd next to the 3rd secondary drip line, the 4th next to the 4th secondary drip line and the 5th and last slab next to the 5th secondary drip line.
Place the small tank (40 L) under the drainage hole of the growing tray.
The hydroponic system is already assembled, and now we only need to connect the digital timer to the automatic watering pump and put our cuttings or plants, enjoying the explosive growth of our crops!!
