


What is Main Lining and how to apply it?
List of contents
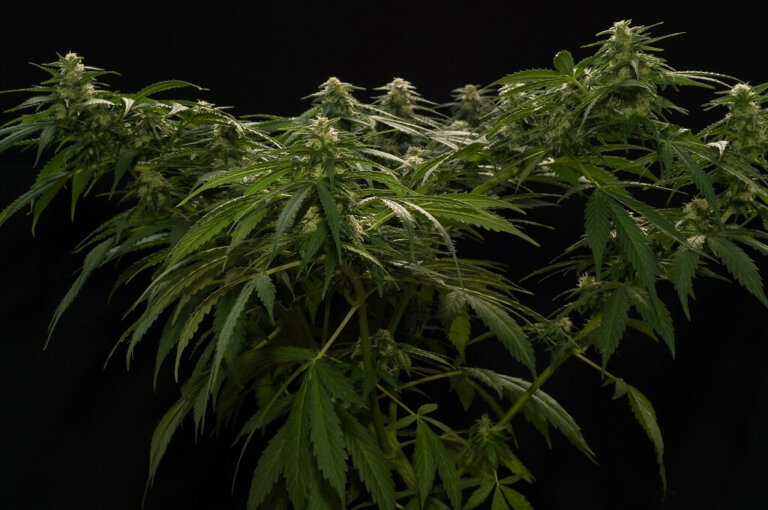
Cannabis growers are often looking for new techniques or methods to improve plant performance, whether it's trying new nutrient and stimulator kits, new genetics, or pruning or training techniques. Today we are going to talk about a method of pruning and guiding plants with which excellent results are usually achieved and which combines the application of several other similar techniques. This is the Main Lining, sometimes called Manifold, thanks to which the plants develop heavy colas of buds in a uniform and symmetrical way.
As you will see, it is a fairly simple method, you just have to have the patience to guide the growth of the branches in the direction that interests you the most while you carry out periodic pruning and cleaning of the lower parts of the plants. However, especially for those who do not have a large number of plants, it is a really effective way to improve production without requiring great effort. Let's look at it in more detail below.

What is Main Lining?
Main Lining or Manifold is a pruning and guiding technique that combines other methods such as topping (the good old apical pruning), lollipopping (the good old bottom pruning), or LST, a technique of tying by which the branches are bent and their growth is guided so that more parts of the plant receive more light, which translates into greater production of flowers at the end of the crop.
Broadly speaking, pruning is carried out and the new branches obtained thanks to these are guided in such a way that the structure of the plant "opens up", achieving greater penetration of light in all the areas where you'll allow the buds to grow. The objective is usually to get plants with 8 or 16 tips (depending on the number of prunings that are carried out, as you will see later) completely full of buds and in which each lumen has been used to translate it into greater production.
LST - Low Stress Training for cannabis plants
In this helpful and practical article we'll look at some simple, non-destructive ways to manage plant height and at the same time optimise light penetration and maximise the homegrown harvests from your cannabis garden, both indoors and in the great outdoors.
Advantages of applying Main Lining to cannabis cultivation
Using this technique can be very useful in some cases; Like the rest of the pruning or plant guiding techniques, it is possible to keep the height of the plant under the control of the grower, who can always carry out a new pruning or bend the branches a little more so that the total height of the plant or branch does not exceed a set limit, for example, the height of a fence, a grow tent or a greenhouse. Thus, you will have greater control over the growth and structure of the plant, being able to tame the powerful stretch of some varieties during the pre-flowering stage (first 2-3 weeks into flowering).
In addition, it is a relatively easy technique to apply, especially when you have gained a bit of practice. It is also very versatile, being able to be used both indoors and outdoors, and of course also in greenhouses. Another advantage is that it's basically only going to take up a little time at the beginning of the crop, while for much of it, you'll only have to worry about cleaning the lower parts of the branches of buds. Another advantage is that, as we have mentioned, the light is better used, something that is especially noticeable indoors and that ends up having an impact on the final performance, which can be considerably improved.
How to apply Main Lining step by step
This method of pruning and guiding requires starting in the first stages of the plant's life so that the desired final structure is already being worked on from the beginning. As usually happens with other techniques that require pruning, even more so if they also involve tying and guiding the branches, we do not recommend doing it with plants that show little vigor, because in the long run, you will lose a lot of time to achieve the desired final structure; You will get much better results with plants that show good vegetative vigor, especially if you take into account the time factor when making your final production calculation.
Step 1. Creation of the main connector or manifold
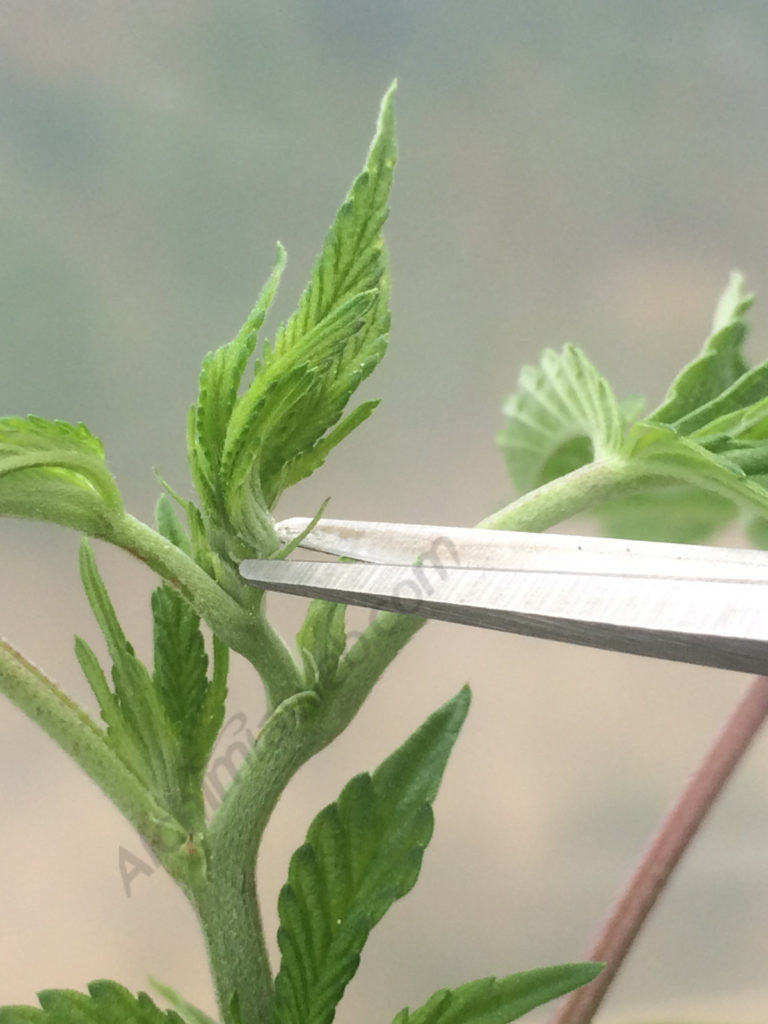
In this first step, you are going to start working on the structure of the plant, leaving a main connector or manifold from which the number of branches that you decide to have will come out later. Don't worry, it's much easier than it sounds: Simply germinate your seed and let the plant grow until it reaches 6-8 nodes in height. Now do a topping on the third node (starting from the base of the plant), so that you will have a main stem with three nodes and two branches on each side at the top. Once this is done, all that remains is to remove the buds and leaves below the third node, thus leaving only the main stem and the two tops from the third node.
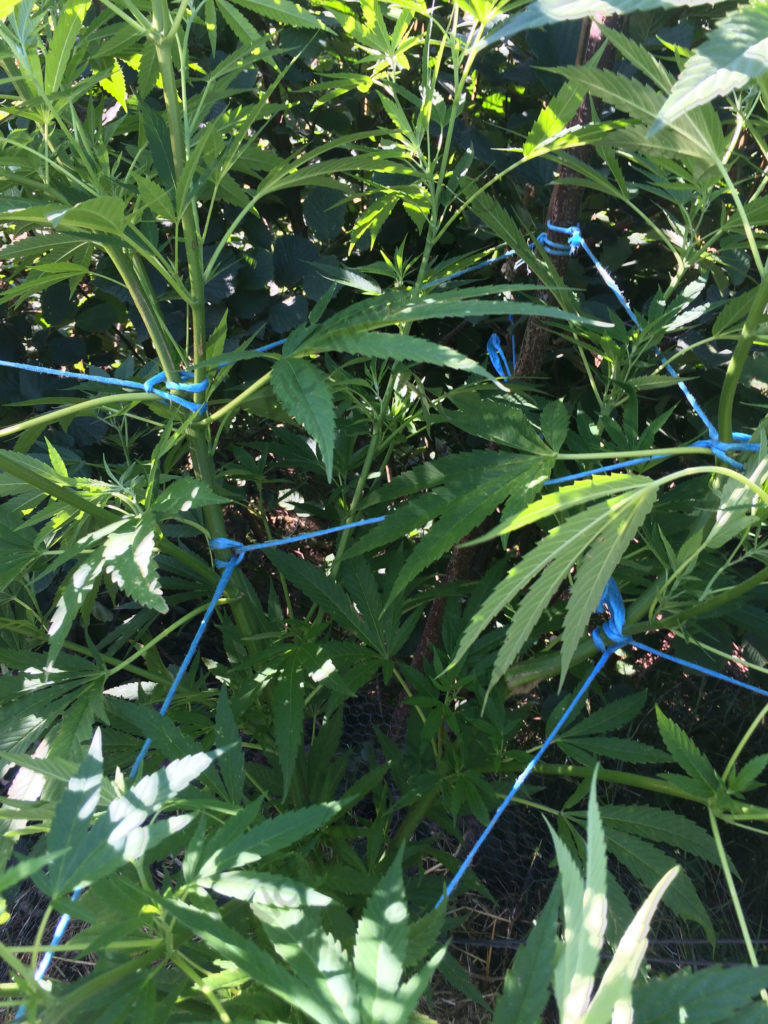
Keep in mind that the idea is that the main stem and these two branches are in the shape of a "T", so you must tie each of the branches so that their growth is horizontal, parallel to the ground. You can tie the branches to the top of the pot where it is housed, for example, by making a small hole in the pot so that you can pass a string through it and leave the branch well attached. Let's go to the next step.

Step 2. Development of the branches to flower
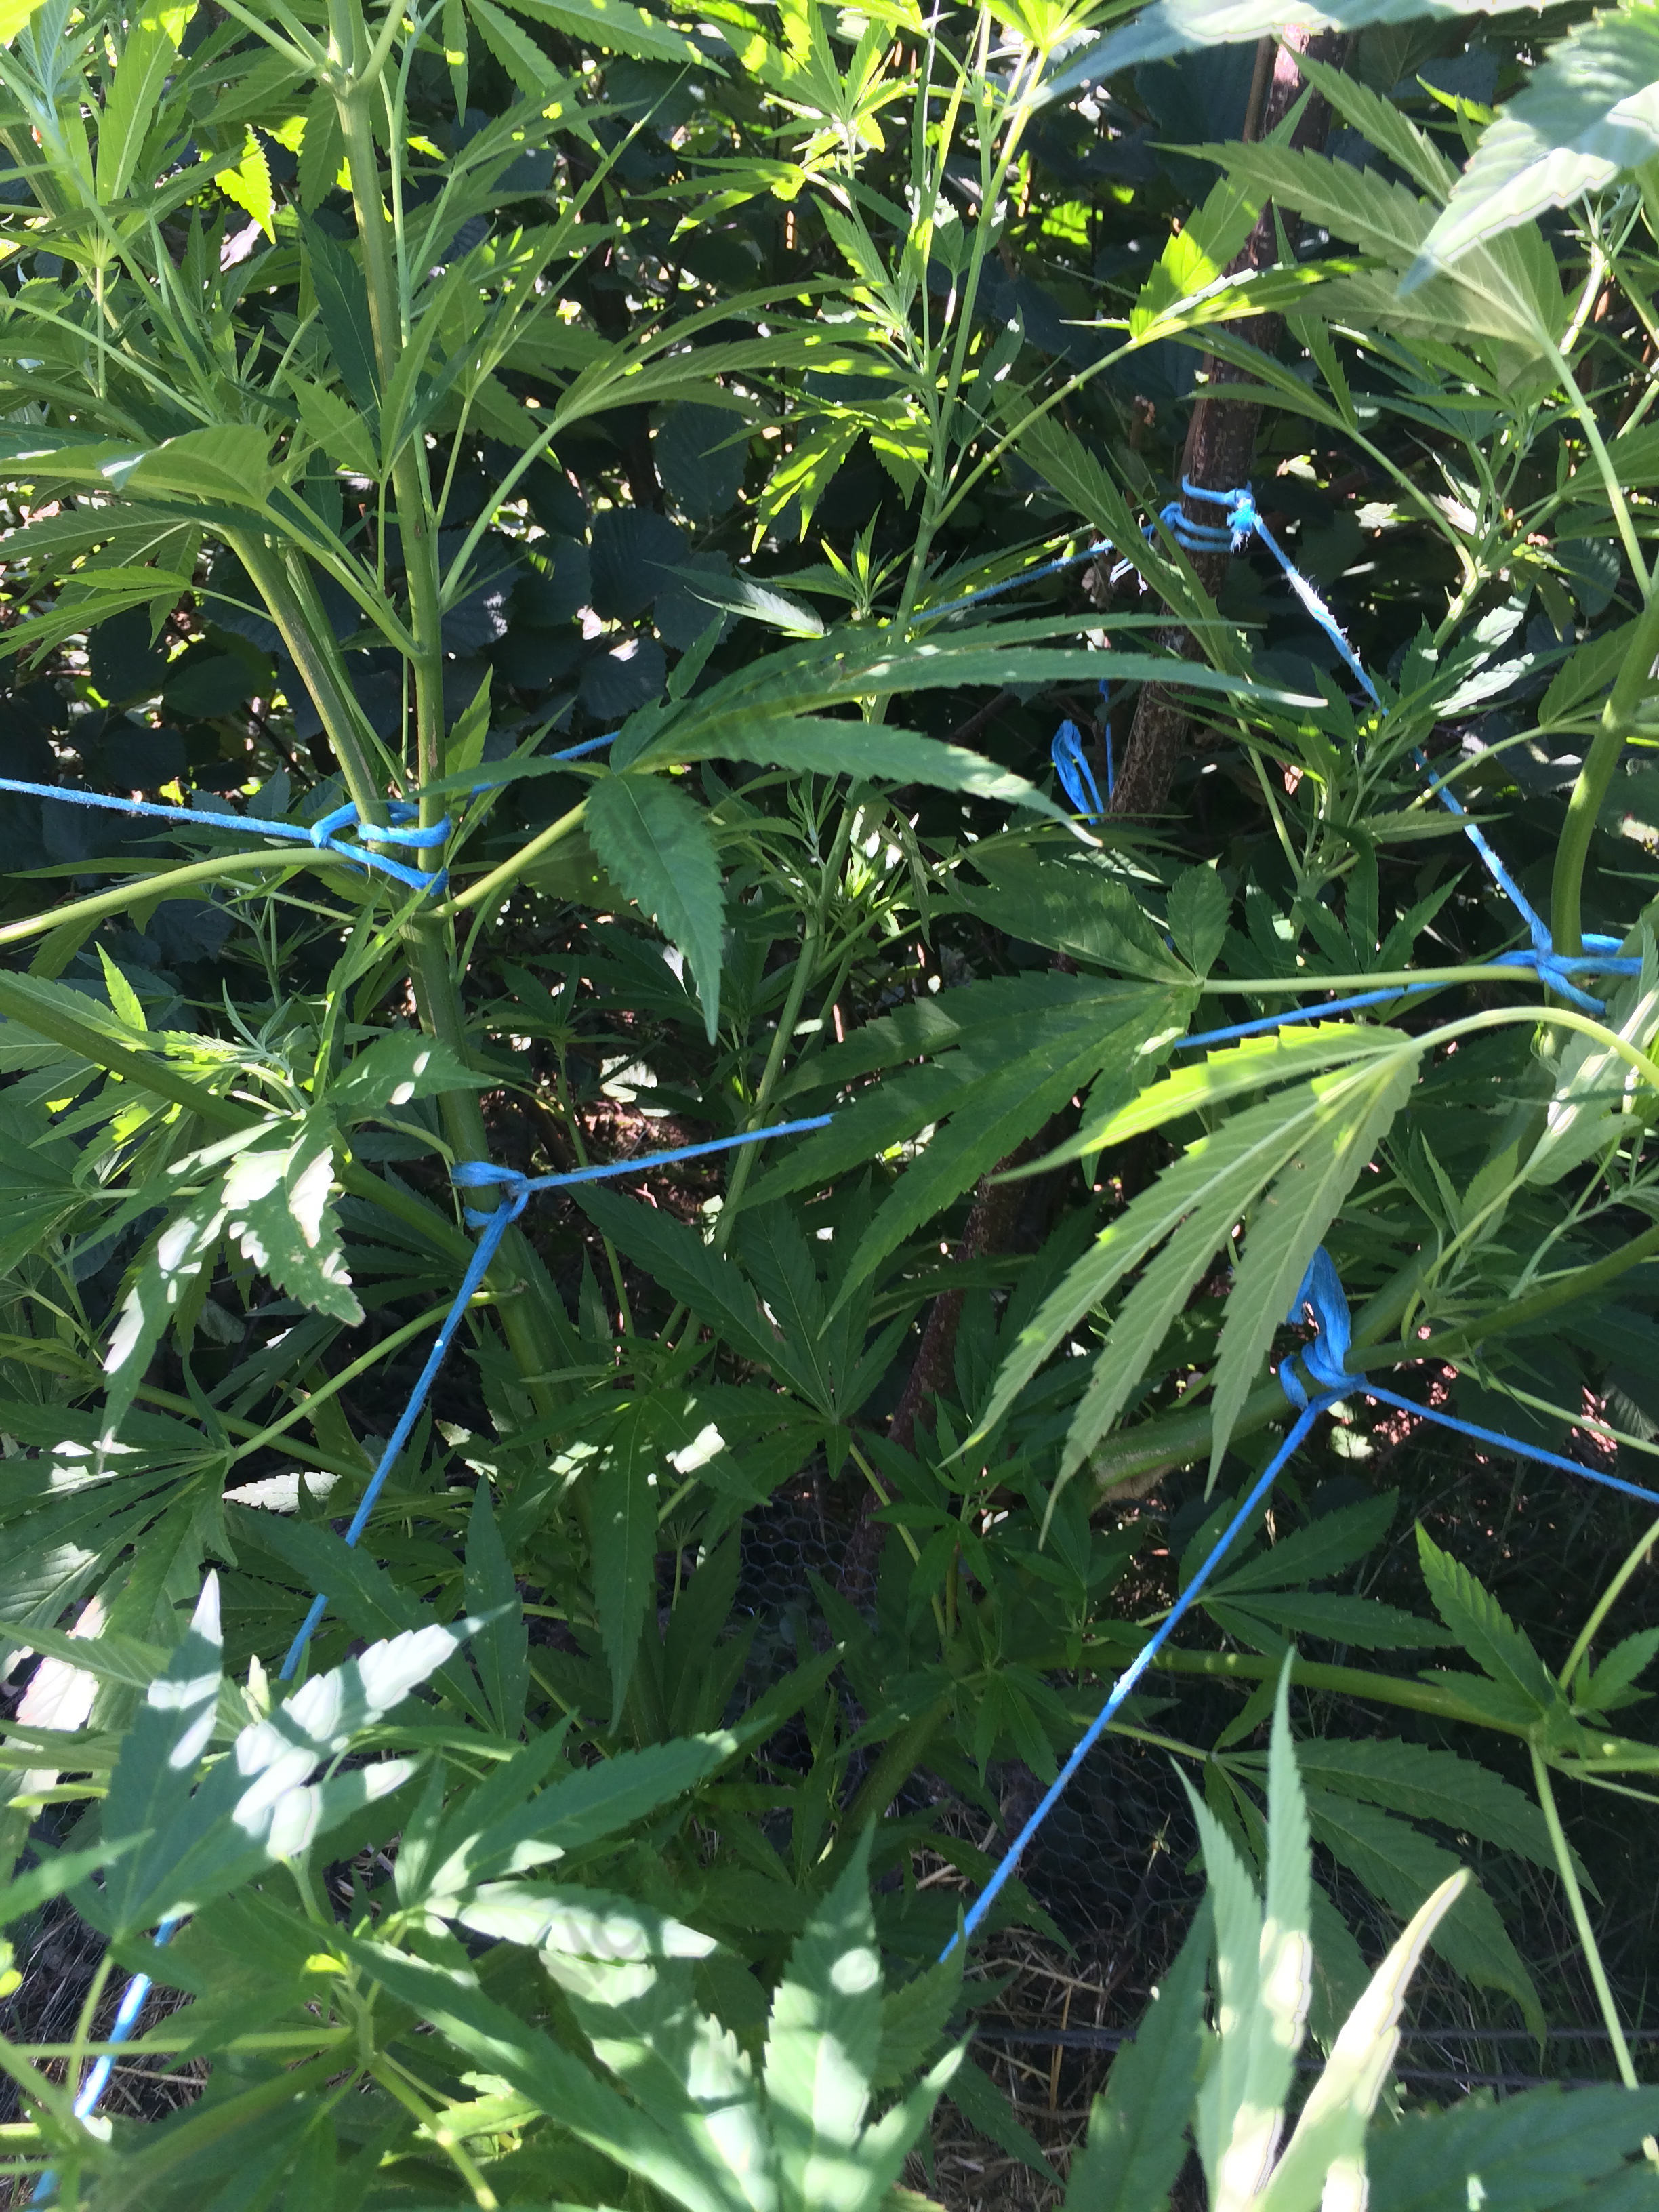
You have already made the main connector, formed by the stem and the only two branches that you have left on the plant. Once this is done, now you must wait a few days for each of the branches to have a minimum of 4 nodes. At this point, top-prune each of the branches as you did before, on the third node counting from the base of the branch. So you will have a branch with 3 nodes on each side of the main stem (two branches in total); then remove the second node from each branch, so that you are left with 2 nodes in each branch (the first and the third or higher of each). Since you are going to get 2 new branches for each node, you already have 8 potential branches to develop, 4 on each side of the main stem. Now you only have to wait a few days for these branches to grow to the height you want, of course guiding their growth through new attachment points.
Throughout this process, it is important to check the growth of the first two branches (the ones we have tied) so that they continue to grow as you wish. If necessary, tie them back or add new points to tie the new branches to maintain an open structure, where all areas of each branch will receive maximum light once in bloom. In this aspect, symmetry is everything, both with respect to the distance of the branches from each other and their height (it may be that one branch grows more vigorously than another; tie it at a lower point to counteract this and maintain uniformity).
Step 3. Beginning of flowering
Once you have your plant with the 8 branches already somewhat grown, you can decide to continue applying the pruning and tying technique to double the number of terminal tips, or perhaps you think that your plant is ready to bloom. From that point on, you only have to do a final review at the points where you have tied the branches to make sure that the symmetry between them is perfect; if you have done as you should, now you only have to wait a few weeks to enjoy the fruits of your effort: long colas of buds that will leave you speechless!
[product tipus="fitxa" ids="759,6697,11062"]
Final Tips and Tricks on Main Lining
Once we have seen what the Main Lining technique consists of and how to divide and guide the growth of the branches, we are going to give you some extra advice that will surely avoid any mistake or accident if you do not have much practice with this growing method:
- Normally, this technique will work better with seeds than with cuttings, since the growth of the former is more vigorous and symmetrical than that of clones, which often do not maintain symmetry at the nodes.
- Disinfecting the utensils you use to prune before cutting any part of the plant is a good idea. Doing so can prevent unpleasant surprises in the form of disease transmission.
- Do not apply this technique with plants that are not healthy and strong, capable of withstanding the stress of the pruning that you will have to carry out.

- The use of hydroponic growing systems increases the growth rate of the plants, which in the case at hand today translates into a faster process. You will get your plants ready to flower really fast!
- When tying the branches, try not to tie them too tight; keep in mind that the stems of the branches will grow in diameter, so it is advisable to leave enough space for their growth, as well as periodically check the points where you have tied the branches to make sure that everything is going well and none is "drown" by the string that holds it. The best option is to use a cord or soft string, which cannot damage the tissues of the plants; we do not recommend, for example, using plastic ties, with which it is easier to cause damage to the young shoots and leaves.
- Once in bloom, you may want to use some SCROG-type support mesh so you don't have to worry about the weight of the flowers bending the branches.
- As we have previously commented, it is always better to choose varieties with good vegetative vigor when using any type of technique that involves pruning and/or bending the plants. Precisely for this reason, and because of the extra time needed during the vegetative period to prune and guide growth, Main Lining is rarely applied to auto-flowering seeds.
- If you master the technique, you can combine Main Lining with other methods such as defoliation, that is, removing the largest leaves of the plant during flowering so that the light falls directly on all the buds, including those in the lowest parts of the plant.
So far our article on this interesting cultivation method, which as you will see - if you decide to try it - can significantly improve the performance of a plant with just a little extra time and dedication. As always, we await your doubts and advice on this technique, we will be happy to answer you.
Happy harvest!