Seeds
Seeds


 Growshop
 Nutrients


 Extractions
 CBD
CBD
 Magic Mushrooms
 Headshop
How to get your cannabis grow tent ready to grow:
In this post we'll tell you how to properly assemble and install all the necessary devices in your grow tent to start your indoor grow. This step-by-step guide basically explains how to install your air extraction fan and activated carbon filter, how to mount your grow light and how to program your timers. Let's get started then!

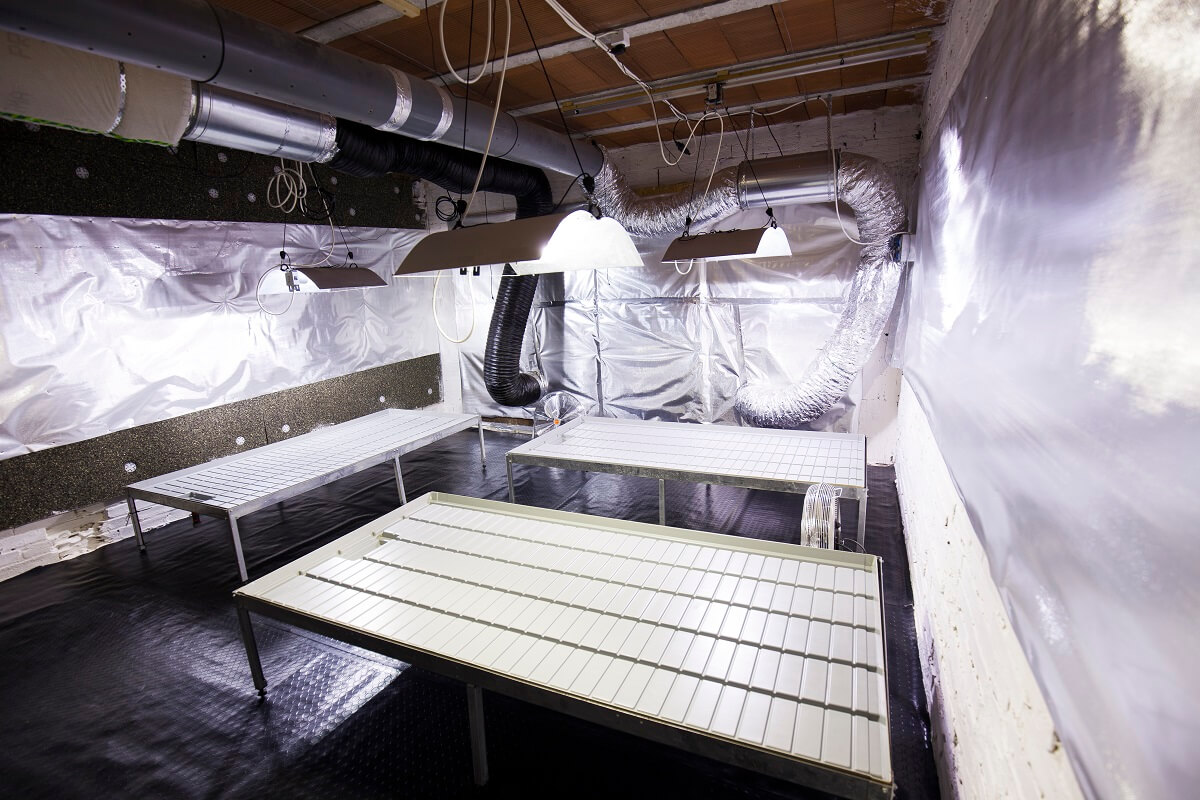
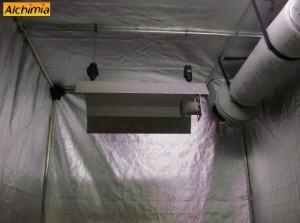
First thing to do is assembling the grow tent by following the manufacturer instructions. Then, connect the activated carbon filter to the extractor fan with some duct tape. Once it is properly sealed (you can also use metal duct clips) you can make the necessary electrical connections (two wires).
Next, you must hang up the carbon filter and the extractor fan with the strips included in your grow box (see pics below). Then, connect the air duct to the air fan and pass it through one of the holes designed for such use. The ideal would be to remove the air inside the grow tent to another room or directly to the outside. Also, keep in mind that it's always better to place the carbon filter on top of the interior space, since hot air rises.


If necessary, you can leave one of the bottom holes open as air intake, also install another fan - smaller than the extractor fan - to blow fresh air inside the tent (use some air duct with at least one turn so no light enters the tent from the outside). You now have an efficient air circulation system!
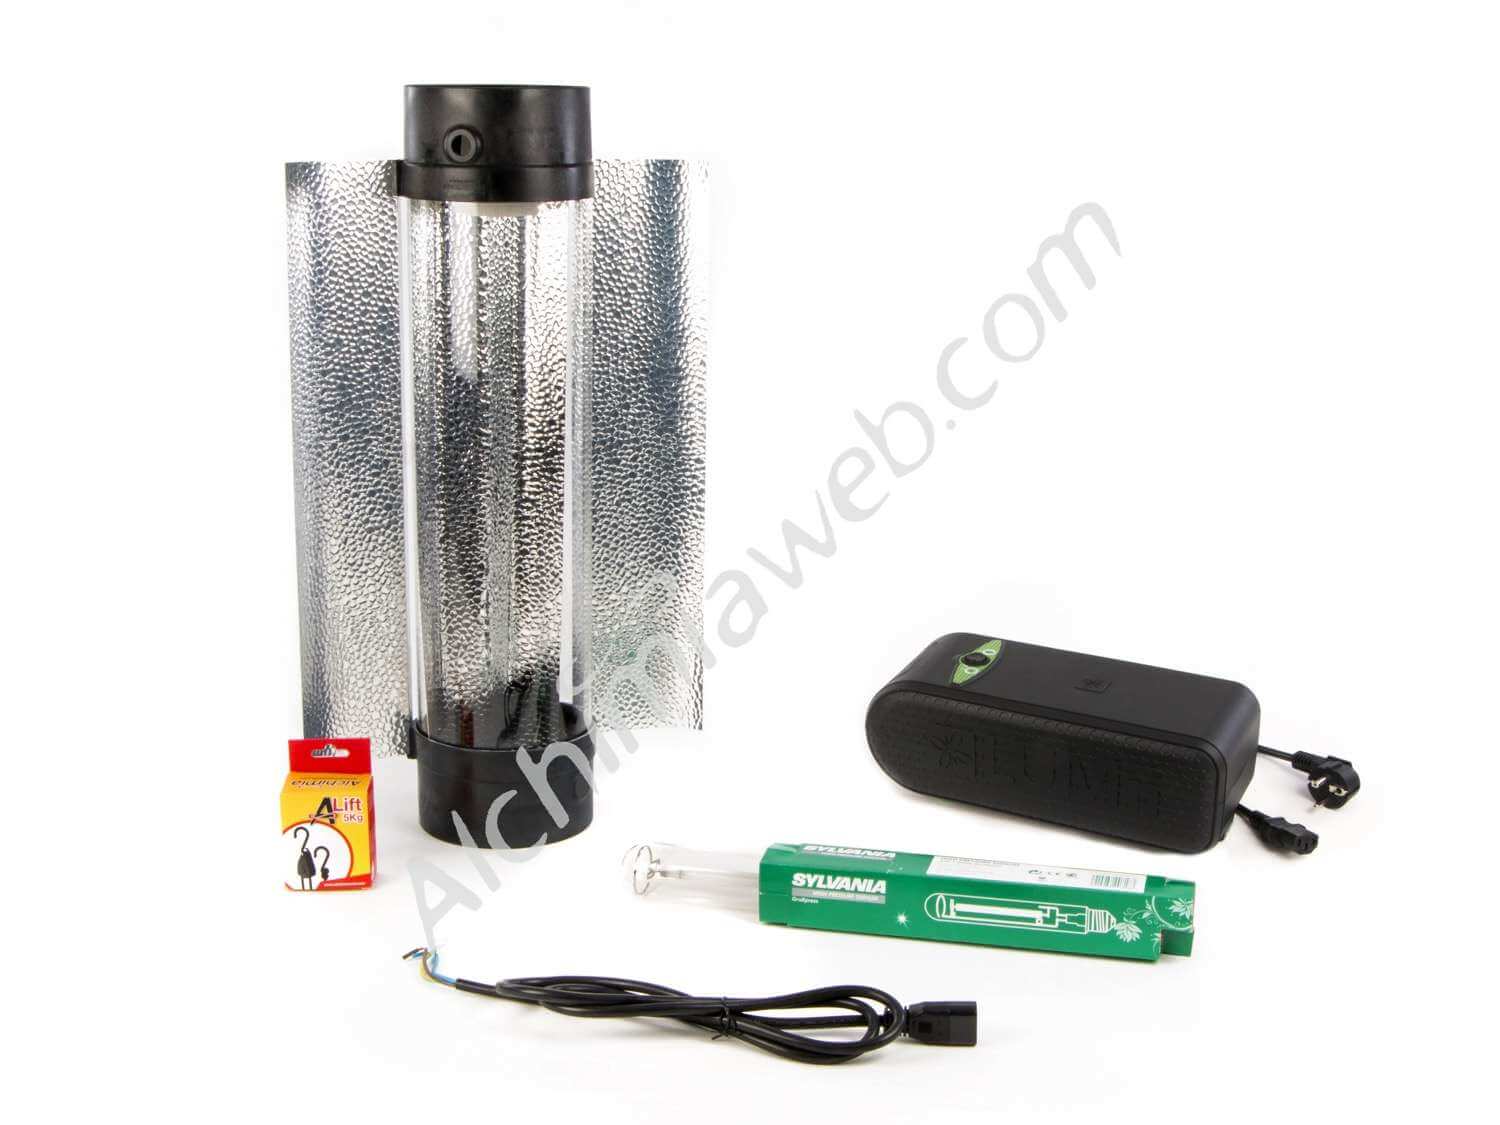
It is time now to mount the grow light. Remove the blue protective film from the inner part of the reflector and connect it to the ballast with some wire. Here you have an article on how to connect the ballast to the reflector. Remember to put your ballast outside the grow tent! Next, you just have to mount the bulb into the lampholder and hang up the reflector above your grow space with some easy rollers or similar.
You're almost done. Checking the temperature and relative humidity inside the tent is crucial if you want to get the most out of your crops, so you should use a thermo-hygrometer (with min/max values) placed at around 50cm from the bulb, at the same distance from the lamp than the tops of your plants. Remember to check it daily, it is the best way to ensure that your plants are enjoying a nice environment. As you'll see next, you can use timers to program your extractor fan if temperatures are too low.
Finally, you only have to set the photoperiod for your plants (number of daily hours of light/darkness) by connecting the grow light to a timer set with the desired schedule (18/6 for growth, 12/12 for bloom). Connect the lighting equipment to its timer. Last but not least, set another timer to program the schedule for your air extractor fan. Normally, the circulation system is continuously on when the lights are on, and you can program intervals of 15 minutes when the lights are off.
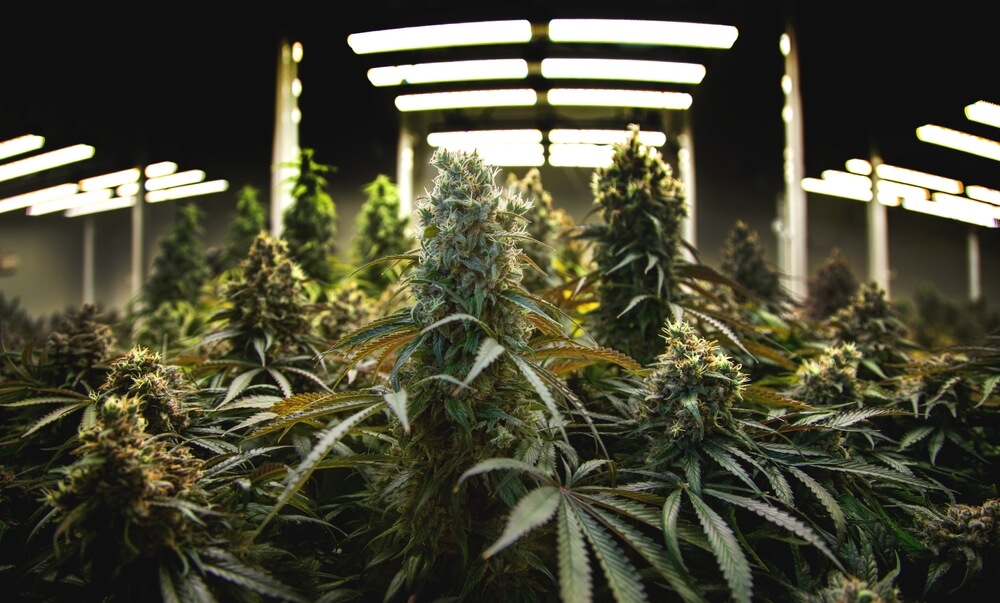
The grow tent is now ready to start growing, you only need some seeds and nutrients to enjoy your own pot! Remember to check our articles on indoor cannabis cultivation for further info.
Happy harvests!