Seeds
Seeds


 Growshop
 Nutrients


 Extractions
 CBD
CBD
 Magic Mushrooms
 Headshop
List of contents
What is mapito ?
Mapito is a growing substrate used by Dutch growers on indoor crops due to its features, like excellent oxygenation or moisture retention . It?s composed of rock wool and polyethylene flakes.

Before using mapito we must stabilise and wet it correctly. The method is quite easy and similar to rock wool slabs. On first place we must clean the substrate to leave it free of impurities or salts which can increase the EC levels. To clean it properly, we should place all the substrate to use in a bucket full of water, and with an EC level as low as possible, from 0.3 to 0.4.
Once we have washed the mapito we must stabilise and set its PH at a range of 5.5, so we start the culture with an EC level as low as possible and a stable PH, for a correct feeding of the plants from the beginning.
Mapito is a substrate that, must be wetted before its use to get an optimal results, since if it isn?t well moistened its capacity to retain moisture will be seriously reduced. It?s important to keep it wet during 24 h, seizing this period to stabilize the PH level.
Advantages of mapito compared with rock wool
Mapito and rock wool are two similar substrates with similar features and excellent results for growing of marijuana on hydroponic systems.

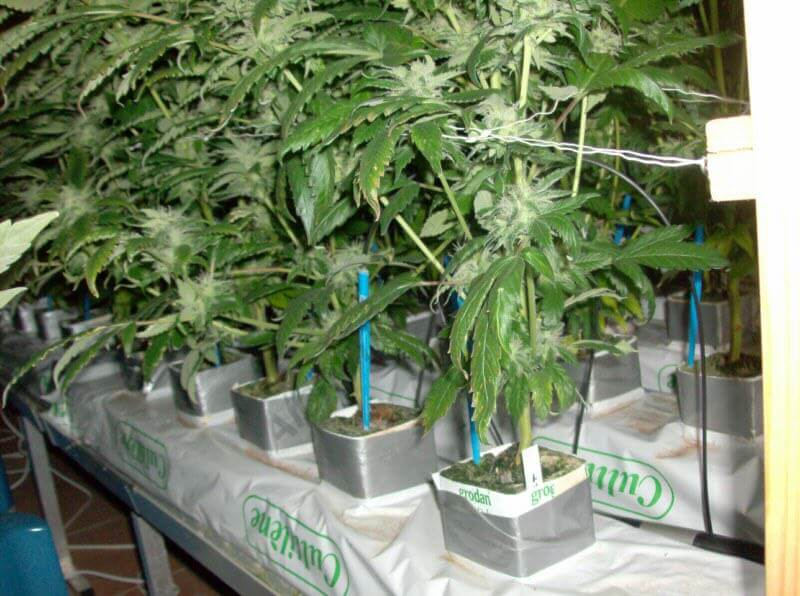
As we mentioned before, mapito is made of rock wool and polyethylene, and sold in form of unpacked flakes and shavings. This form of flakes is ideal since it can be used in plant pots, allowing to move the plants if needed. With rock wool slabs , plants can?t be moved since it exists the possibility to break the roots or the main rootball and so damaging the plants.
There is, on the other side, the grade of oxygenation, which is high on both substrates, but we should highlight that mapito - as being granulated - has an extra degree of oxygenation compared to rock wool. The high levels of porosity of mapito make this growing media to be really suitable for growing in hydroponic systems and plant pots.
The moisture retention on both substrates is similar, but with mapito we gain more oxygenation and moisture retention compared with the classic rock wool slabs.
At the moment of placing it inside the plants pots it?s important not pressing it too much, because if this happens, the root development of our seedlings will be disfavoured.
How to grow on mapito step by step
The first we need to do, as we mentioned before, is to correctly set the EC and PH levels of the substrate. We proceed placing the substrate in a bucket or a basin full of water, with its PH stabilised at 4.2-4.5 and keeping in mind that it will increase up to 5.2-5.5, being the best rank to start seedlings or cuttings.

Measure the initial EC level to know the EC fluctuation after stabilizing the substrate.
If we notice that - after 12 hours - the EC level of the water has increased some points, we have to empty the basin/bucket and fill it up again with water with lower EC levels and a stable PH.
The second step after stabilising is to remove the remaining water so that the substrate is humid, but not saturated; this can be done exerting a slight pressure with the hands to drain the excess of water.
We should now carefully place our mapito flakes in the plant pots, keeping in mind not to press it too much, for we would have an important reduction of the substrate oxygenation. Remember that when mapito absorbs water, it gets compressed making a hole, so first we must fill the plant's pot with substrate and then water it a little bit: if the substrate is compacted, we should refill our pot with more mapito.

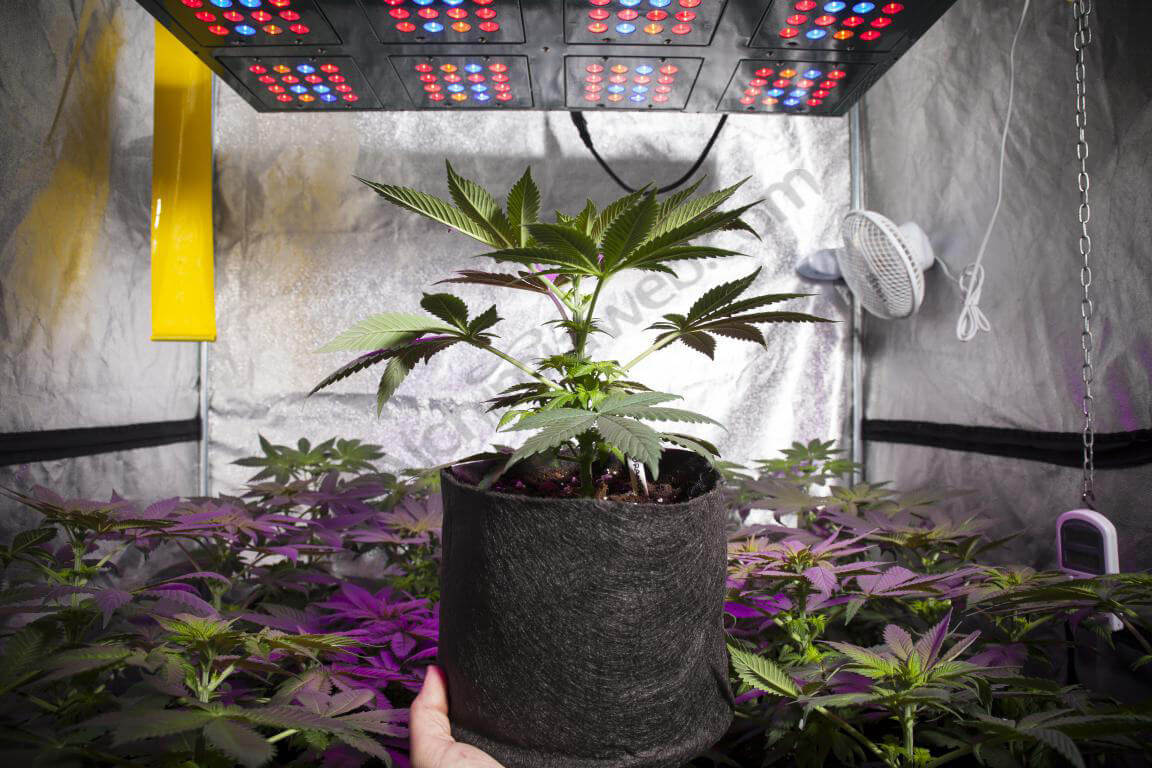
Once we have filled the plants pots with the substrate, we put the seeds previously germinated in rock wool or compressed mapito cubes - just as if it was soil - leaving the stem covered by a small layer of mapito. Pot lids are indispensable to avoid roots being in contact with light, and at the same time to prevent algae growth on the substrate.
These lids/covers should have two holes; the central one - where the plant will grow - and a lateral one for placing the dropper. It should be said that, since the beginning of the growth period and until the second week of flowering, we must realize a rotation of the dropper's position to get an equitable distribution of the humidity inside the pot.
These pots are specially designed for farming in mapito, they have 3,5 L capacity, with an excellent drainage system to ease the removal of the nutrient solution after each watering. This way we prevent salts or moisture accumulations, which could produce root rot and the death of the plants.
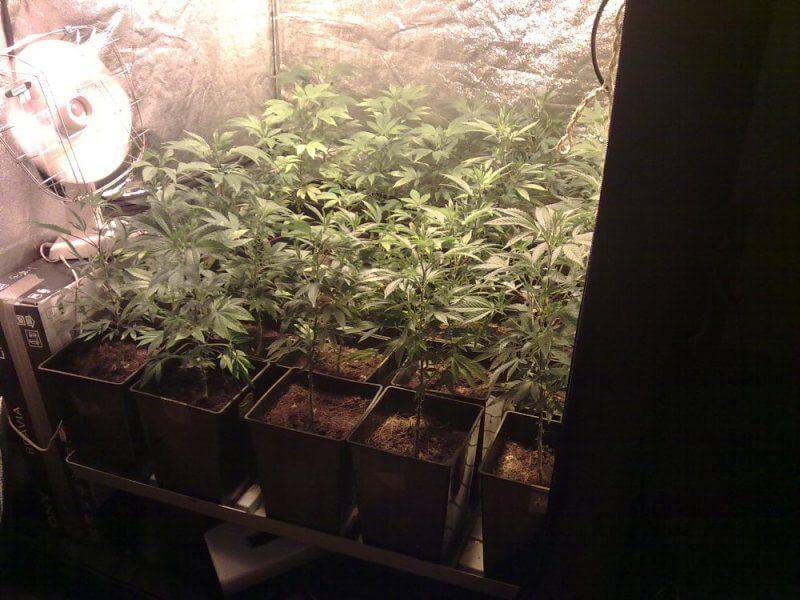
Growth of marijuana plants in mapito
During the first weeks of the plants life we will feed them with two waterings per day of about 60 ml for each watering, to produce a fast root development, which will translate in an explosive growth of marijuana plants.

The initial EC should be 0,3-0,4, increasing it later up to 0,6 and adjusting the PH level at 5,5. Keep this nutrient solution during the first two weeks of growth.
In these first two weeks of growth we should add a root stimulator to our nutrient solution, along with a growth stimulator to ease the first life stages of the plants. In these first days of life is when plants take more time to show their strength, for they?re almost completely dedicated to create a good root system for a later vigorous growth.
Flowering of marijuana plants in mapito
When the second week of the plants growth is finished, we force them to flower by changing the photo period to 12/12h. Plants will continue growing during about two weeks, so we should continue feeding them with a growth fertiliser. The EC for these two weeks will be 0.7 and we must mantain the PH at 5.5. During the second week of flowering we can increase both the EC up to 0,8, and the PH up to 5.9. Perform tree waterings per day , the first one of 2 minutes and the other two of 1 minute duration.

It is of vital importance that during the first two weeks the temperatures were controlled and plants did not suffer thermal differences of more than 4 degrees between the diurnal and nocturnal phase. If we can manage to mantain this least difference of temperatures, we will avoid plant stretching while favouring short internodal distances, that will produce a more abundant harvest.
Already entered the 3rd week of flowering and having seen the first clear signs of the blooming phase, we will change the growth fertiliser for a blooming nutrient. In this case we can help the plants with additives and stimulants so that they can develop their best flowers. Set the PH to 6.0 letting it fluctuate up to 6.2 before reducing it again to 6.0. Regarding the EC level, we will increase it a few points up to 1.0, always taking into account the overall state of the plants.
During the 4th week of flowering we maintain the EC level at 1.0 and the PH at 6.0 letting it fluctuate up to 6.2 and performing 3 waterings per day, being the first two of 2 minutes and the last one of 1 minute duration. During this week we can notice on plants a more advanced flowering, in which buds start to grow increasing in both volume and density of their calyxes and stigmas.

It would be beneficial to perform a short root wash (flushing the roots) if we observe that the drain nutrient solution exceeds 1.9 EC points during the 4th week of flowering.
In the 5th week of flowering plants are dedicated to fatten their buds. We will need to increase the EC level up to 1.2 points, maintaining the PH at 6.0 and allowing it to fluctuate up to 6.2. We add one watering per day, being the first two of 2 minutes and the last two of 1 minute duration. The ambient humidity of the crop is 50% during the day and 60% during the night, with temperatures of 22ºC minimum and 27ºC maximum; ideal parameters for indoor growing.

During the 6th week of flowering we notice that plants have already created a good bud. The work is almost done, although it?s still needed to do the last fattening of the flowers.
For this, we keep the EC at 1.2 and the PH at 6.0, with 4 waterings per day, being the first two of 2 minutes and the last two of 1 minute duration. At the end of this week we will do another root wash. To do the root wash, water your plants with 3 litres of water per pot, using a nutrient solution with EC=0.3 and PH=6.0 in order to leave the substrate free of accumulated salts.
During the seventh week of flowering, plants are already finishing their blooming phase so the only thing left is buds ripening; in this case we increase the EC levels up to 1.4 with a PH of 6.2, making 4 waterings per day: the first two of 2 minutes and the last two of 1 minute duration. In this week plants are creating their last flowers, compacting their buds and starting the ripening phase.
The end of the crop with mapito
Once the 8th week of flowering has begun, and since during the growing period we have maintained low nutrient levels, we can increase the EC two

points up to 1.6, without overfeeding the plant with fertiliser but with enough nutrients to allow it to ripe correctly, producing a heavier harvest. It must be said that even if the EC level has been increased, the basic fertilizer dosage has been reduced in detriment of the flowering enhancer, that we will maintain until the end of this week.
During the 9th and last week of flowering, plants are dedicated to clean themselves from salts, flowers and trichomes will ripen until they rech their optimal moment for harvest. We will make another root wash with EC at 0.3-0.4 and PH at 6.0, and we will notice how leafs lose their green colour turning in a pale yellow. At the end of this week, our plants can be harvested and we can proceed totrim the buds, and then to dry and cure them.
Conclusions of the growing of Marijuana in Mapito
After finishing this crop in Mapito, we can?t conclude without providing an opinion about this substrate which is increasingly implemented in the hydroponic growing systems where the speed of growth, the ease of cultivation, and both the quality and yield of the final product is increased.
About this substrate, we can say that - in comparison with the traditionally used rock wool slabs - it?s easier to move the plants for their pruning or manipulation. It must be noted that nutrition must be reduced in comparison with rock wool. The reason is a clear improvement of the oxygenation of the root system, and so a greater absorption of the available nutrients, needing less quantity of fertilisers compared to other substrates.