How to save on power consumption in your marijuana grow room
List of contents
As you surely know if you know us, at Alchimia we have always advocated home-growing because we believe, for several reasons, that it is the best decision if you are a cannabis user. Without a doubt, the main one is that it is the only way to know 100% of the product you are going to consume, since of the different "alternatives" that the black market offers you do not usually know the practices and products that have been used during cultivation, and many of them can be highly harmful to your health.
Furthermore, and if it is not possible to grow outdoors, with a small indoor you can cover your marijuana needs without a problem, although the cost of electricity can be a problem. Well, in this article we will see a few tips to substantially reduce your electricity bill because we think that home-growing, in addition to offering you quality buds and being a therapy, should also be economical, so we are going to give you some brief tips that you can easily implement in your crop and save good money.
How to reduce the electricity bill for your indoor grow room
Choose the best electricity rate
The first step, and one of the most important, is to know the contracted power in your home and your current rate (you can see all this on the electricity bill). It is essential to be aware of the contracted power and what the electrical elements you have at home (refrigerator, washing machine, hob...and indoor) consume, as sometimes the power may be oversized, increasing the fixed cost of the bill. In these cases, reducing the contracted power will result in lower fixed costs on each invoice, with the savings this entails. On the other hand, if more power is necessary, you should contract a higher rate to avoid problems and possible surcharges due to overconsumption.
The best solution once you are clear about the consumption of your appliances plus that of your indoor (in KW) is without a doubt to call your electricity supply company and find out about all these aspects. We are aware that sometimes several university degrees are needed to understand something about the bill, and a simple call is the most convenient and fastest way to make things clear to you. That is if you get them to answer you, of course.
When you know the total power you need and the price at which you pay per KW, you can request an improvement in the price from your company (by asking you will not lose anything) and also request information from other competing companies to choose the most appropriate and economical to your particular case. For example, sometimes you find different rates depending on consumption times, such as the night rate, something very interesting since the light in your indoor grow will probably turn on at night (not essential), since nighttime temperatures are usually lower.
This would be the first point, a good job of research to get the most economical electricity rate possible for your home based on the KW you need and also your schedules.
Grow room setup
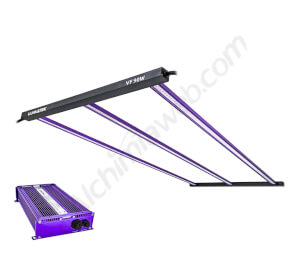
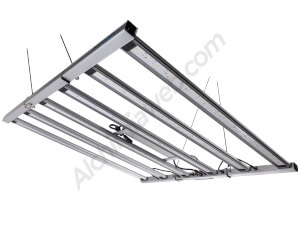
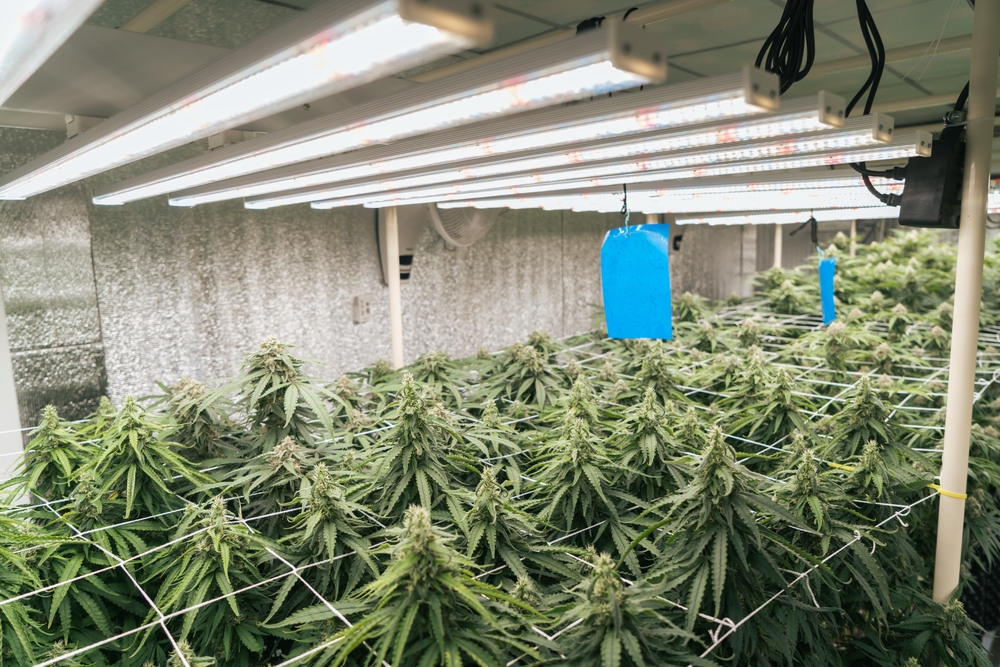
Today, the greatest energy efficiency in terms of lighting is provided by LED lamps. Sodium (HPS) emits a large amount of energy in the form of heat, so it can be said that an LED is approximately 30% more efficient than sodium and emits a greater amount of light that can be assimilated by plants with the same W of consumption. . This is, therefore, an important point to take into account.
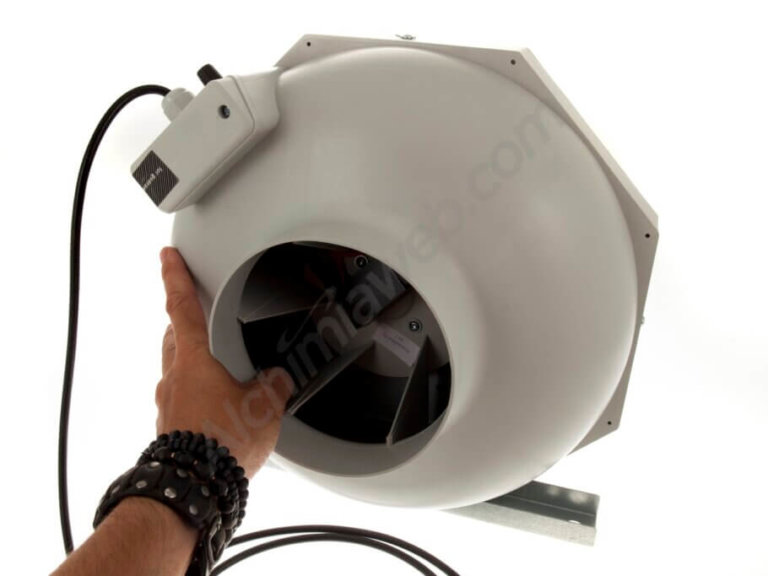
Furthermore, because LED panels give off less heat than traditional HPS lamps, you will need lower power extractors to renew the growing air, which translates into lower consumption. In many places, you can have your indoor on even in summer and without using air conditioning, although taking a series of measures such as reducing the light intensity of the LED if necessary or keeping factors such as DPV and photoperiod in mind.
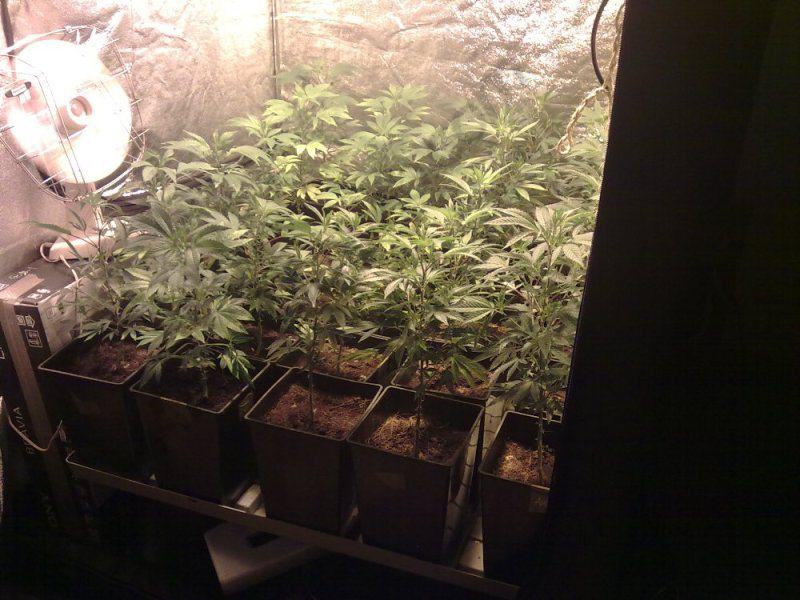
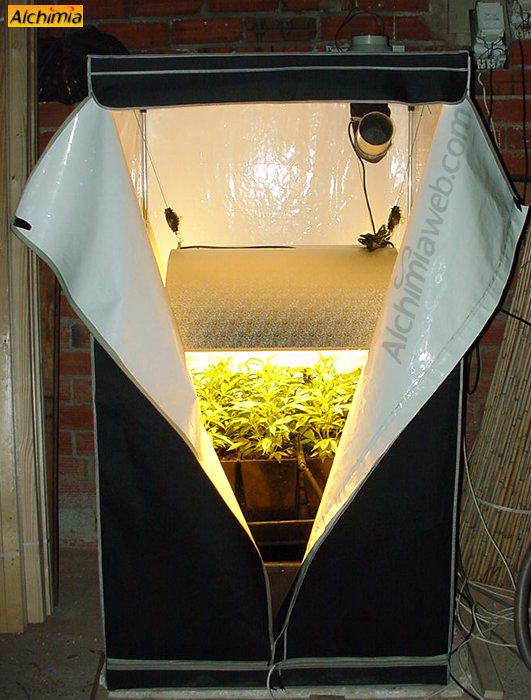
With a small grow tent and an LED lamp starting at 240w, in most cases, it is enough to be self-sufficient with great quality buds without high energy consumption.
Vapour pressure deficit (VPD) in cannabis cultivation
Temperature and relative humidity play an important role in indoor marijuana cultivation since much of the plant's activity depends on these factors. Incorrect values of these two parameters will result in an invalid VPD (vapour pressure deficit), which will in turn result in poor plant development. In this article we explain how to properly adjust these values so our plants can enjoy a good climate for an amazing development.
Genetics and cultivation
A dimmable LED lamp (with adjustable power) is of great help when you want to reduce energy expenditure since plants do not have the same lighting needs in each growing phase. Thus, you can adapt the intensity of your lighting system at each moment of the crop; A simple example is that once the seeds have germinated and during their first stages, they do not need 600w, so you can reduce the intensity to 25% for example, and gradually increase the power of the light as the plants grow. They develop until flowering, to reduce it again after flower fattening, since after this phase they will not need as much light power (approximately the last 7-10 days of cultivation).
Once we are clear that an adjustable LED in power greatly helps reduce your light consumption, let's talk a little about genetics and cultivation techniques: undoubtedly, starting from feminized seeds or clones allows you not to waste light or cultivation space growing plants that you will discard. over time because they are males, so regular seeds in these cases are not a good option, just like automatic seeds although for another reason, as we will see later.
Our advice is that you choose fast-flowering strains (45 to 60 days maximum) and with great vegetative vigor so that you can provide them with the minimum possible growth (it is during growth where the most hours of light are needed). This is achieved by placing more plants per square meter to reduce the growth time as much as possible, that is, using the famous SOG or Sea of Green technique.
The SOG cannabis growing method
The Sea of Green - SOG - marijuana growing technique highly optimizes the available growing space while allowing us to perform more crops per year than with other systems. In this post we'll tell you a bit about this high-yielding growing method, following all the necessary steps to achieve excellent results.
On the other hand, the SCROG technique is the worst decision to save light and time, since it takes several weeks of growth, even months. You must be clear that the vegetative period is usually carried out at 18/6, so the best option is the SOG technique with a good number of plants per square meter to spend the least possible time growing. Broadly speaking, the vegetative period will be inversely proportional to the number of plants you put in your crop (more plants mean less growth time). Remember that once they begin flowering, the plants can double or even triple their size depending on their genetics, something very useful if you want to shorten the growth time.
Contrary to what you might think, a sativa/indica or sativa variety could be better in terms of energy savings, since it needs very few days of growth due to its vigor and stretching (stretching when it goes into flowering), so it could enter in the flowering phase in a SOG a few days after germination. You can even opt for varieties with a greater Sativa predominance and put them directly at 12/12 after germination, behaving practically like auto-flowering plants. The important thing here is to take into account the duration of the flowering period, you are not going to save much on electricity if you choose a Sativa with 14 weeks of flowering!
One of the biggest mistakes in this case, as we pointed out previously, is growing autos indoors. Auto-flowering seeds need a photoperiod of 18/6 from germination to harvest to optimize their production (even 4/20), which means high light consumption. Furthermore, at certain times of the year, it can be difficult to maintain the temperature and humidity (non-optimal DPV) with so many hours of light on, and sometimes it may require the installation of an air conditioning machine or a more powerful air extraction system, increasing consumption. inevitably. When the summer heat arrives, you can choose to reduce the intensity of the lamps, as we mentioned, and play with the DPV by adding humidifiers in the crop, for example.
Light intensity and photoperiod
Another trick you can use is to regulate the power of your lighting equipment, as we were mentioning, gradually increasing its intensity to the maximum (not necessary in many cases if we use LEDs) once flowering has begun. Many growers, before washing the roots, also lower the light intensity once the fattening stage is over, or even reduce the hours of light up to 10 once this phase is over.
Other growers apply light photoperiods of 14 hours (to grow) once the seed has germinated, and shortly after reduce them to 12/12; There are many options to play with the photoperiod of plants and that allow us to save energy, although not everything will go at the same speed as with standard photoperiods.
To maintain mother plants, a photoperiod of 18/6 is normally used, which has been the growth standard. However, some use 16/8, (it is a saving of two hours of light per day), so the growth is somewhat slower, but sometimes it is more than enough to save genetics or to obtain the cuttings we need. We must also mention that for a vegetative growth space, a large amount of W is not necessary, since with a 100w LED panel it is more than enough to keep mothers or start a good number of seeds or clones.
When all these tricks are used simultaneously and you have a good cultivation plan, you will see how they will allow you to save more than you imagine on your electricity bill throughout the year. Feel free to share your tricks with all of us in the comments section!
Happy harvest!


