Tips for germinating vegetable seeds for your garden
List of contents
It's no secret; Growing your own vegetables and aromatic plants is a true joy, which allows you, in most cases, to consume food of the best possible quality whilst also caring for the environment. And, as you can see in our organic growing section, there's a multitide of techniques available to make your own organic fertilisers and growth stimulators for all types of plants, in a 100% organic way and working to promote life in the soil, rather than poisoning it!
However, today we're going to talk about the first steps to follow after buying seeds for the garden. Yes, we all know the theory: you plant them in the ground and that's it, right? While it can be that easy sometimes, if you know some of the tricks included in this article then you stand a better chance of achieving great results in your garden, from the germination of the seeds, to how and when to plant them. You've already taken the most important step, which is deciding to grow your own vegetables... now we're going to try to get the most out of your growing space!
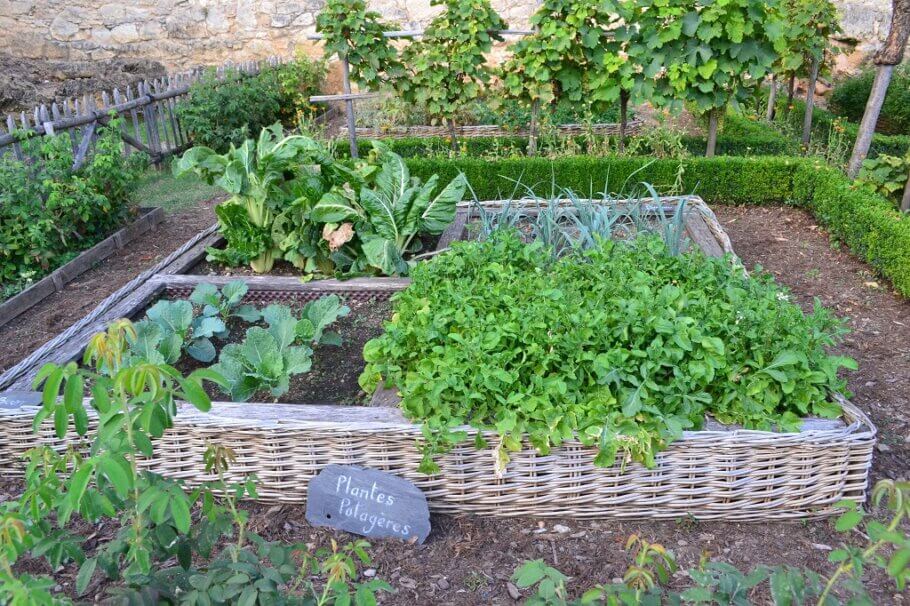
How to germinate garden seeds
Once we've got all the necessary supplies to get started, it's time to plan the next crop. Of course, if you need any gardening tools or equipment, you'll find them on our website. So, before we sow anything, we're going to plan out the garden a bit and check the main aspects we'll need to take into account for successful germination to make sure we start our adventure on the right foot!
Sow seasonal seeds
Although it may seem obvious, growing the appropriate vegetable seeds for each season ensures much more satisfactory (and productive!) results than trying to sow certain varieties at a time of year when the weather is not on our side. Take a good look at the seed packages as they always include useful information, for example about the best sowing times. It's also a good idea to plan for the next few months and rotate the crops correctly: How many plants of each are we going to need weekly? When can we start planting other vegetables? Answering these questions will make it much easier for us to plan our germination schedule and avoid wasting any time or effort.
It's also recommendable to choose local seeds, not only for obvious reasons of educing transport to care for the environment but because by buying seeds produced in an area close by, we make sure that the resulting plants are much better adapted to our climate than others that may have been produced in different climates. In case you want to use allelopathic plants to create beneficial associations between them and your vegetables, it is also the best time to plan their germination and final location.
Substrate
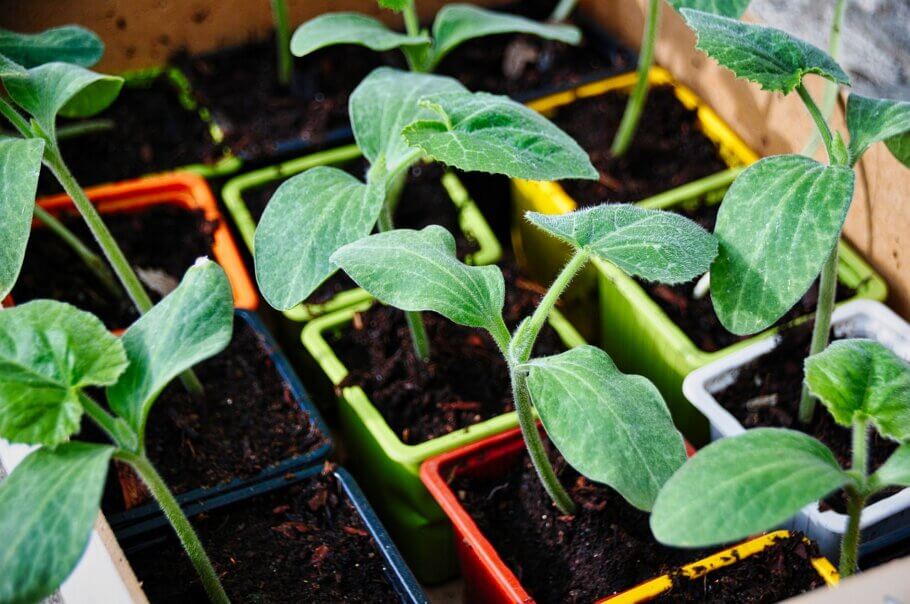
The growing medium is vital to the proper development of plants and vegetables. To assist them as much as possible, we must choose a light and spongy-textured substrate in order to promote root growth. Without getting into the topic of fertilisation, Biobizz Light Mix will work really well. If we are going to use seedbeds or seed trays, we can cover the surface of the substrate with vermiculite as a mulch to better conserve moisture and reduce the frequency of irrigation.
Water
Although it's not usually an issue, if a plant does not develop well, despite having all the growing parameters well controlled, it may be necessary to test your water. As a general rule, a pH between 6 and 7.5 should be fine, as well as an electro-conductivity of no more than 0.8mS/cm (approximately, and always depending on the type of salts dissolved in the water). Another important point to remember is always to water the growing medium before sowing, in this way we will prevent the seed from being buried too deep (as can often happen if we water immediately after sowing).
Direct sowing or seed tray?
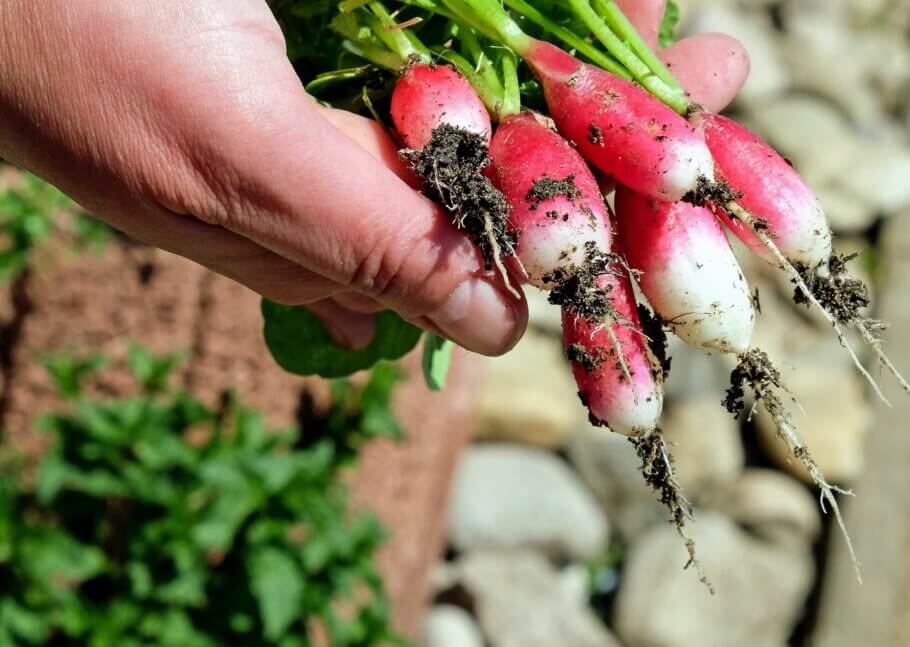
This is an important question and one that is worth dedicating a little research to before deciding on one method or another. Some vegetables, such as carrots or radishes, prefer to be sown directly in their final growing spot, while others will do much better if they are germinated in seedbeds or seed trays and later transplanted. Take a good look at the needs of each plant and apply the corresponding method, the results will be much better. As a general rule, the seeds are buried at a depth of 3-4 times their size.
Temperature
Even though we have sown appropriate seeds for the season, we must take care when choosing the final location of our cultivation, as well as the exact location of each variety in case of growing different vegetables within the same garden (as is usually the case). We should plant the ones that need the most heat in the place with the best exposure to the sun. In the case of growing taller plants such as tomatoes, which can end up casting shade on parts of the garden for several hours a day, we should plant them in the place that best suits our needs.
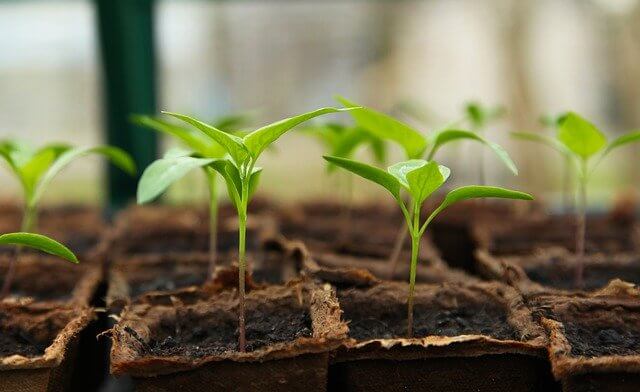
If we're going to germinate the seeds in a seed tray and a small heated greenhouse (an option we highly recommend), we must try to maintain a temperature range that does not drop below 12ºC and does not exceed 23ºC. Opening it for a few minutes at least once a day will help keep the high humidity from causing problems, which can also be controlled with the vents that are usually fitted to the lids of these types of propagators.
In case of germinating outdoors, during the first days it is advisable to place the seed trays in a well-lit place, but out of direct sunlight if possible. The small seedlings are still delicate, and, depending on the time of year, too many hours of direct sunlight can be counterproductive.
Labelling
Although on the day of sowing it may not seem too important to us, it's a good idea to label each seed that we start to germinate, especially - of course - if we are growing different varieties. Writing down the germination date will give us an idea of how long it took for the seedling to be born and, later, to develop and bear fruit.
As you can see, germinating the seeds for our garden is not complicated, and if we follow these simple steps we should be able to start a crop without any problem. One last tip: especially during the first days, try to protect the seed trays from birds, snails and other unwanted visitors... seeds and young, tender shoots are a delight for them! We hope that these tricks will help you get off to a good start in this wonderful world of the orchard, and in a few months, you'll be tasting the fruit of your efforts!
Happy growing!


