Spore prints and syringes of magic mushrooms
List of contents
Growing your own mushrooms at home is simple, fun, and downright interesting, as it is a faster process than we are used to with cannabis and where we see truly spectacular changes in a few weeks, sometimes hours. If you have been interested in this exciting world before, you will surely know the different options you have, from buying an already inoculated mushroom cake, with which you only have to maintain certain temperature and humidity conditions, to acquiring spores and carrying out all the process yourself, something that we assure you is very gratifying and, why not say it, cheaper.
Today we are going to tell you how to prepare a syringe from a spore print, as well as the various options you have once you want to start reproducing them. Do you prefer to inoculate your spores in grain and reproduce solid mycelium in it? Or perhaps it seems less cumbersome to reproduce it in a vial or jar and get liquid mycelium, or even directly inoculate an already prepared substrate? The key to everything, we already tell you, are three basic factors: hygiene, hygiene, and hygiene.
Growing mushrooms from spore prints
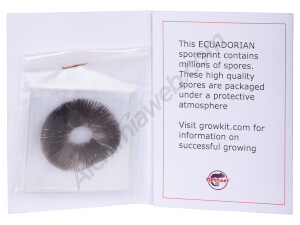
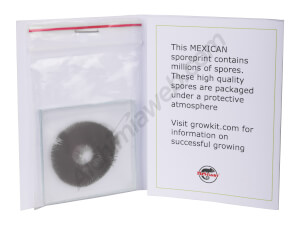
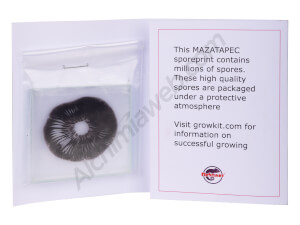
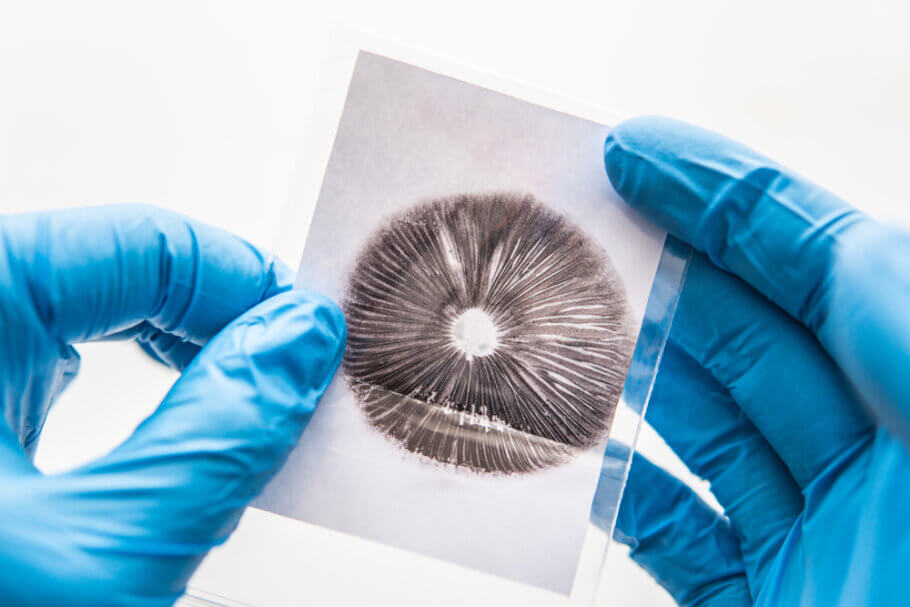
Well, you have your little piece of aluminum foil with a spectacular spore print - probably black or very dark purple - ready to start your grow. What are your options now? We'll talk about them later, but what's certain is that whatever you choose, the first thing to do is to prepare the spores for inoculation, a process that basically consists of two phases: collecting and germination. In the first phase, you will use a small part of the spore print to dilute it in water and absorb it with a sterile syringe. Next, you will only have to keep the syringe loaded with spores for a couple of days so that they germinate, become "activated", and are ready to be inoculated on a medium. You could also directly start an agar culture, although this method is somewhat more complicated and we prefer to tell you about it at a later stage, when you have more experience working with spores and sterile material.
How to prepare a spore syringe
As you will see, loading a syringe with spores is much easier than it seems, although as we have already warned you, hygiene is essential when growing mushrooms, whatever the phase we are talking about. The ideal would be to work in front of a laminar flow cabinet or hood, so that you make sure that all the air in contact with your instruments is filtered and purified, thus obtaining a sterile work environment. If you do not have one of these devices, or you cannot afford it, you can always opt for a SAB container (Still Air Box) where you can work. Basically, it is a plastic container with holes where gloves are attached so that you can work inside the box without opening it, of course having previously disinfected it with alcohol or a mixture of 10% water and bleach.
If you do not have any of the two options, you can do it without any type of protection, although the chances of contamination will be much higher. If this is the case, close windows and doors in the house to avoid drafts. Wait about 10 minutes for the air to settle and any particles that may be in suspension to fall. Leave all the material in the same room and disinfect everything with 70% isopropyl alcohol (if you have it pure you can mix it with distilled water to get the correct proportion), also the surface where you are going to work. Let's see what you should have on hand:
Necessary materials:
- 10ml sterile syringe
- Glass cup
- Distilled water
- Spore print
- Scalpel
- 70% isopropyl alcohol
You already have your work table well disinfected with alcohol and all the necessary elements also properly disinfected and prepared. Before starting, and as we have already mentioned, the ideal would be to carry out the entire operation in an environment that is as sterile as possible, as well as using sterilized material. To sterilize the glass with water and the scalpel you must use an autoclave or a pressure cooker until reaching 15 PSI for approximately one hour, slightly less in the case of autoclaves. If you decide not to sterilize the material, disinfect it with alcohol as if your life depended on it, always with latex or similar gloves also disinfected with alcohol.
To sterilize the material you need an autoclave or a pressure cooker. Use some type of stainless steel rack at the bottom of the pot so that the items to be sterilized do not touch the bottom. Place the glass of water covered with a piece of aluminum foil on the rack and fill the pressure cooker with water up to half the glass. You can put the scalpel (or just the blade, if the handle has plastic parts) on it. Close the pot, turn on the heat, and maintain maximum pressure (15PSI) for 60 minutes. Once this time has passed, let it cool inside the pot before proceeding. Follow strictly the instructions of the manufacturer of the pressure cooker or autoclave!
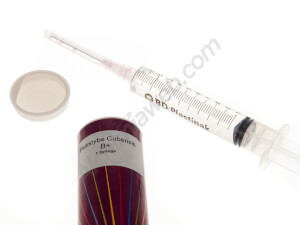
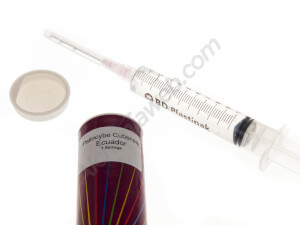
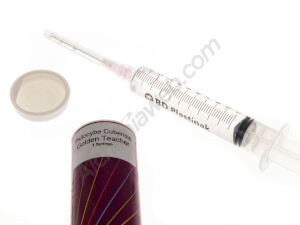
Once you have the glass with 10ml of distilled water prepared, open the bag where you have the spore print and, being careful not to touch them, try to scratch a small part of the print with the scalpel (with 20% you will have more than enough) so the spores fall into the water. Close the bag with the spores again, open the bag where you have the syringe (ideally, buy it already sterilized) and, without touching the tip of the syringe needle at any time, insert it into the glass and absorb all the mixture of water and spores. Cover the needle with the corresponding cap, shake well, and wrap the syringe in aluminum foil. In about two days they will be ready for inoculation! The best place to store your syringes is in the fridge, where they can last several months (a couple of years if stored in glass vials).
Reproduction of mycelium from spores
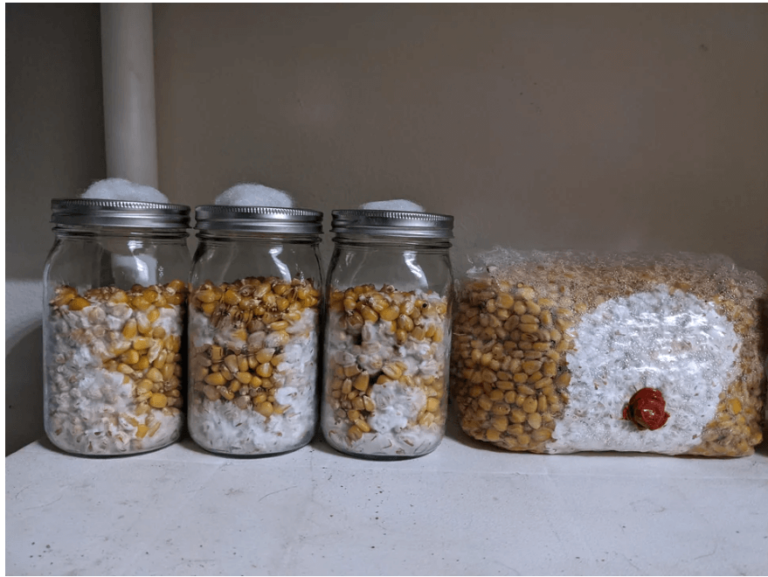
If you have visited our online store, you must have seen that we have spores in various formats: from the classic prints on aluminum foil to vials of spores already mixed and ready to be absorbed with a syringe, including, of course, already loaded spore syringes, ready to inoculate a medium. Whichever method you choose, in the end, you end up with a syringe loaded with spores with which to inoculate a culture medium, which can be a grain (which once colonized by the mycelium you will mix with a substrate), a liquid solution to cultivate mycelium (with which you will later inoculate either grain or substrate) or, directly, a substrate. Each method has advantages and disadvantages, from a greater or lesser possibility of contamination to a greater or lesser speed in the process (we will see each of these methods in this Blog).
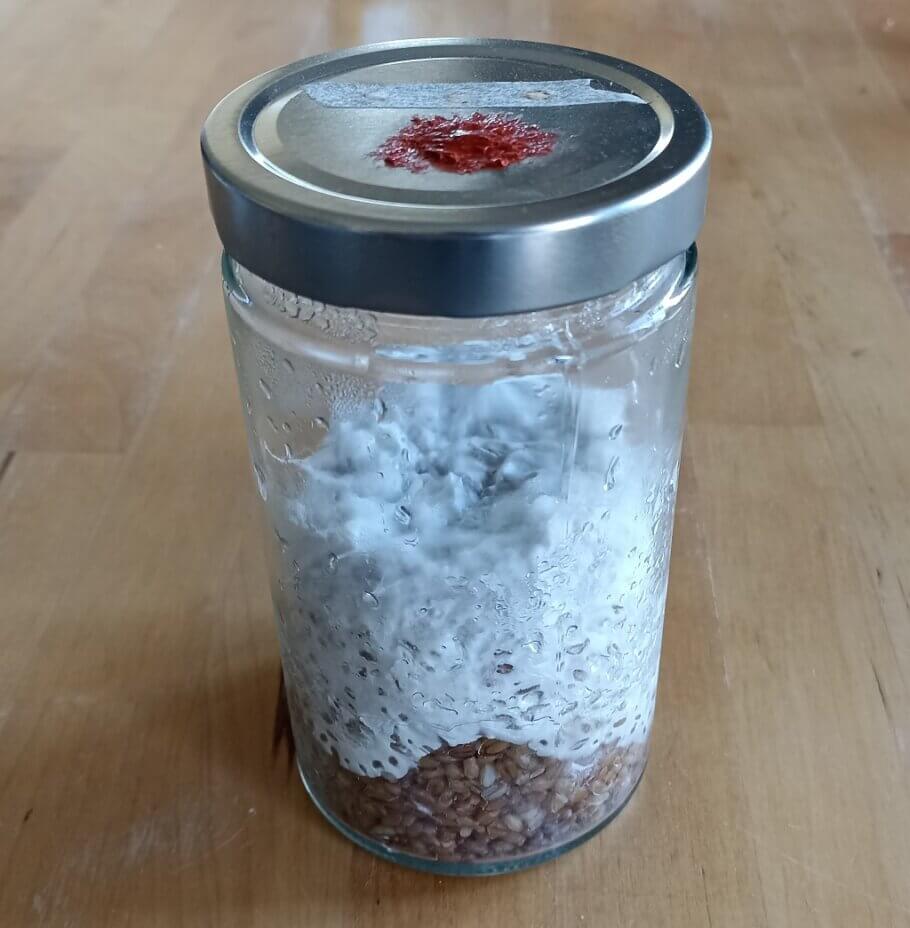
The easiest thing if you are just starting out, and where we will stay in today's post, is to purchase a ready-made substrate for mushrooms, which ensures correct hygiene and the risk you run is minimal since you only have to inoculate the content of your syringe in the substrate, without other intermediate steps that would require sterilization and pasteurization of the elements you use. Of course, and that is the beauty of spore prints, preparing your own syringes makes the process considerably cheaper, since with a single print you can prepare several syringes and inoculate a good number of cakes or, in other words, several liters of substrate.
Once you have inoculated the substrate, leave it in the dark at about 25ºC until you see that it is fully colonized, covered by mycelium. This can take 2-4 weeks, please be patient. As soon as it is ready, you can remove the lid of the container and put it in the culture bag, trying to spray the walls of it with water once a day, while you allow for fresh air exchange for a few minutes. You can leave the grow bag anywhere with residual light and at around 22-23ºC. In a few days, you'll be able to see the first primordia appear...
Happy harvest!


