Seeds
Seeds


 Growshop
 Nutrients


 Extractions
 CBD
CBD
 Magic Mushrooms
 Headshop
List of contents
Growing marijuana outdoors in the ground

Growing cannabis outdoors in the ground is undoubtedly the easiest, cheapest and most environment-friendly way of growing marijuana, since with very limited means you can get great yields. The materials needed to grow weed this way are:
- Quality seeds. As the available space is large, you can use both regular and feminised seeds, since you won't make the final transplant in the ground until sexing your plants.
- 0.25 litre pots and 11 litre pots.
- Quality soil, containing vermicompost, compost, perlite and black peat or coco coir, like Bio Bizz Light Mix and Soft mix by Bioaigua.
- Worm castings (vermicompost).
- Powder bat guano or liquid bat guano.
- Nutrihemp (natural solid alginates).
- Pure neem extract, pyrethrum or any other organic insecticide .
- Propolis (fungicide and plant defense booster).
- Bacillus Thuringiensis.
- 5 litre sprayer.
- PH tester and pH reducer.
Growing marijuana step by step
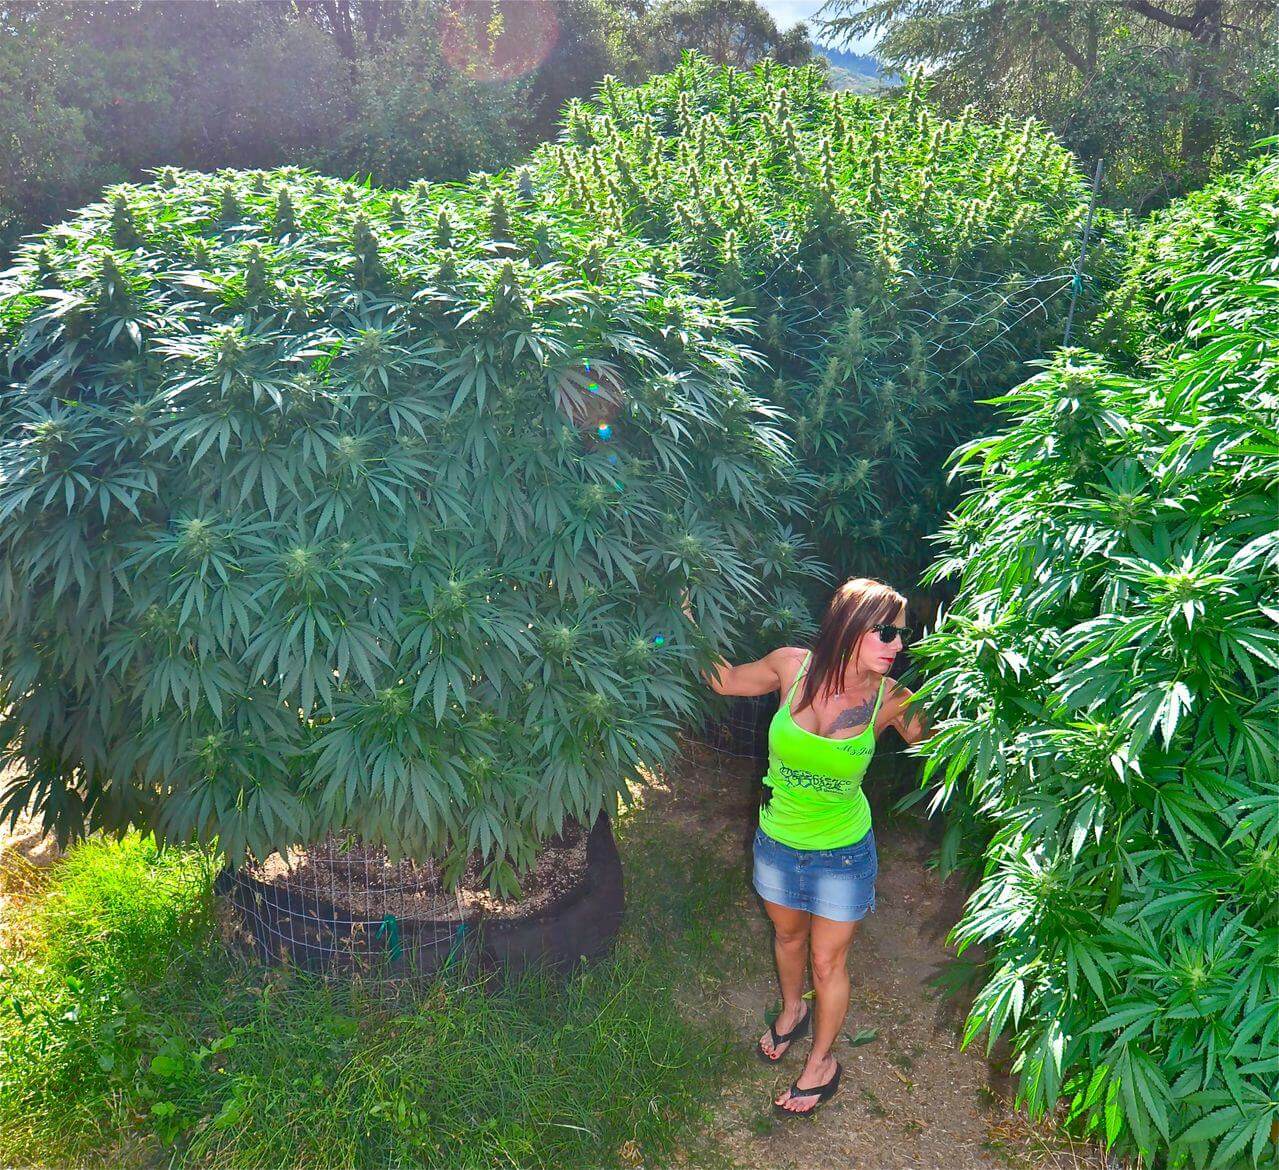
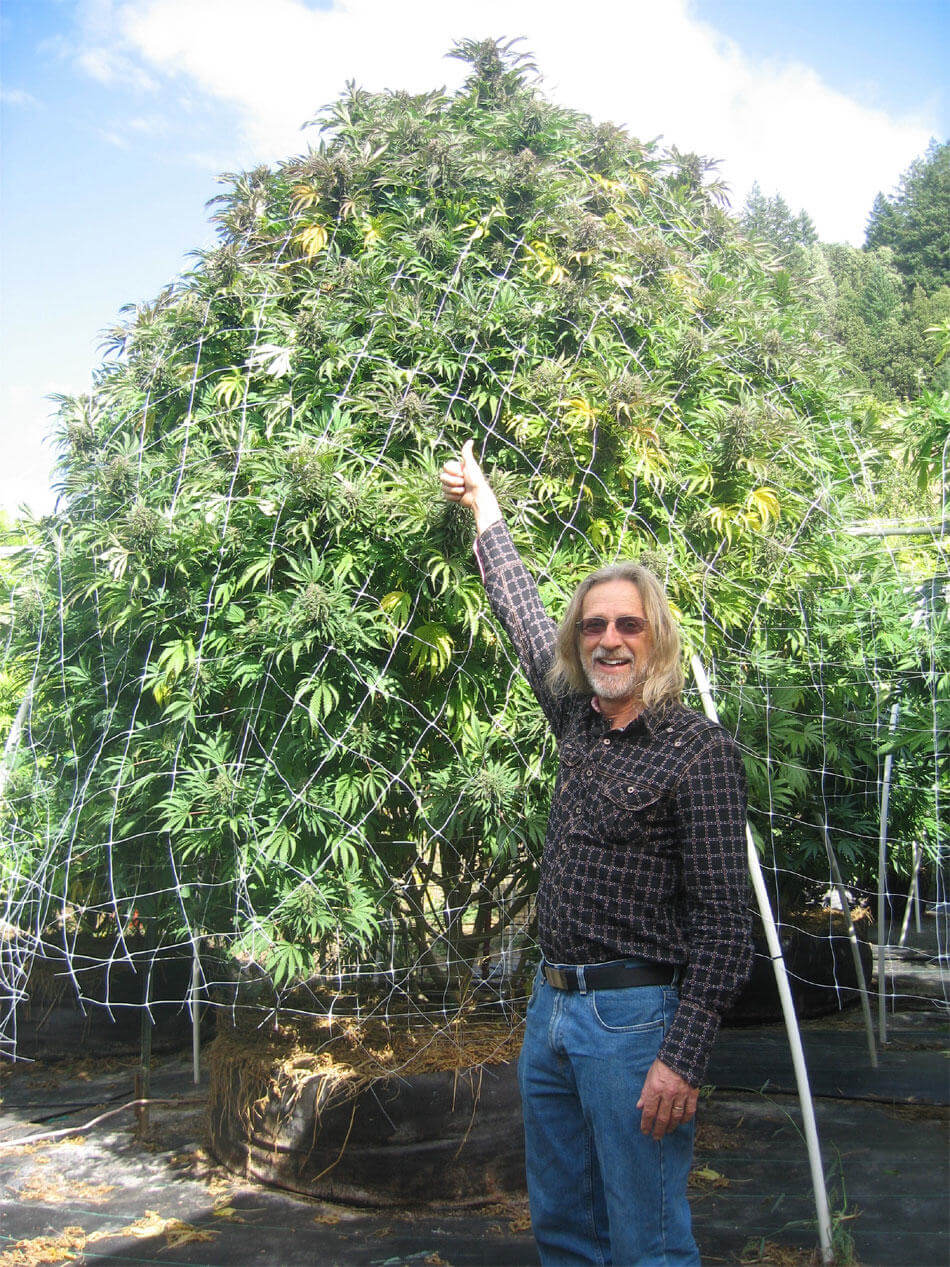
When you start growing you should take into account the final size that you want for your plants. If you want the largest possible plants, the best is to start growing at mid or late March. You will get plants between 250 and 350 cm in height, depending on the strain. If you do not want them to grow that much, then you should plant them a little later.
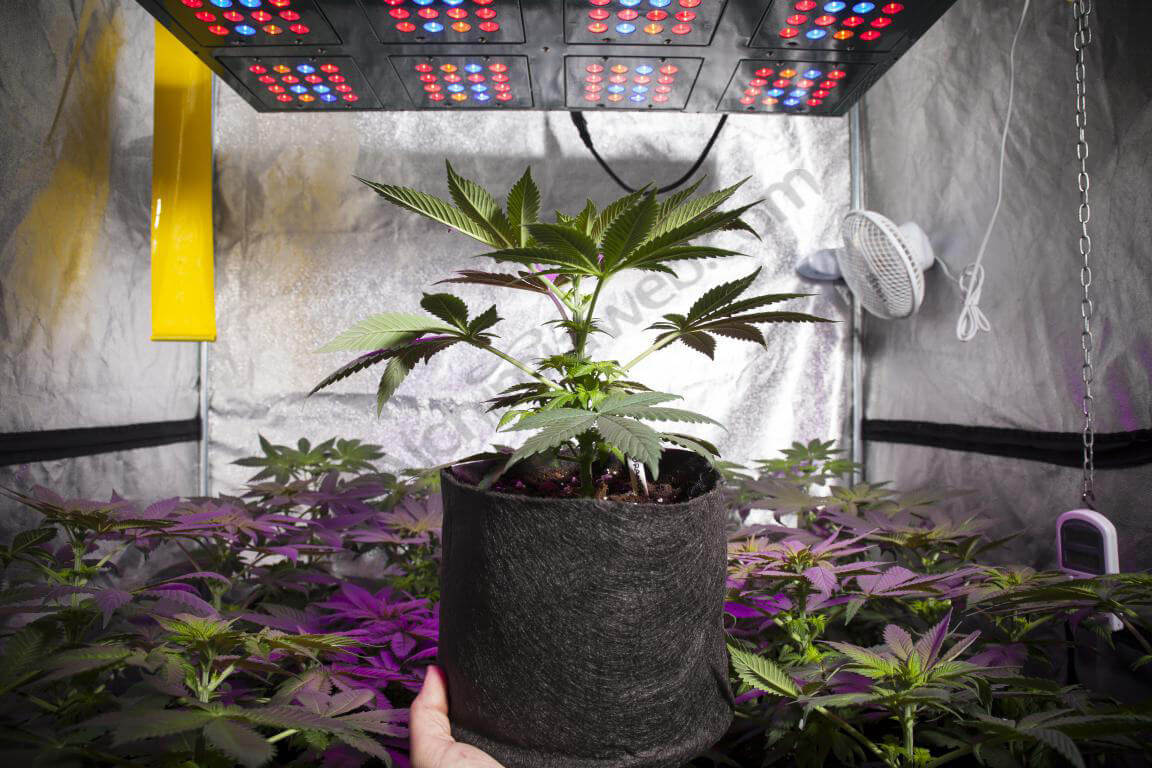
Germinate the seeds and once the small roots can be seen, transplant them to a 9x9 cm (0.25 l) pot with moistened substrate. During the next few days water them only with tap water (pH adjusted at 6) when you see the soil dry. Place the pots under the sunlight and wait for the small seedlings to start growing, which may take 5-10 days. Throughout this process the plants should be exposed to full sun, otherwise you will get very tall and weak plants.
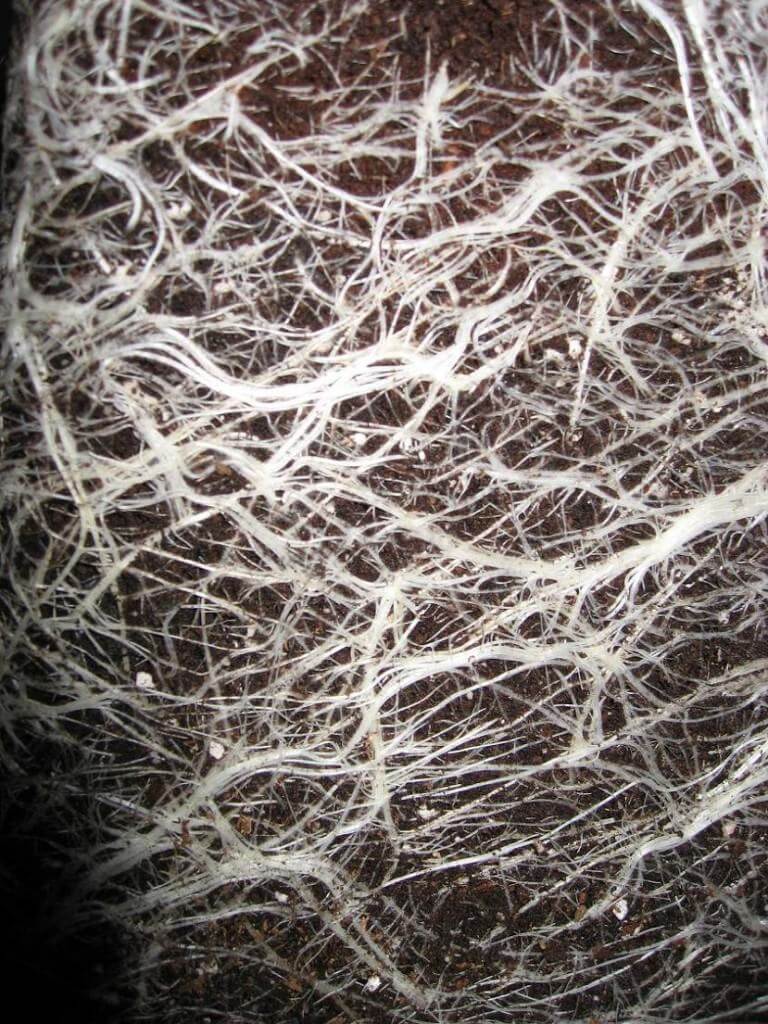
After approximately three weeks, your plants should be about 20 cm tall and have about three pairs of true leafs. At this point, remove the plant from the pot if it has a good rootball. You can then transplant your plants to an 11 litre pot. Prepare the soil mix containing 80% of the recommended soil + 20% of vermicompost + 1/2 kg of bat guano and 250 grams of Nutrihemp per 100 litres of soil. Mix it thoroughly and proceed to transplant.
During the first two weeks after transplanting, water your plants whenever the soil is dry, always using tap water. You only need to add the required acid to adjust the pH, lowering it at pH=6.
By the fourth week after transplanting (eighth weeks after having started growing the plants, early June) you should start sexing the plants, as they reach full sexual maturity at this moment. This should be done if you have used regular seeds, ignore this step otherwise.

We are not going to expand on how to sex marijuana plants here. We recommend that you read our post on how to sex your cannabis plants.
Once you have identified the gender of your plants, it's time to transplant them in the ground. You will have to prepare the site by making a hole about 50 cm deep and wide. Add 20 litres of vermicompost, one Nutrihemp bag and 0.5 kg of bat guano to the soil you get from making this hole. If the soil is clayey, add a couple of spadefuls of river sand to enhance drainage and 30 litres of the soil used in transplants to prevent compaction. Mix all ingredients and pour the mixture into the hole. Transplant the plants and immediately after that prune the apical areas from the seventh or eighth pair of true leafs.
After this, just keep watering the plants with tap water - pH=6 - once or twice a week, always making sure that the soil dries out between waterings.
From mid-July, anticipating the onset of flowering, provide the soil with more nutrients. Prepare the soil around your plants and add a mixture of 20 litres of vermicompost, 1/4 of a Nutrihemp bag and 1/2 Kg of bat guano per plant. Mix the nutrients added to the soil in the ground and make a slight dip or depression in the soil around the base of each plant so that water and nutrients are better retained and won't directly run off.
Until the end of flowering, always water them with tap water - pH=6 - although if you stimulate their flowering with an activator like Green Hope, your plants will definitely appreciate that.
When flowering begins - mid-July or early August (later for pure Sativas) - you can prune the lower parts of the plants so the top buds get bigger, achieving better yields.
Buds will get bigger and bigger, so it is time to protect the plants from strong winds and storms; use stakes to fix the branches of your plants so they can support the weight of their buds.
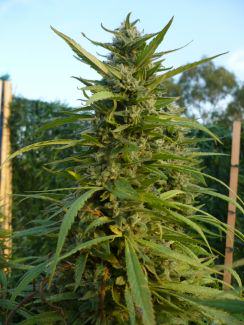
When 80% of the pistils have ripened (turned orange-brown) it is the right time to harvest. However, we always recommend using a magnifying glass to check the trichomes, ensuring that you choose the right time to harvest your plants.
For further information on this subject, visit our post about harvesting marijuana.

Weed grown using this method gives a yield of 500 to 1000 grams per plant.
Aspects to consider to grow weed in the ground properly
- The distance between plants should be at least 2 meters otherwise, they can't fully develop.
- It is preferable that you also grow other varieties of plants in your garden, as they will help to create a suitable microclimate as well as enhancing the biological richness of the environment. It will also help us conceal our secret crop.
- If your garden is very sunny and it's very warm throughout the day, it would be a good idea to refresh the plant leafs by spraying them with water in the mornings and afternoons/evenings, always before the onset of the flowering phase, especially during June and July, when there is more proliferation of red spider mites.
- If your garden is very exposed to strong winds, stones and ropes will be necessary to support or fix your plants, preventing them from falling.
Phytosanitary treatments for marihuana
Outdoor crops are exposed to numerous pests, so it's important to carry out biological preventive treatments that will prevent both pests and the need to use chemical insecticides/fungicides later on. Some of these chemicals are toxic treatments, which are harmful for the health of people, animals and natural environment.

You should start pest control when you transplant your plants to the 11-litre pot, using neem-based insecticides or pyrethrum mixed with propolis to prevent red spider mites, whiteflies and aphids, as well as several types of fungi.
Treat the plants every 15 days until the end of July, at which time you should begin the next treatment. Then you should combine a weekly spray of Bacillus Thuringiensis - to avoid the appearance of dangerous caterpillars - with a spray of propolis to prevent powdery mildew. Continue with these treatments until two weeks before harvesting.
It is important to do all treatments, waterings and transplants early or late in the day to avoid heat excess, that could damage your plants.
Happy growing!