Deep cleaning your grow room or tent
List of contents
Now that the heat of summer is upon us, and before it ends, many growers will decide to shut down their indoor grow operations until conditions cool down in the autumn. This is partly because their attention shifts towards growing outdoors while the weather is favourable, but it's also because of the increase in ambient temperatures. The hot days, combined with the heat produced by powerful grow lamps, make it a real challenge to maintain the ideal conditions in our indoor garden. With the advent of good quality LED lights and affordable air conditioning these problems are somewhat reduced, but even so, much of Europe still gets far too hot to allow trouble-free indoor cultivation in summer.
So, while your indoor grow area is temporarily out of commission, there's no better opportunity to give your grow tent a thorough deep clean and at the same time double-check that all your equipment is in perfect working order so you're prepared for the much anticipated first crop of the autumn!
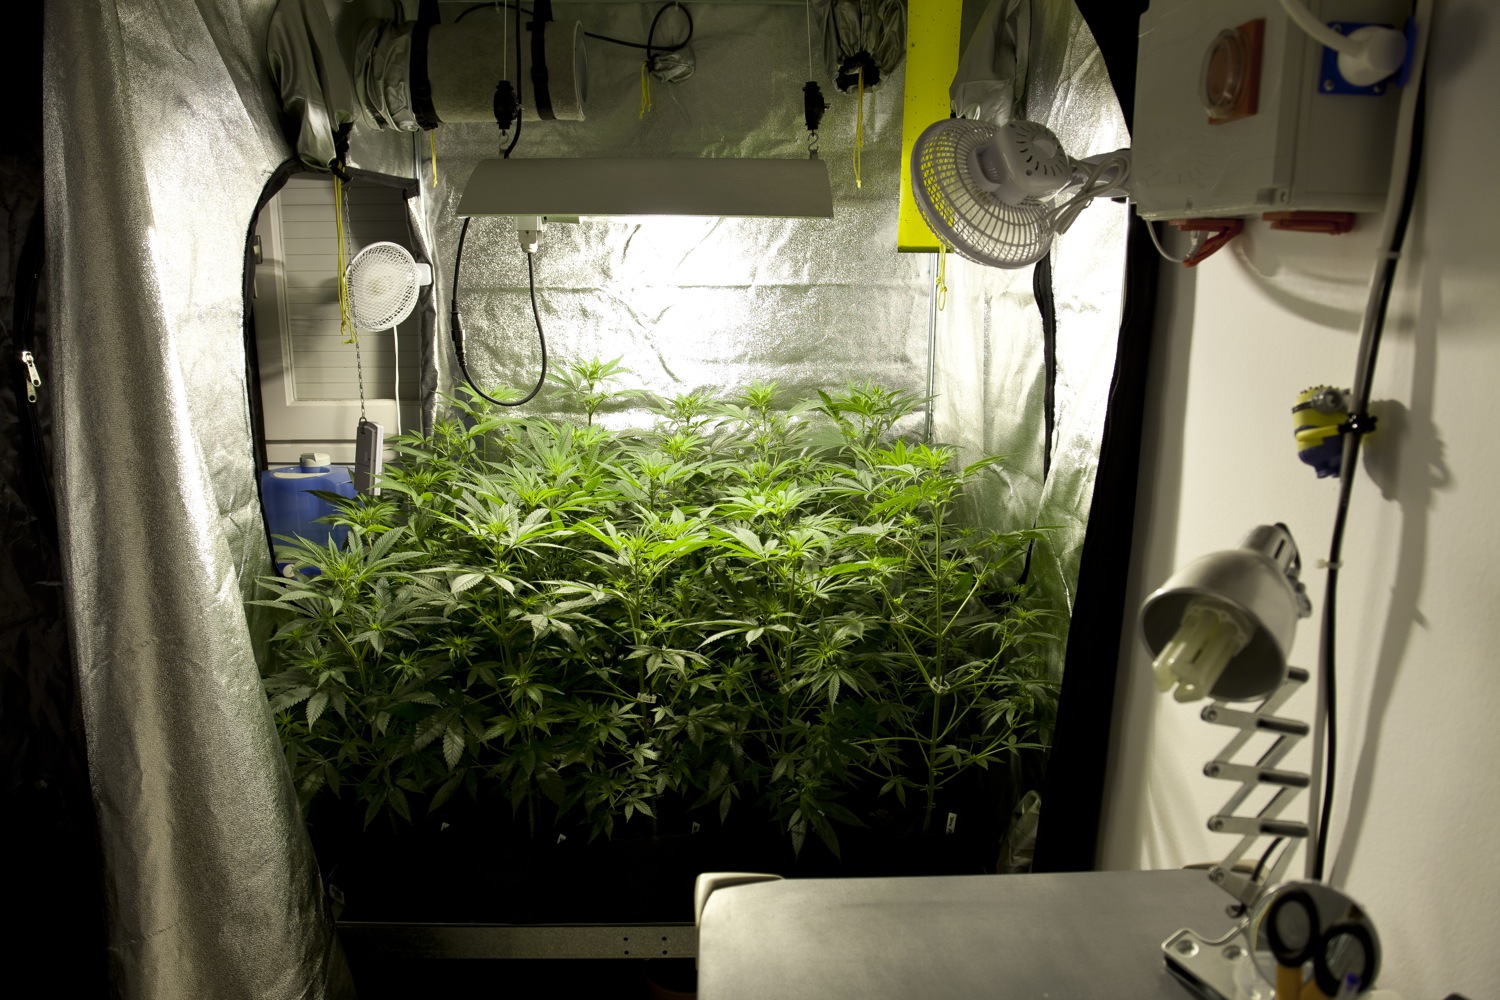
What you'll need
- Sponges and several soft cloths
- Broom, dustpan & brush, mop & bucket
- Vacuum cleaner
- Gloves & protective goggles
- Cleaning agents: Detergent, Bleach, Hydrogen Peroxide, Vinegar
- Alcohol wipes
- Distilled or Reverse Osmosis water
- Duct tape
Cleaning the tent or grow room
First, and very important, switch off the power to your equipment before starting. However, you should leave the extraction fan running to remove any noxious fumes if you're using strong-smelling cleaning products, such as bleach. You can also leave the lights hanging if taking them down is complicated, but you may find them easier to clean if you remove them to somewhere more comfortable for working.
Remove all pots and containers from the grow space, along with any other components, supports and trellis nets. This will help to clear the entire area to provide access for cleaning the interior of the tent or grow room.
Start by giving the floor a quick sweep to remove the worst of the dirt and debris before you get started. These are common hiding places for pests and pathogens, so by doing this you avoid spreading it around as you work.
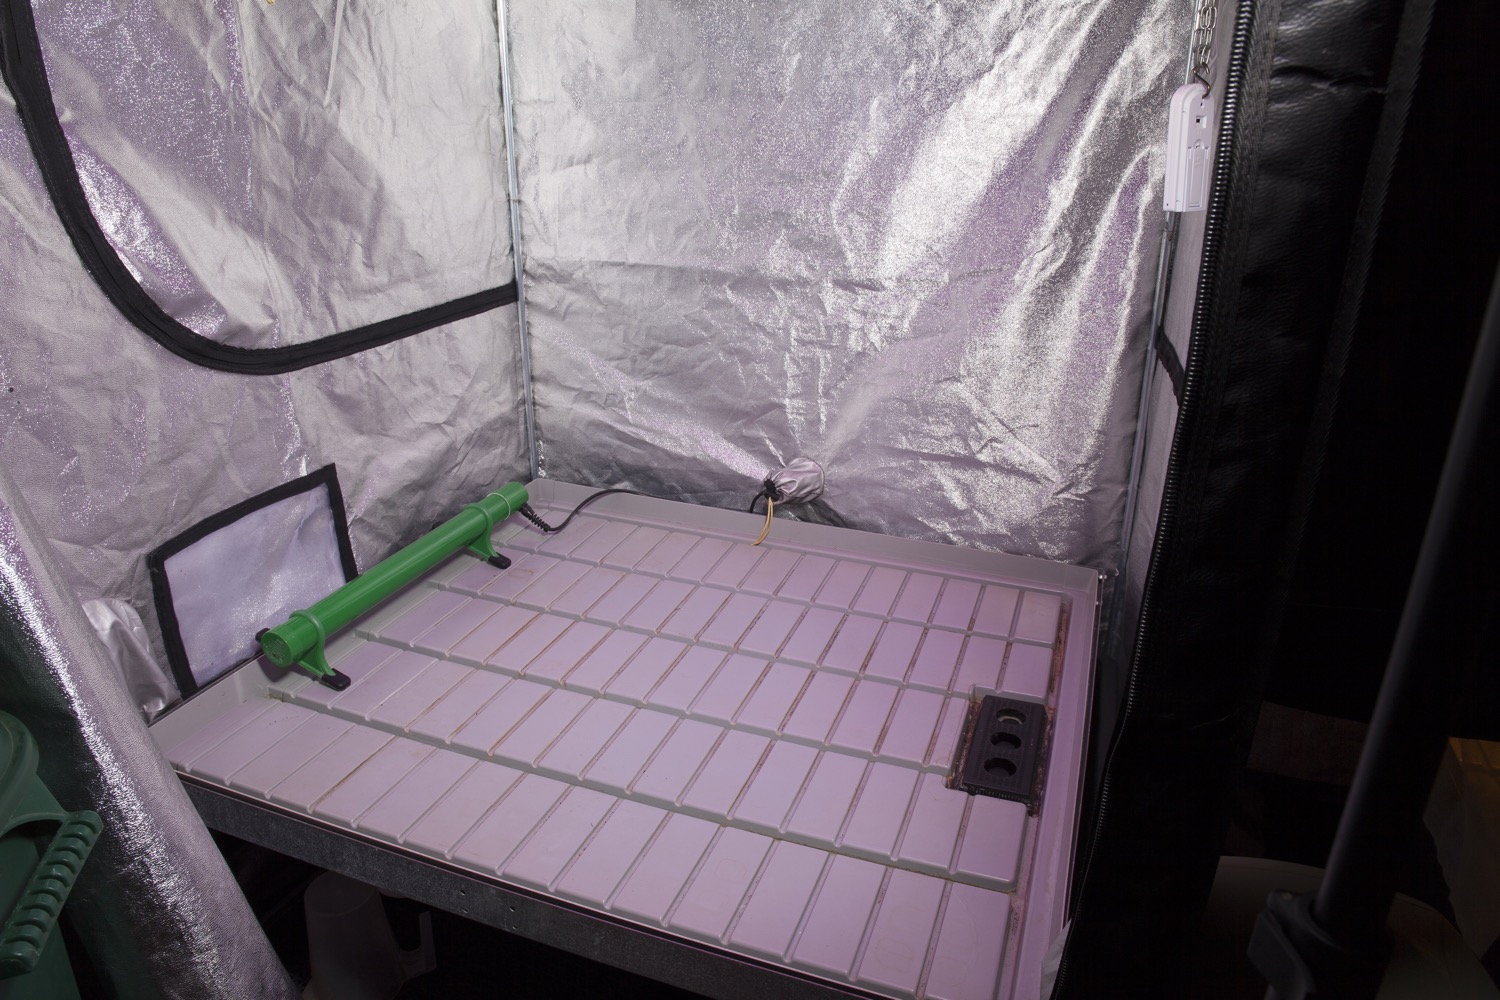
Then begin dusting with a cloth from the top, working downwards and carefully removing surface dirt from all surfaces before sweeping the floor area again to leave it spotless. A vacuum cleaner will be of great help here. If you had any serious pest problems on your last run, consider using an insecticidal bomb at this point in the process. It will kill all the pests but you'll be able to remove any potentially harmful chemical residue when you wipe down the interior walls and floor. If you do decide to use a bomb, make sure you turn off the extractor first and keep the area sealed for 8-24 hours. Ventilate well before re-entering the tent or room.
Next, prepare a bucket of hot water with around 5% bleach and wipe down the inside of the tent with a cloth or sponge before mopping the floor. If you grow in a converted room as opposed to a tent, wipe down the walls if they aren't permeable, e.g. plasterboard. Tiled walls and floors are far easier to keep clean. If you've used any plastic or mylar sheeting to line the walls or floor, check their condition and replace them now if they're damaged or worn.
Cleaning the lighting system
Make sure to treat the bulbs with care and not touch them with bare hands. If they've had more than 10,000 hours of use (in the case of Sodium & MH bulbs), or 20,000 hours (for LEC/CMH lamps), then now's the time to think about replacing them to ensure the greatest efficiency and the highest yields possible. If they're good for at least the next growing cycle, then wipe them very gently with a soft cloth to remove any dust.
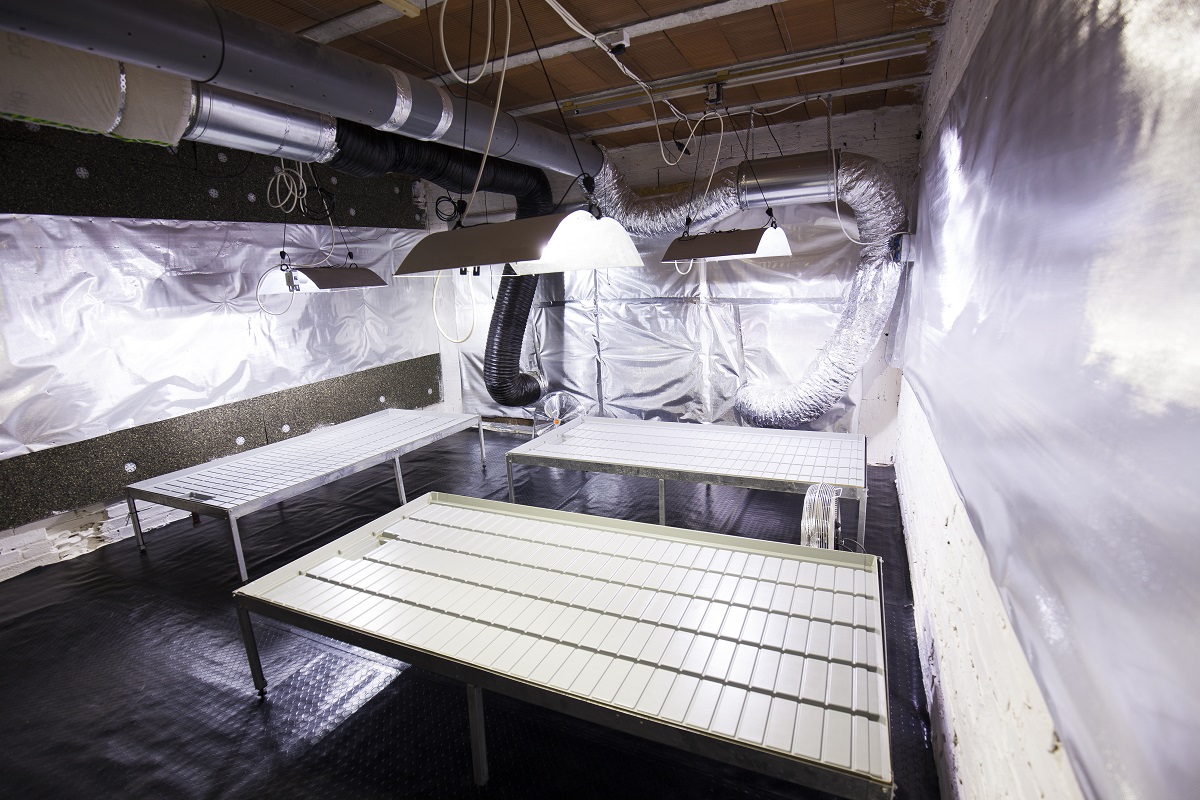
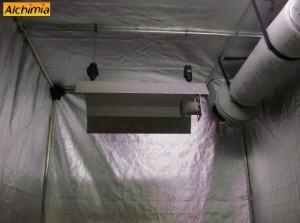
Remove any dust that has accumulated on the top surfaces of the lamps and ballasts using a soft cloth. Clean the cables carefully with alcohol wipes. Wipe the reflectors with a soft cloth moistened with 3 parts vinegar to 100 parts water (3%). Wipe again with another cloth moistened with water to remove any residue. Use distilled water to avoid calcium spots. It's vital to get the reflective surface as clean as possible: 50% of the light from the bulb depends on the reflector to get to your plants!
Cleaning your pots and containers
Brush as much dry dirt and debris from the pots as possible, then wash and scrub all pots, containers and trays with a 10% bleach solution. Pay particular attention to the inside corners, under the rim and in all the nooks and crannies. Rinse well with clean water and leave to dry. Fabric containers such as Smart Pots can be cleaned in the washing machine.
Cleaning & sterilising your hydroponic system
Hydroponic and aeroponic growing systems require a bit more care than plant pots when it comes to cleaning. This is because hygiene is doubly important in high-performance cultivation systems. The same basic cleaning principles apply here, but in this case, growers often prefer to use a powerful hydrogen peroxide solution to sterilise their growing equipment.

Wear protective goggles and gloves as you mix a strong solution of two parts water to one part 30% (110 Vol) hydrogen peroxide (choose food-grade, if possible). This will be powerful enough to clean and sterilise the entire system, but you'll still need to scrub the really filthy parts with a brush or sponge to remove stains. If you don't have any hydrogen peroxide, you can use a 5% bleach solution. Ensure that all the tubing, trays and filters are thoroughly cleaned before reassembling the system. Check all tubing and drip lines for damage and replace if necessary.
Cleaning the ventilation system
Switch off the extraction system before beginning work on it. Wipe any dust off the outside of the fans and ducting. Remove and wash the pre-filter sleeves from the air filter and the anti-insect protection from the air extraction outlet. While you're cleaning the ventilation and extraction system, take the opportunity to examine the ducting and seals for any wear and tear, and reseal any holes or loose joints with duct tape.
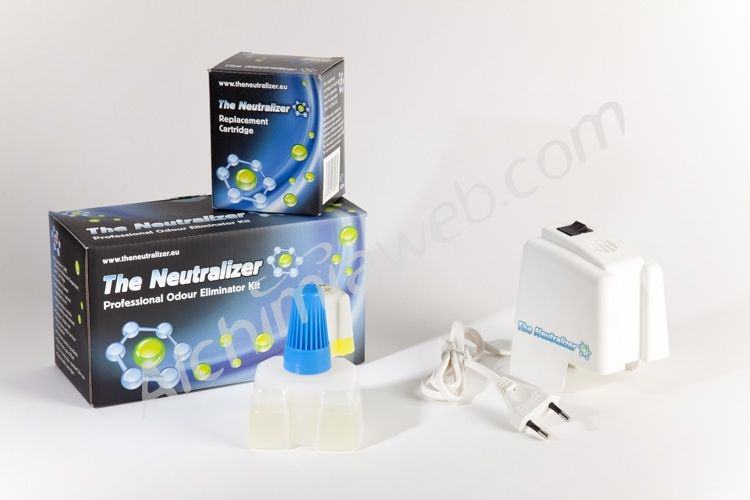
Now could also be a good time to change the carbon filter in your extraction system, to ensure maximum effectiveness when it comes to the important task of cleaning the air of odours. The life expectancy of an activated carbon filter will depend on a number of factors, such as ambient humidity levels (high humidity = low performance) and the potency of the odours being filtered, but on average, they will last for around 12-18 months of heavy use. If you're running an ozone generator such as Indizono, check whether the ceramic plates are due for a change - they're usually effective for 14-18 month of use. If you use a Neutralizer for odour control, check whether it's nearly time to order a replacement cartridge.
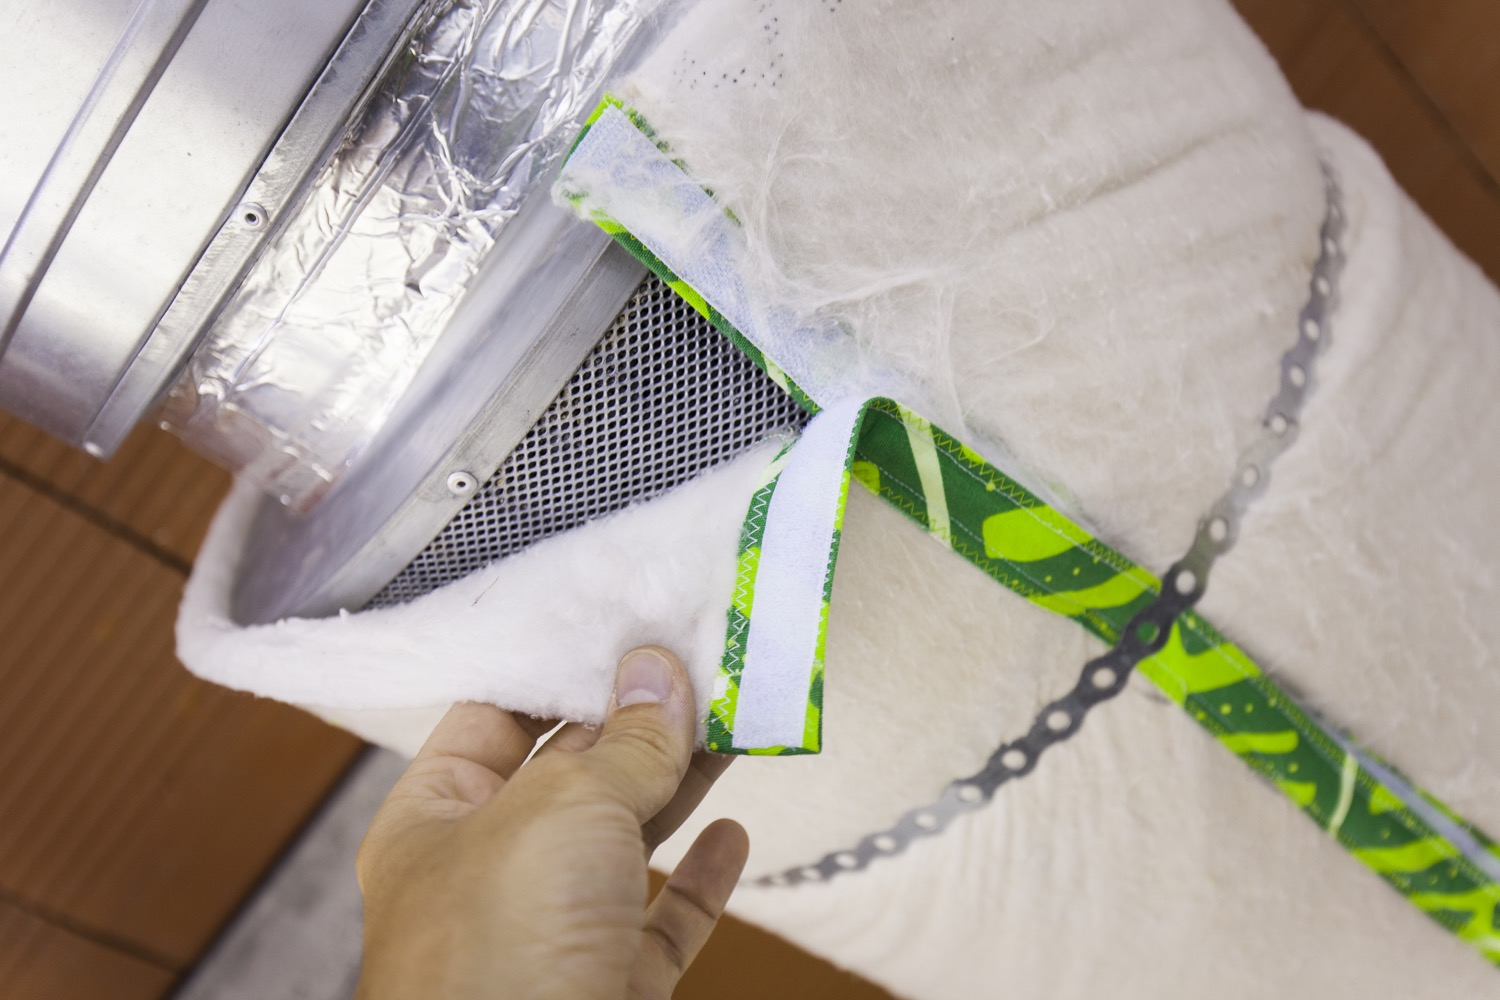
When you've finished, don't forget to replace the clean and dry pre-filter and insect filter before you switch the fans back on again.
Other items to check, clean and replace if necessary.
- Water filters - clean and replace if necessary.
- EC and pH meters - calibrate and check the probes.
- Nutrients & supplements - check supplies and expiry dates. Renew for the season ahead if needed.
- Electrical connections - ensure the cables to your lamp and ballast, extractor fan, etc. are screwed in tightly.
Once all the cleaning and drying is finished, you can start to put everything back together again. When you're done, switch the power back on and double-check that everything is working as it should be. Now you're ready for the indoor season to begin, all that remains is to choose some exciting new genetics to grow this autumn!
We hope you enjoyed this post and found the information useful. Please don't hesitate to leave a comment below if you've got any doubts and questions, or maybe something to add to our cleaning protocol. Either way, we'd love to hear from you.
Enjoy the rest of the summer, happy growing!


