
 Seeds
Seeds
























 Growshop
 Nutrients








 Extractions
 CBD
CBD
 Magic Mushrooms
 Headshop
List of contents
The harvest is already hanging in the drying room, the aroma fills the house, and the pots are left there, sad, with a dry stump and a substrate that has given everything it had. And now what? Do you throw it away, reuse it as is, or give it a second life? Today we'll tell you, step by step, what to do with the substrate at the end of the outdoor season, whether you've grown in pots or directly in mother earth.
We'll tell you upfront that throwing the soil in the trash is almost always a missed opportunity. With a little care, that "depleted" substrate can become the foundation of a living, fertile soil that will save you money and give you healthy plants next year. Will you join us?

Why shouldn't you throw away your substrate?
After several months of cultivation, the substrate has changed tremendously. The roots have consumed much of the nutrients, the organic matter has decomposed, and the structure has compacted, with less air between the particles. The result is substrate that drains poorly and provides little nutrition, exactly the opposite of what a vigorous plant needs.
Additionally, accumulated salts from mineral fertilizers may remain, altering the pH and conductivity (EC) and blocking nutrient absorption. And watch out, because used soil may also harbor eggs and larvae from pests like fungus gnats or remnants of pathogenic fungi. Planting directly in it is inviting a nightmare next spring.
But don't panic, you don't need to throw it away either. The mineral base and fiber are still there, and the microbial life you've cultivated during the season is a treasure. With proper recycling, you recover structure and fertility, save on new bags, and reduce waste. Your wallet and the planet will thank you!

Discover how organic farming can transform the way you grow and consume. From the microbial life in the soil to the best natural fertilizers on the market, today we'll tell you why you should switch to this growing method, its main benefits, and how to apply it correctly.
Give Your Pot Cultivation Substrate a Second Life
If you've grown in pots, the first step is to empty them as soon as you finish harvesting. Spread the soil on a tarp or in a large container and remove the root ball with the thicker roots. It's the perfect time to play detective: do you see larvae, rotten roots, or whitish mold with a bad smell? That information will tell you which path to take.

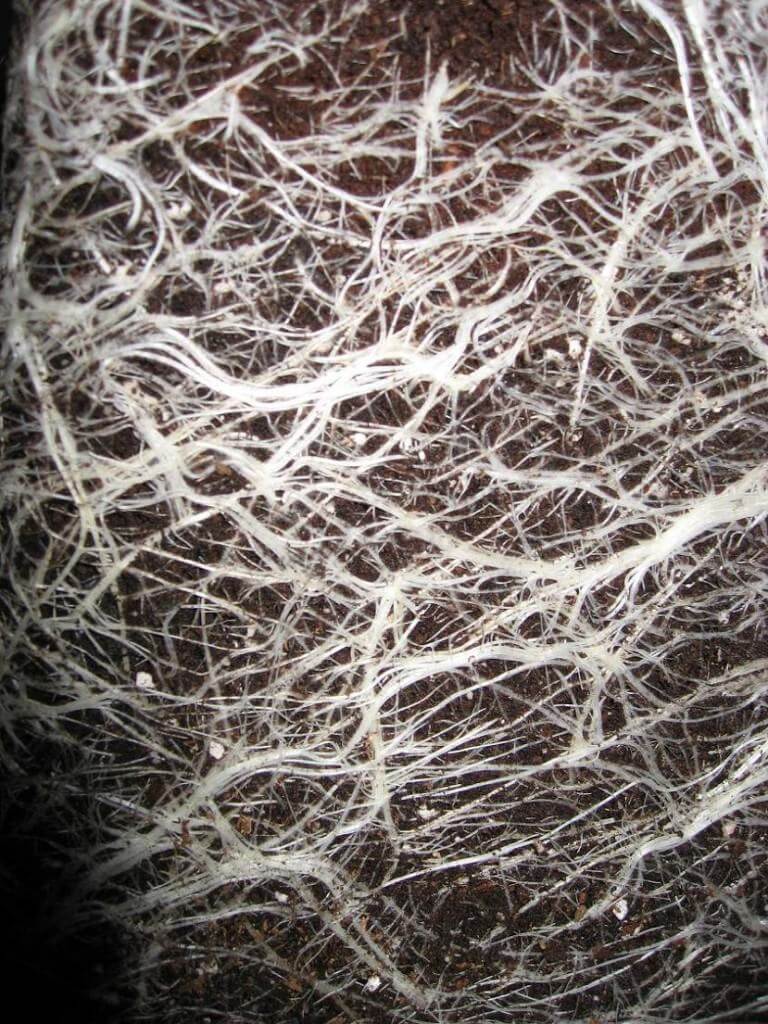
If the plant has been healthy throughout the entire cycle, the substrate is an ideal candidate for recycling. You can leave the fine roots: as they decompose, they provide organic matter and food for microbial life. However, if you've suffered from root pests or fungi like Pythium or Fusarium, the most prudent thing is not to reuse it in cultivation and instead use it, for example, in ornamental beds away from your plants or in the organic waste container according to your municipality's regulations.
For healthy substrate, you have two main options. The first is to mix it with your compost bin, where it will integrate with kitchen and garden scraps. The second, our favorite, is to regenerate it with organic amendments and let it rest during winter, so that by spring you'll have living, aerated soil ready for your new seeds. We'll tell you how right below!

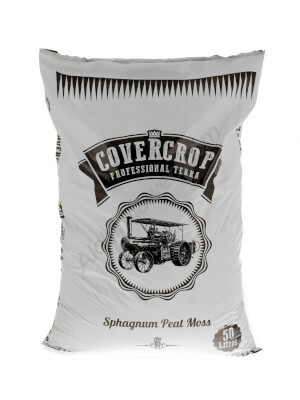

How to Regenerate Your Pot Substrate, Step by Step
Regenerating used soil isn't mysterious at all, but it does require some patience. The idea is to restore the structure, organic matter, and microbial life it has lost, and give it a few months for everything to integrate. You'll need the used substrate, a large container or tarp, worm castings or mature compost, perlite or coco fiber, and optionally some organic amendment (bone meal, bokashi, guano) and mycorrhizae.
- Sift and remove coarse debris. Break up clumps with your hands and remove stumps, stones and woody roots. This way you recover a loose texture that will make the job easier for new roots.
- Wash away excess salts (if you used mineral fertilizers). Water the substrate in the pot abundantly and let it drain well. This washing drags away accumulated salts and helps stabilize pH and EC, avoiding nutrient lockouts next season.
- Add organic matter. Incorporate worm humus or well-matured compost; as a guideline, many growers use between 10 and 20% of the volume. It's the fuel for microbial life and the basis for slow, balanced nutrition.
- Improve aeration. Add perlite, coconut fiber or a bit of new substrate to recover the lost sponginess. More oxygen in the root zone means stronger roots and less risk of waterlogging.
- Enrich with slow-release amendments. Bone meal, guano or bokashi provide minerals and microorganisms that are gradually released during the rest period. Always follow the manufacturer's dosages to avoid overdoing it.
- Mix, moisten and let rest. Store the mix in bags, covered buckets or in the pots themselves covered, slightly moist. During winter, microorganisms will work their magic; in spring, add mycorrhizae when transplanting and you'll have living soil ready to perform.
If you're not in a hurry, the longer the mix rests, the better integrated the nutrients will be. And if you have extra space, sow a green manure in the empty pots (we'll explain this in the next section). Your substrate will arrive in spring more alive than ever!

Caring for the soil for next year
If you've planted directly in the ground, the strategy changes: here it's not about recycling a substrate, but about caring for a living ecosystem. The first step is to cut the plants at ground level and leave the roots inside, as long as they're healthy. As they decompose, they create channels that aerate the soil and feed earthworms and microorganisms. Avoid turning over the soil aggressively, because you'd break up the beneficial fungal networks that have taken so much effort to form.
- Green manures: the best gift for your soil. Green manures are crops that are sown in autumn not to harvest them, but to enrich the soil. Mixtures like vetch with oats, fava beans, clover or rye protect the soil from rain erosion, keep the microbiology alive during winter and, in the case of legumes, fix nitrogen from the air thanks to the bacteria in their roots. Free nitrogen for your next season! At the end of winter or beginning of spring, before they flower, they're mown and left on the surface or incorporated lightly into the first few centimeters. It's advisable to do this a few weeks before planting, so that the plant matter begins to decompose and doesn't compete with your seedlings.
- Mulching and compost: protected and fed soil. If you don't feel like sowing green manures, mulching is your ally. Cover the soil with a layer of straw, dry leaves or shredded pruning remains and add compost or worm humus on top. This blanket conserves moisture, cushions frosts, slows down weeds and gradually feeds the soil life. It's like tucking in your garden so it sleeps comfortably all winter long!

Lastly, if you can, think about rotation: changing the location of your plants from one year to another reduces the buildup of specific pests and diseases. And if you suspect that the soil has lost fertility or the pH is out of control, a simple soil analysis will give you real data to correct only what's needed.
Common mistakes you should avoid
The star mistake is reusing the substrate as is, without amendments or rest, and expecting championship results. The plants will grow slowly, yellowish and with less production, and you'll end up thinking that the genetics have failed you when the problem was underground. Another classic is leaving the pots outdoors all winter: the rain washes away the nutrients and the bare soil compacts and fills with weeds.
Don't go overboard with fertilizers either. Adding more fertilizer than necessary "just in case" can burn your seedlings' roots and unbalance the soil. And, of course, never recycle soil in your grow that has suffered from root fungi or serious pests: saving a few euros isn't worth a ruined season.
A cycle that doesn't end with harvest
As you can see, the end of the outdoor season isn't a full stop, but the beginning of the next one. Whether you grow in pots or in mother earth, caring for the substrate in autumn and winter is the best investment to achieve healthier plants, more generous harvests and flavors and aromas that will make your mouth water. And, as a bonus, you reduce waste and save money. Can you ask for more?
At Alchimia you'll find everything you need to regenerate your soil: worm humus, organic amendments, mycorrhizae, aerators and green manure seeds. We invite you to take a look and prepare the soil for your next cannabis adventure right now.
Happy harvest!