How to grow magic mushrooms from Freshmushrooms
As you may have noticed, recently we've added a wide range of magic mushrooms from Freshmushrooms to our online catalogue. While growing them at home is easy, it does require carefully following a few important steps to ensure everything works as it should, and you can enjoy a successful, problem-free harvest of your own magic mushrooms.
In this article we present a concise guide to using our mushroom growing kits in a simple and effective way. You'll be surprised at how easy it can be!

Cultivating Freshmushrooms kits step by step
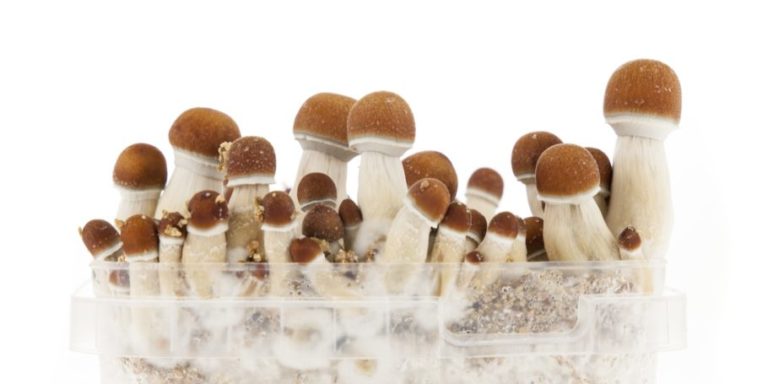
Growing your own mushrooms like the famous Psilocybe Cubensis Panamericana, the classic Golden Teacher, or the legendary Psicolybe Mckennaii is now easily within reach, and as you'll see below, the team at Freshmushrooms couldn't have made it easier thanks to this handy guide! These mushroom cultivation kits include everything you'll need to get excellent crops in just a few weeks, without complications or risks, and with shrooms loaded with psilocybin. Let's do it!


Step 1: Initial Kit Preparation
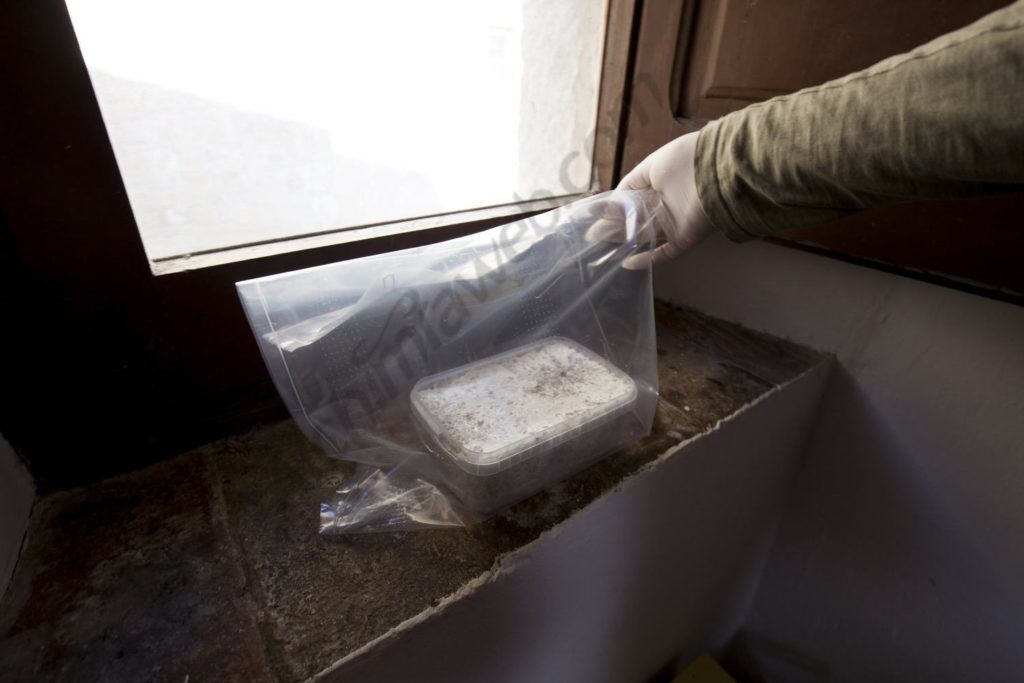
Open the box and remove the contents: the mushroom growing kit, the plastic bag, and the paperclip. Remove the lid of the kit's plastic container, rinse it well with clean water, and store it properly; you'll need it later (you can keep it safe inside a clean zip-close plastic bag, for example).
Step 2: Placing the bread in the grow bag
Place the plastic container containing the substrate (without the lid) into the included plastic bag. Slip the opening of the bag underneath the container, with the micro-perforations of the plastic bag facing up. This ensures the kit has sufficient air circulation (the opening of the bag is largely closed now, leaving the plastic container "wrapped" in the breathable bag).

Step 3: Vertical positioning for growth
As soon as you see signs that the first mushrooms appear in the substrate, reposition the bag vertically, upright, allowing the kit enough space for the mushrooms to develop. Notice that we still haven't used any water in any of the steps! If everything works correctly, the first mushrooms should be formed in a week.
Step 4: Optimal environmental conditions
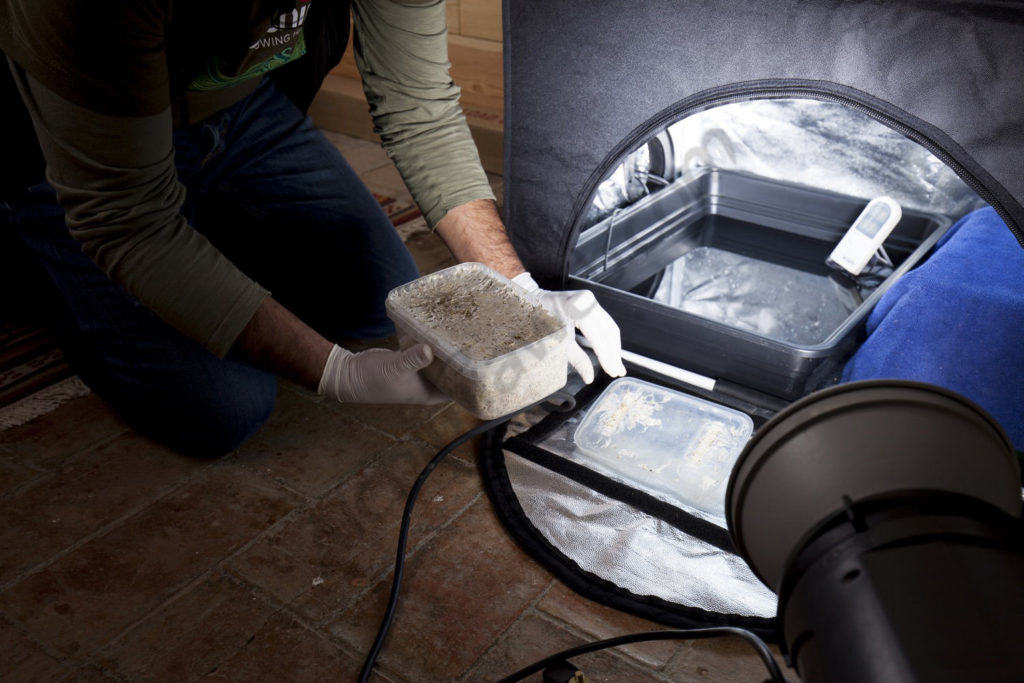
Put the bag with the container in a place with enough daylight (but never in direct sunlight!) and at a temperature between 18 and 23ºC. Mushrooms grow at temperatures above 15ºC, although 23ºC is perfect for larger harvests. If necessary, accessories such as the RootIt heating mat are ideal to maintain an ideal and constant temperature for the mushrooms, so it's not necessary to heat the entire room where you're growing them. Some people grow them close to a window in summer and put them inside a small heated greenhouse during winter with some 24W T5 Fluorescent tubes. If you want to keep everything private, put everything inside a small grow tent for clones.
Step 5: Ventilation and humidity maintenance
As soon as you see the first fully formed mushrooms, you can open the bag slightly to avoid a buildup of condensation. At this point, excess moisture can be detrimental to the development of mushrooms. The first mushrooms should be ready to harvest about a week after seeing the appearance of the first "buttons" in the substrate (step 3). Remember that you can monitor temperature and humidity at all times with the help of a digital thermo-hygrometer.

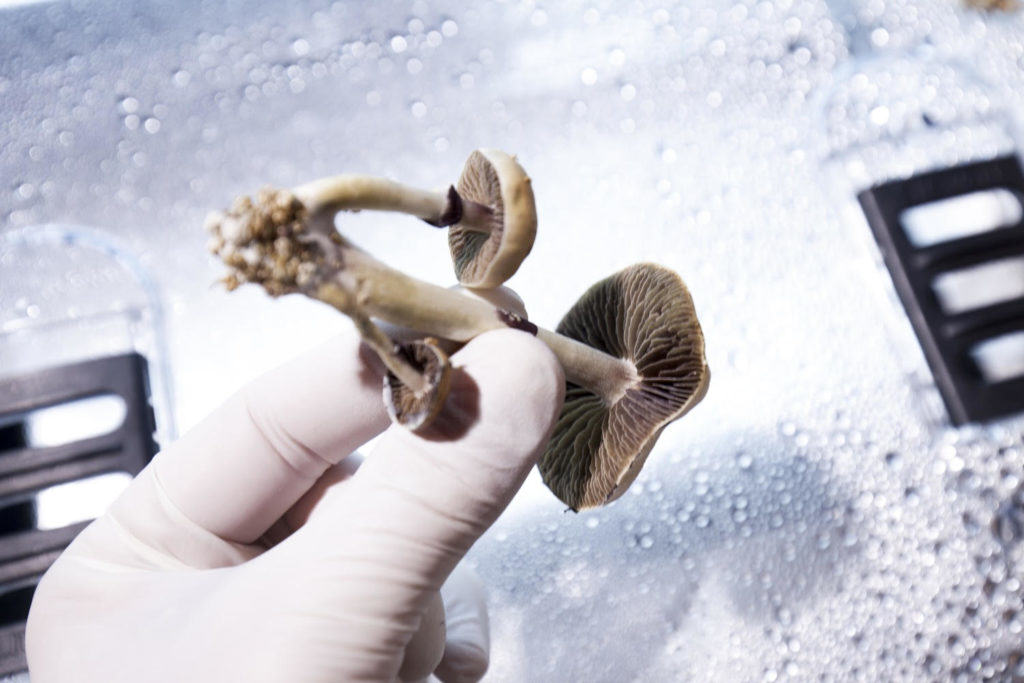
Step 6: Mushroom picking
The moment to harvest the mushrooms is very important. You should examine the mushroom's cap; If it's swollen but the underside has not yet opened to allow you to see the gills that contain the spores, then it's the perfect moment. It's important to harvest them before they open, leaving the gills exposed, thus releasing the spores.
Step 7: Preparing a new fruiting
Now, some excellent news for you... You can reuse the mushroom kit without needing to inoculate with fresh spores! It's that easy! Simply harvest all the mushrooms and fill the container with clean water, a process called cold shock that promotes the formation of new life in the mycelium and ensures the substrate has enough water to develop a new crop of mushrooms.

Step 8: Repeating the crop cycle
Cover the container with the lid you stored in step 1 and let it rest for 12 hours. Once this time has elapsed, open a corner of the lid and pour out the excess water not absorbed by the substrate. Now it's ready to go again; you just have to follow the instructions again from step 1. You can reuse the kit several times, as long as you are scrupulously clean and careful after each step.
Tips for mushroom cultivation
- Always use new, clean latex gloves or similar
- Try to use reverse osmosis or distilled/purified water

- Abrupt variations of temperature or humidity can slow down the process of mushroom development, as well as non-optimal values.
- If using a heat mat, put the bag with the kit on top of the blanket and switch it on during the first two days. After two days, turn the blanket off until you begin to see the first "buttons" (about a week), at which time you can turn it on again, opening the bag slightly to avoid condensation build-up.
- We recommend carefully pulling the mushrooms out rather than cutting them. This will encourage the appearance of new specimens when reusing the kit.
- Although you can dry them, the effect of the mushrooms will diminish with time.
- Heat degrades psilocybin rapidly. In case you want to preserve the mushrooms, dry them and put them in vacuum jars inside the fridge.

Hopefully, we've shown clearly how to grow these mushrooms; As you can see, it's very simple and you can also reuse the mushroom kits several times, getting several harvests out of each kit. Don't hesitate to leave us your comments or questions below; we'll happily respond.
Happy harvests!